Campfire monkey bread comes out with crisp, caramelized edges, a tender center, and that sticky pull-apart texture that disappears fast once the lid comes off the Dutch oven. The biscuit pieces bake into one golden mound, each bite coated in cinnamon sugar and glossy with brown sugar butter. It’s the kind of dessert that feels a little theatrical in the best way, especially when you lift the lid and catch that burst of sweet, buttery steam.
What makes this version work is the layering. The biscuit pieces get coated before they go into the Dutch oven, which gives you flavor on every surface instead of a dry middle and sweet topping. The butter and brown sugar go over the top before baking, then melt down through the cracks and turn into the glaze that holds everything together. A covered Dutch oven with coals on top and underneath gives you even heat, which is the difference between raw centers and a bread that cooks through without scorching.
The cinnamon sugar coated every piece, and the center baked through perfectly in my Dutch oven without getting doughy. The brown sugar butter made the bottom sticky and caramelized in the best way.
Save this campfire monkey bread for the next Dutch oven dessert night when you want warm cinnamon sugar pull-apart bread with a caramel glaze.
The Part That Keeps the Center from Turning Doughy
The biggest mistake with campfire monkey bread is piling in too much heat from below and not enough from above. That leaves the bottom dark before the middle has a chance to bake. A Dutch oven needs balanced coals, and the lid matters as much as the base because the top heat helps the biscuit pieces set all the way through. If your bread has ever come out gummy in the middle, it usually means the fire was too aggressive or the lid stayed cool.
Cutting the biscuits into quarters gives you more edges, which means more caramelized surface and faster, more even baking. Coating the pieces in cinnamon sugar before they go into the pot matters for the same reason: dry dough patches never get a chance to catch up once the butter hits. The goal is a loaf that pulls apart in soft sections, not one dense lump in the center.
What the Butter, Brown Sugar, and Cinnamon Are Really Doing

- Refrigerated biscuit dough — This is the shortcut that gives you the right texture fast. It bakes up tender and fluffy, and the canned dough holds its shape well enough to layer in the Dutch oven. Don’t swap in homemade yeasted dough unless you’re ready to change the whole bake time and fire management.
- Sugar and cinnamon — This coating gives the bread its flavor all the way through, not just on top. Granulated sugar works best here because it clings evenly and starts to melt as the biscuits bake. If you like a deeper spice note, add a pinch of nutmeg, but keep cinnamon as the main flavor.
- Butter — Melted butter is what carries the brown sugar into every crack and turns the bottom into a glaze. Use real butter here; margarine won’t set up with the same rich finish. Pour it evenly so every layer gets some of that caramel action.
- Brown sugar — This is what makes the syrup sticky instead of just sweet. Light brown sugar gives you a clean caramel note, while dark brown sugar adds more molasses depth. If you run out, you can use all white sugar in a pinch, but the glaze will taste flatter and won’t have the same warm color.
- Cooking spray — It looks minor, but it’s what keeps the sugar from welding itself to the Dutch oven. Coat the pot well, especially the bottom and lower sides, because the caramel sets fast once it cools.
Layering the Dutch Oven So Everything Bakes Evenly
Coating the Biscuit Pieces
Cut each biscuit into quarters so the pieces are roughly the same size. Toss them in the cinnamon sugar bag until every side is dusty and coated, then shake off the excess before they go into the pot. If the pieces are clumped together, the centers tend to stay pale while the outside gets too sweet and dark. A light, even coating is what gives you that balanced pull-apart bite.
Building the Base in the Pot
Spray the Dutch oven generously, then layer the biscuit pieces in without pressing them down too hard. You want them snug, but not packed solid, because the dough needs room to expand as it bakes. Overpacking is the usual reason monkey bread turns dense in the middle. Pour the melted butter and brown sugar mixture over the top so it can seep downward as the heat works through the layers.
Cooking Over the Coals
Cover the Dutch oven and place it over campfire coals with coals on top of the lid. That top heat is what finishes the center while the bottom develops the caramel crust. Cook until the top looks deeply golden and the center feels set when you lift a piece with a fork. If the top is browning too quickly, pull a few coals off the lid; if it’s pale after 25 minutes, add a few more hot coals and keep going for a few minutes longer.
Cooling and Turning It Out
Let the bread rest for 5 minutes before inverting it onto a plate. That short rest gives the caramel a chance to settle, so it releases in one piece instead of sliding apart in the pan. If you turn it out too soon, the glaze runs everywhere and you lose some of the sticky bottom that makes this dessert worth making. Pull it apart while it’s still warm, when the sugar glaze is soft and glossy.
Three Ways to Make Campfire Monkey Bread Your Own
Add chopped pecans for a crunchy edge
Scatter a handful of chopped pecans between the biscuit layers or over the top before baking. They toast in the hot caramel and add a nutty crunch that plays nicely against the soft center. Skip this if you’re serving a crowd with nut allergies, because the pieces are easy to miss once the bread is pulled apart.
Make it dairy-free with plant butter
Use a dairy-free butter substitute that melts well and bakes cleanly. The texture will still be sticky and tender, but the flavor will be a little less rich than real butter, so choose a brand with a neutral taste. This swap works best if you’re serving people who need a dairy-free dessert without changing the campfire method.
Use pumpkin pie spice instead of plain cinnamon
Swap part or all of the cinnamon for pumpkin pie spice if you want a warmer, more layered spice note. It adds clove and ginger, which makes the bread taste deeper but a little less classic. Start with half cinnamon and half pumpkin pie spice if you want to keep the familiar flavor and still add something extra.
Storage and Reheating
- Refrigerator: Store leftovers covered for up to 3 days. The texture firms up as it sits, and the caramel gets less sticky.
- Freezer: It freezes, but the biscuit texture softens after thawing. Wrap portions tightly and freeze for up to 1 month if you don’t mind a less springy crumb.
- Reheating: Warm pieces in a low oven or covered skillet until the sugar loosens again. The mistake to avoid is high heat, which dries out the biscuit pieces before the center warms through.
Answers to the Questions Worth Asking
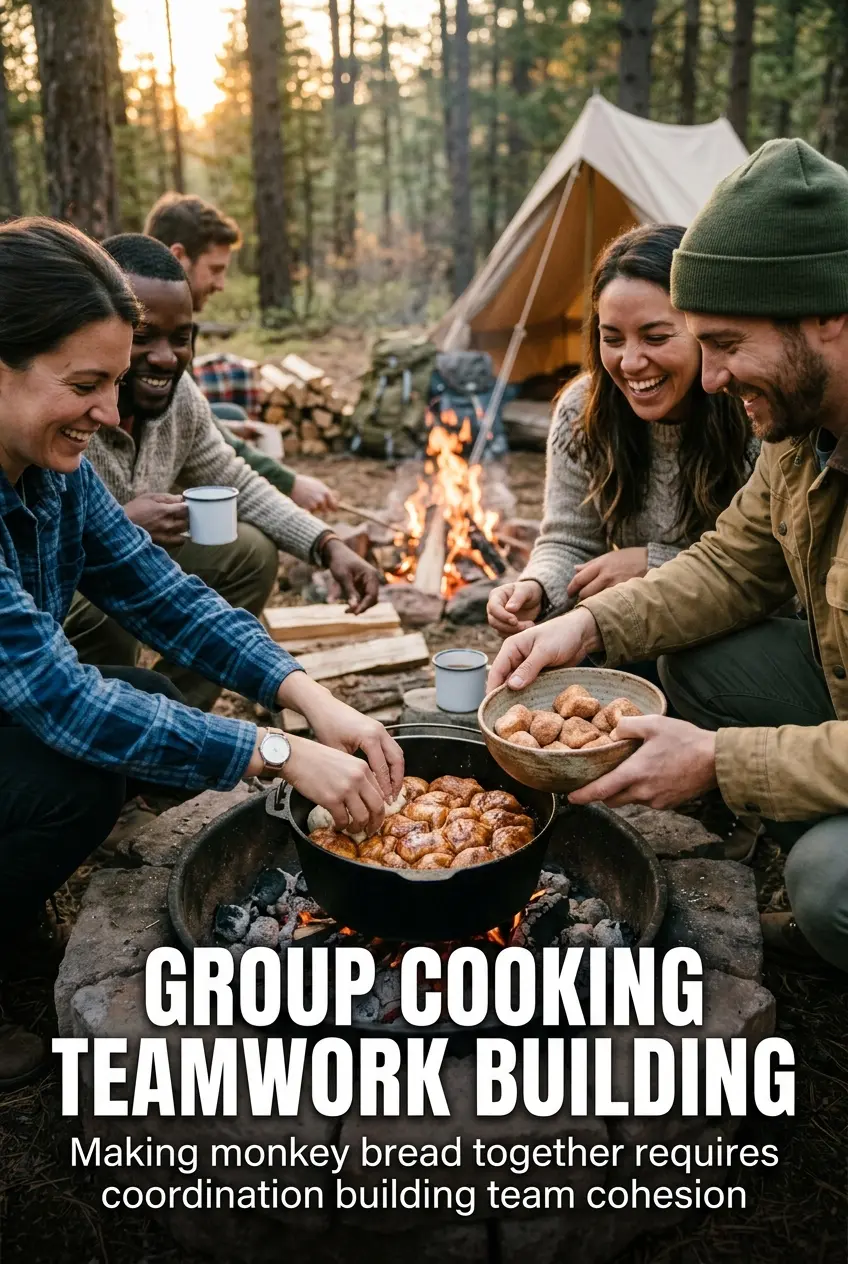
Campfire Monkey Bread
Ingredients
Equipment
Method
- Cut each refrigerated biscuit into quarters.
- Mix sugar and cinnamon in a large zip-top bag, add the biscuit pieces, and shake until evenly coated with cinnamon sugar.
- Spray a Dutch oven with cooking spray.
- Layer the coated biscuit pieces in the Dutch oven in an even layer.
- Mix the melted butter and brown sugar, then pour the mixture over the biscuit pieces.
- Cover the Dutch oven and place it on campfire coals, with coals on top of the lid.
- Cook for 25-30 minutes until golden brown and cooked through, with visible caramel bubbling around the edges.
- Let the monkey bread cool for 5 minutes to set the caramel glaze.
- Invert onto a plate and pull apart to serve.


