Campfire pizza nachos hit that sweet spot between snack and full-on dinner. You get the crunch of sturdy tortilla chips, the salty pull of melted mozzarella, and all the best parts of a pepperoni pizza without hauling out dough or a pizza stone. The pan comes off the heat with browned edges, bubbling cheese, and just enough smoky flavor to make everyone hover around the fire waiting for the first scoop.
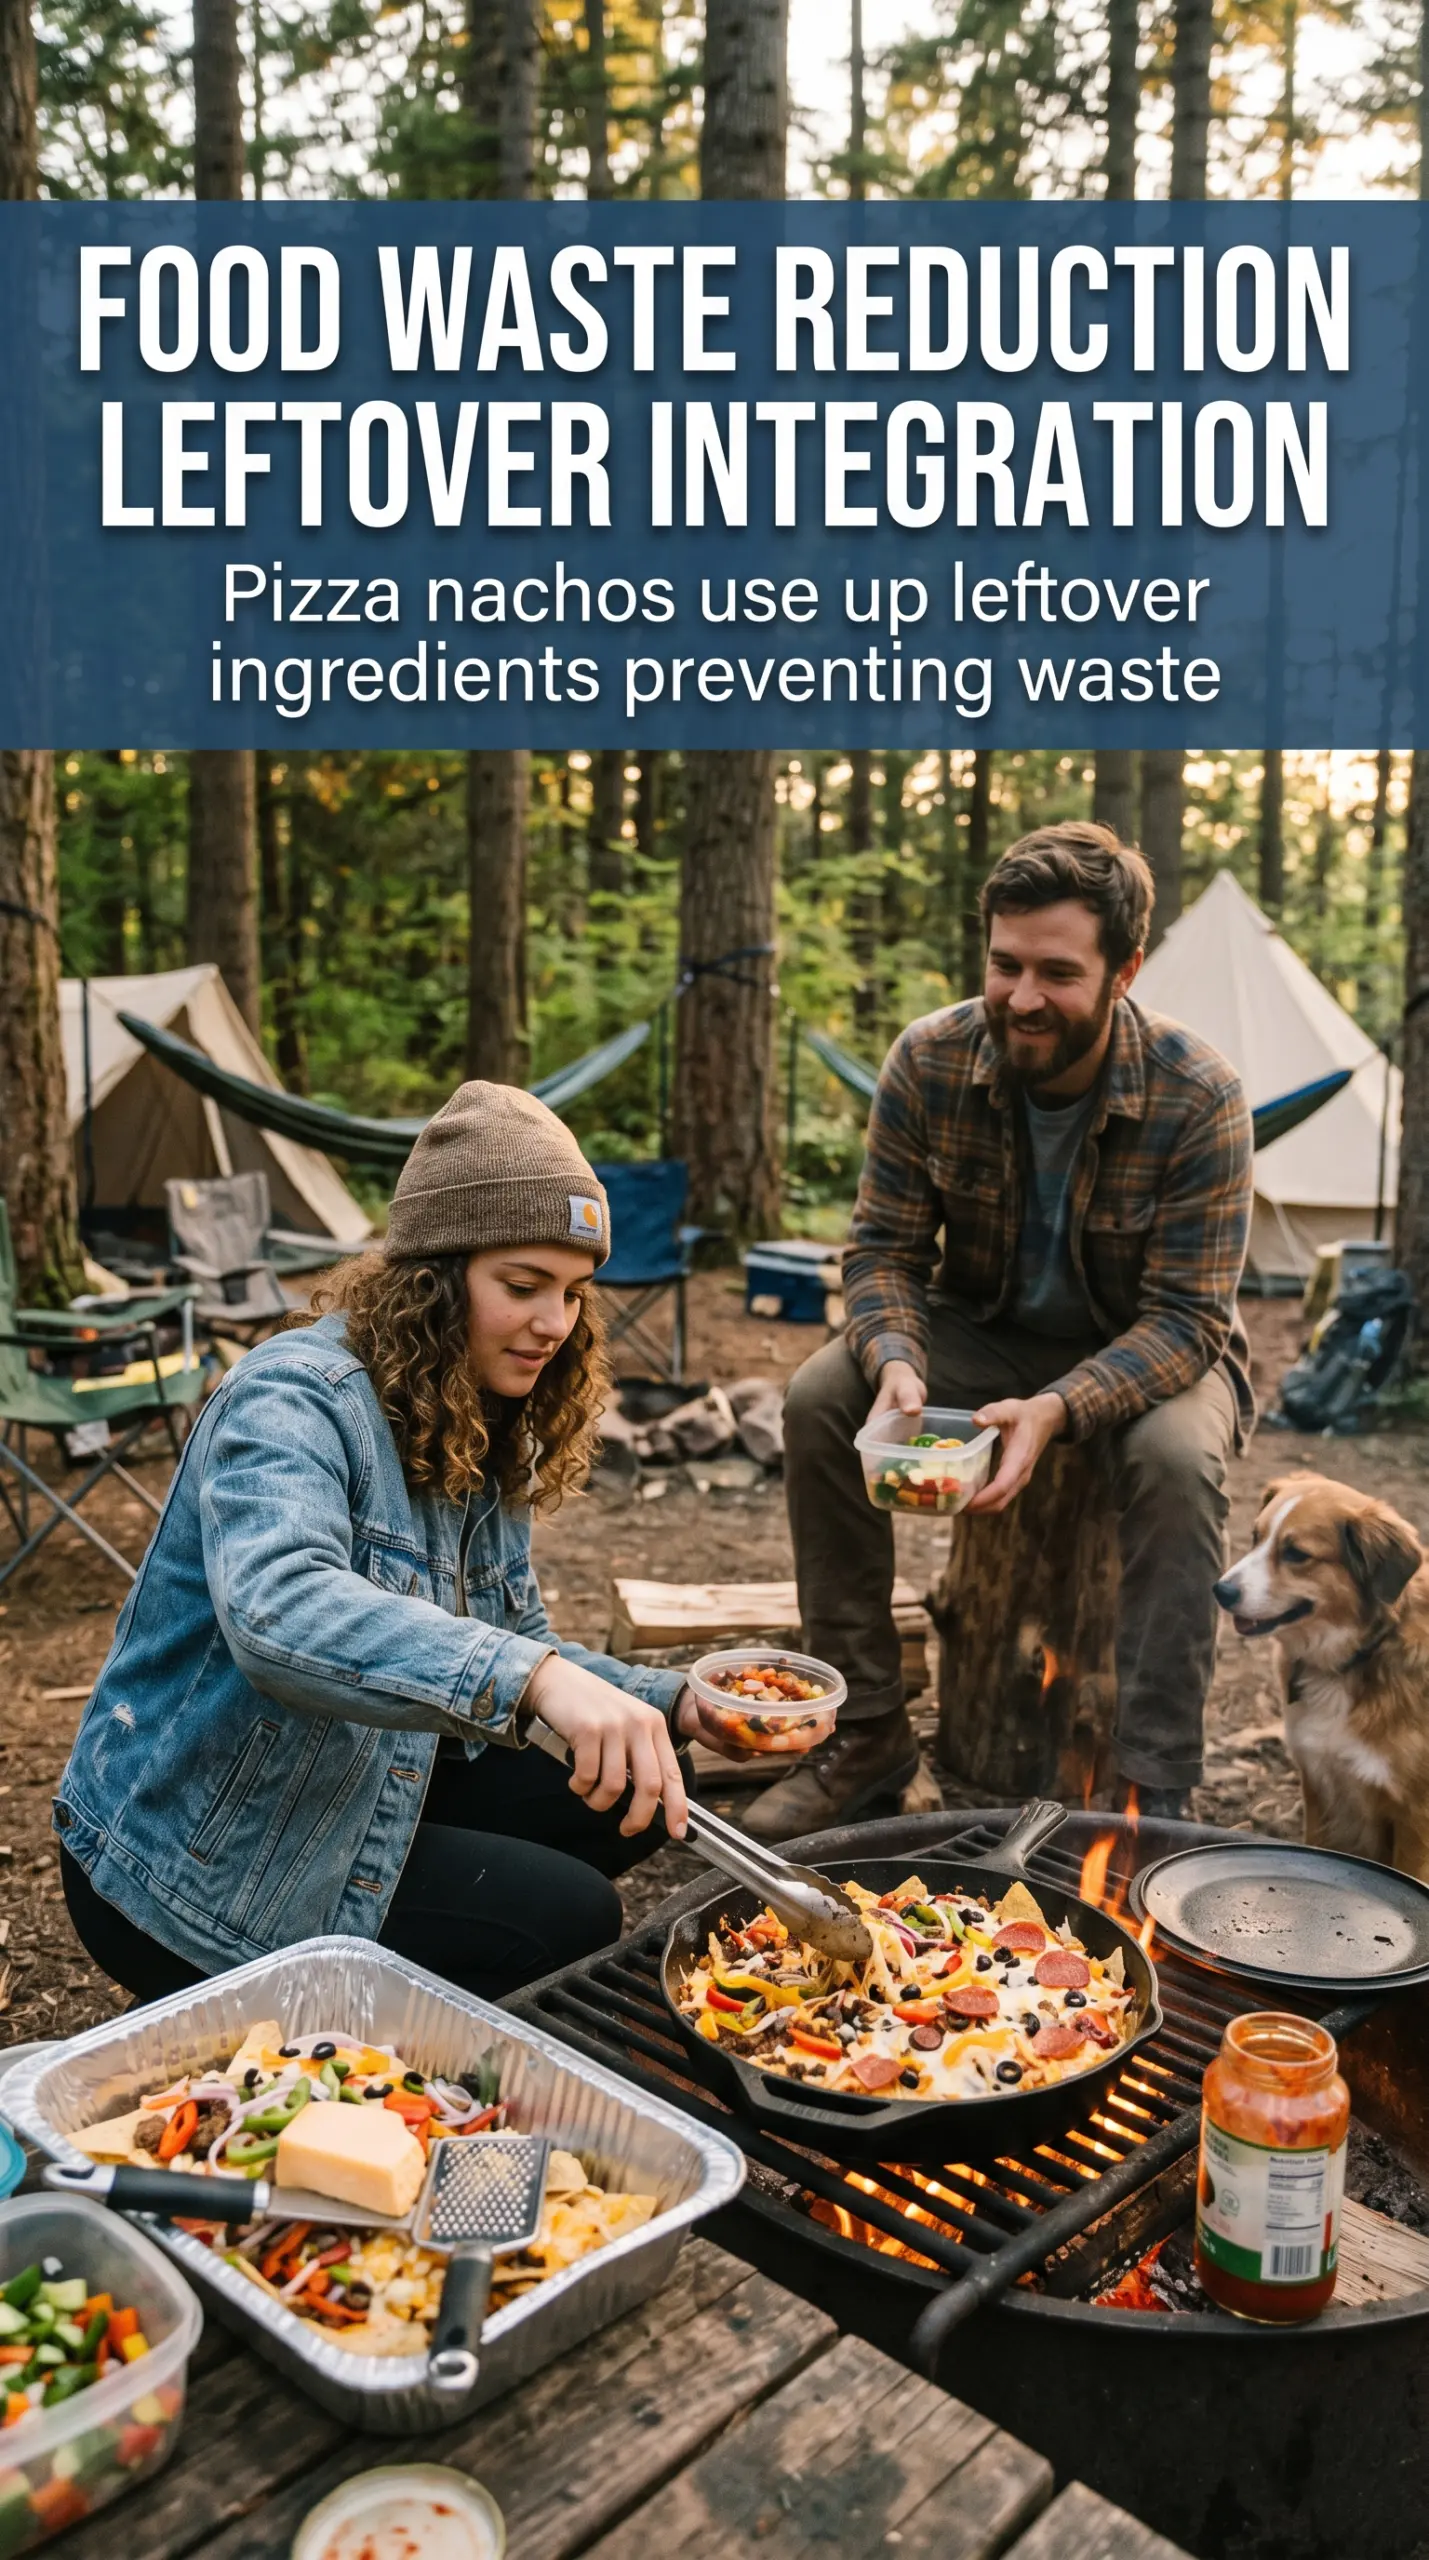
What makes this version work is the layering. The chips go in two stages, which keeps the bottom from collapsing before the cheese melts. A disposable aluminum pan helps the heat move evenly, and pre-cooking the sausage matters because the campfire is only there to melt and finish, not to cook raw meat from scratch. The pizza sauce stays on the side for dipping so the chips don’t turn soggy before you get to them.
Below you’ll find the small details that keep the nachos crisp, how to adjust the toppings for a crowd, and the one campfire move that makes the cheese melt without scorching the chips underneath.
The cheese melted right through the top layer and the chips at the bottom stayed crunchy, which never happens when I make nachos over a fire. My kids kept going back for “one more scoop” until the pan was gone.
Keep these campfire pizza nachos handy for the nights when you want a smoky, cheesy pan meal with zero fuss and a perfect dip of warm pizza sauce.
The Trick to Keeping Campfire Nachos Crunchy Under All That Cheese
The mistake most people make with campfire nachos is piling everything high and hoping the fire does the rest. It doesn’t. Chips sitting directly under heavy toppings turn soft fast, especially once the cheese starts to melt and the sausage gives off fat. Layering in two rounds gives the bottom chips a little protection and keeps the top layer from scorching before the cheese is fully melted.
Use a disposable aluminum pan or another shallow metal pan that can handle direct heat. Deep pans trap steam, and steam is what turns crunchy chips into a limp mess. Medium heat is the right target here. If the fire is raging, the chips on the edges will burn before the center gets hot enough to melt through.
- Tortilla chips — Choose sturdy chips with some thickness. Thin chips break down fast once the toppings warm up.
- Mozzarella — Low-moisture shredded mozzarella gives you the best melt and that stretchy pull everyone wants. Pre-shredded works fine, but block cheese you shred yourself melts a little smoother.
- Italian sausage — Cook it first and drain it well. Raw sausage won’t cook evenly in the short campfire window, and extra grease can make the chips greasy.
- Pizza sauce — Keep it for dipping instead of layering. That keeps the nachos crisp and gives you the bright tomato flavor right at the end.
What Each Topping Is Doing in These Pizza Nachos
- Pepperoni — It brings salt, spice, and a little rendered oil that reads like real pizza. You want the slices thin enough to warm through quickly without becoming chewy.
- Black olives and bell peppers — These give the nachos that pizza-shop topping flavor and a little freshness against the cheese. Dice the peppers small so they soften before the chips overcook.
- Parmesan — A light shower on top adds a salty, toasted edge as the pan heats. It won’t melt like mozzarella, and that’s the point.
- Italian seasoning — This is the easiest way to make the whole pan taste more like pizza instead of just cheesy chips. Sprinkle it at the end so the dried herbs don’t burn.
How to Build the Pan So Nothing Burns Before the Cheese Melts
Start with a thin first layer
Spread half the chips across the bottom of the pan, then add about half the toppings. The goal is coverage, not a mountain. If the layer is too thick, the heat can’t reach the center before the outer chips toast too far.
Stack the second layer with intent
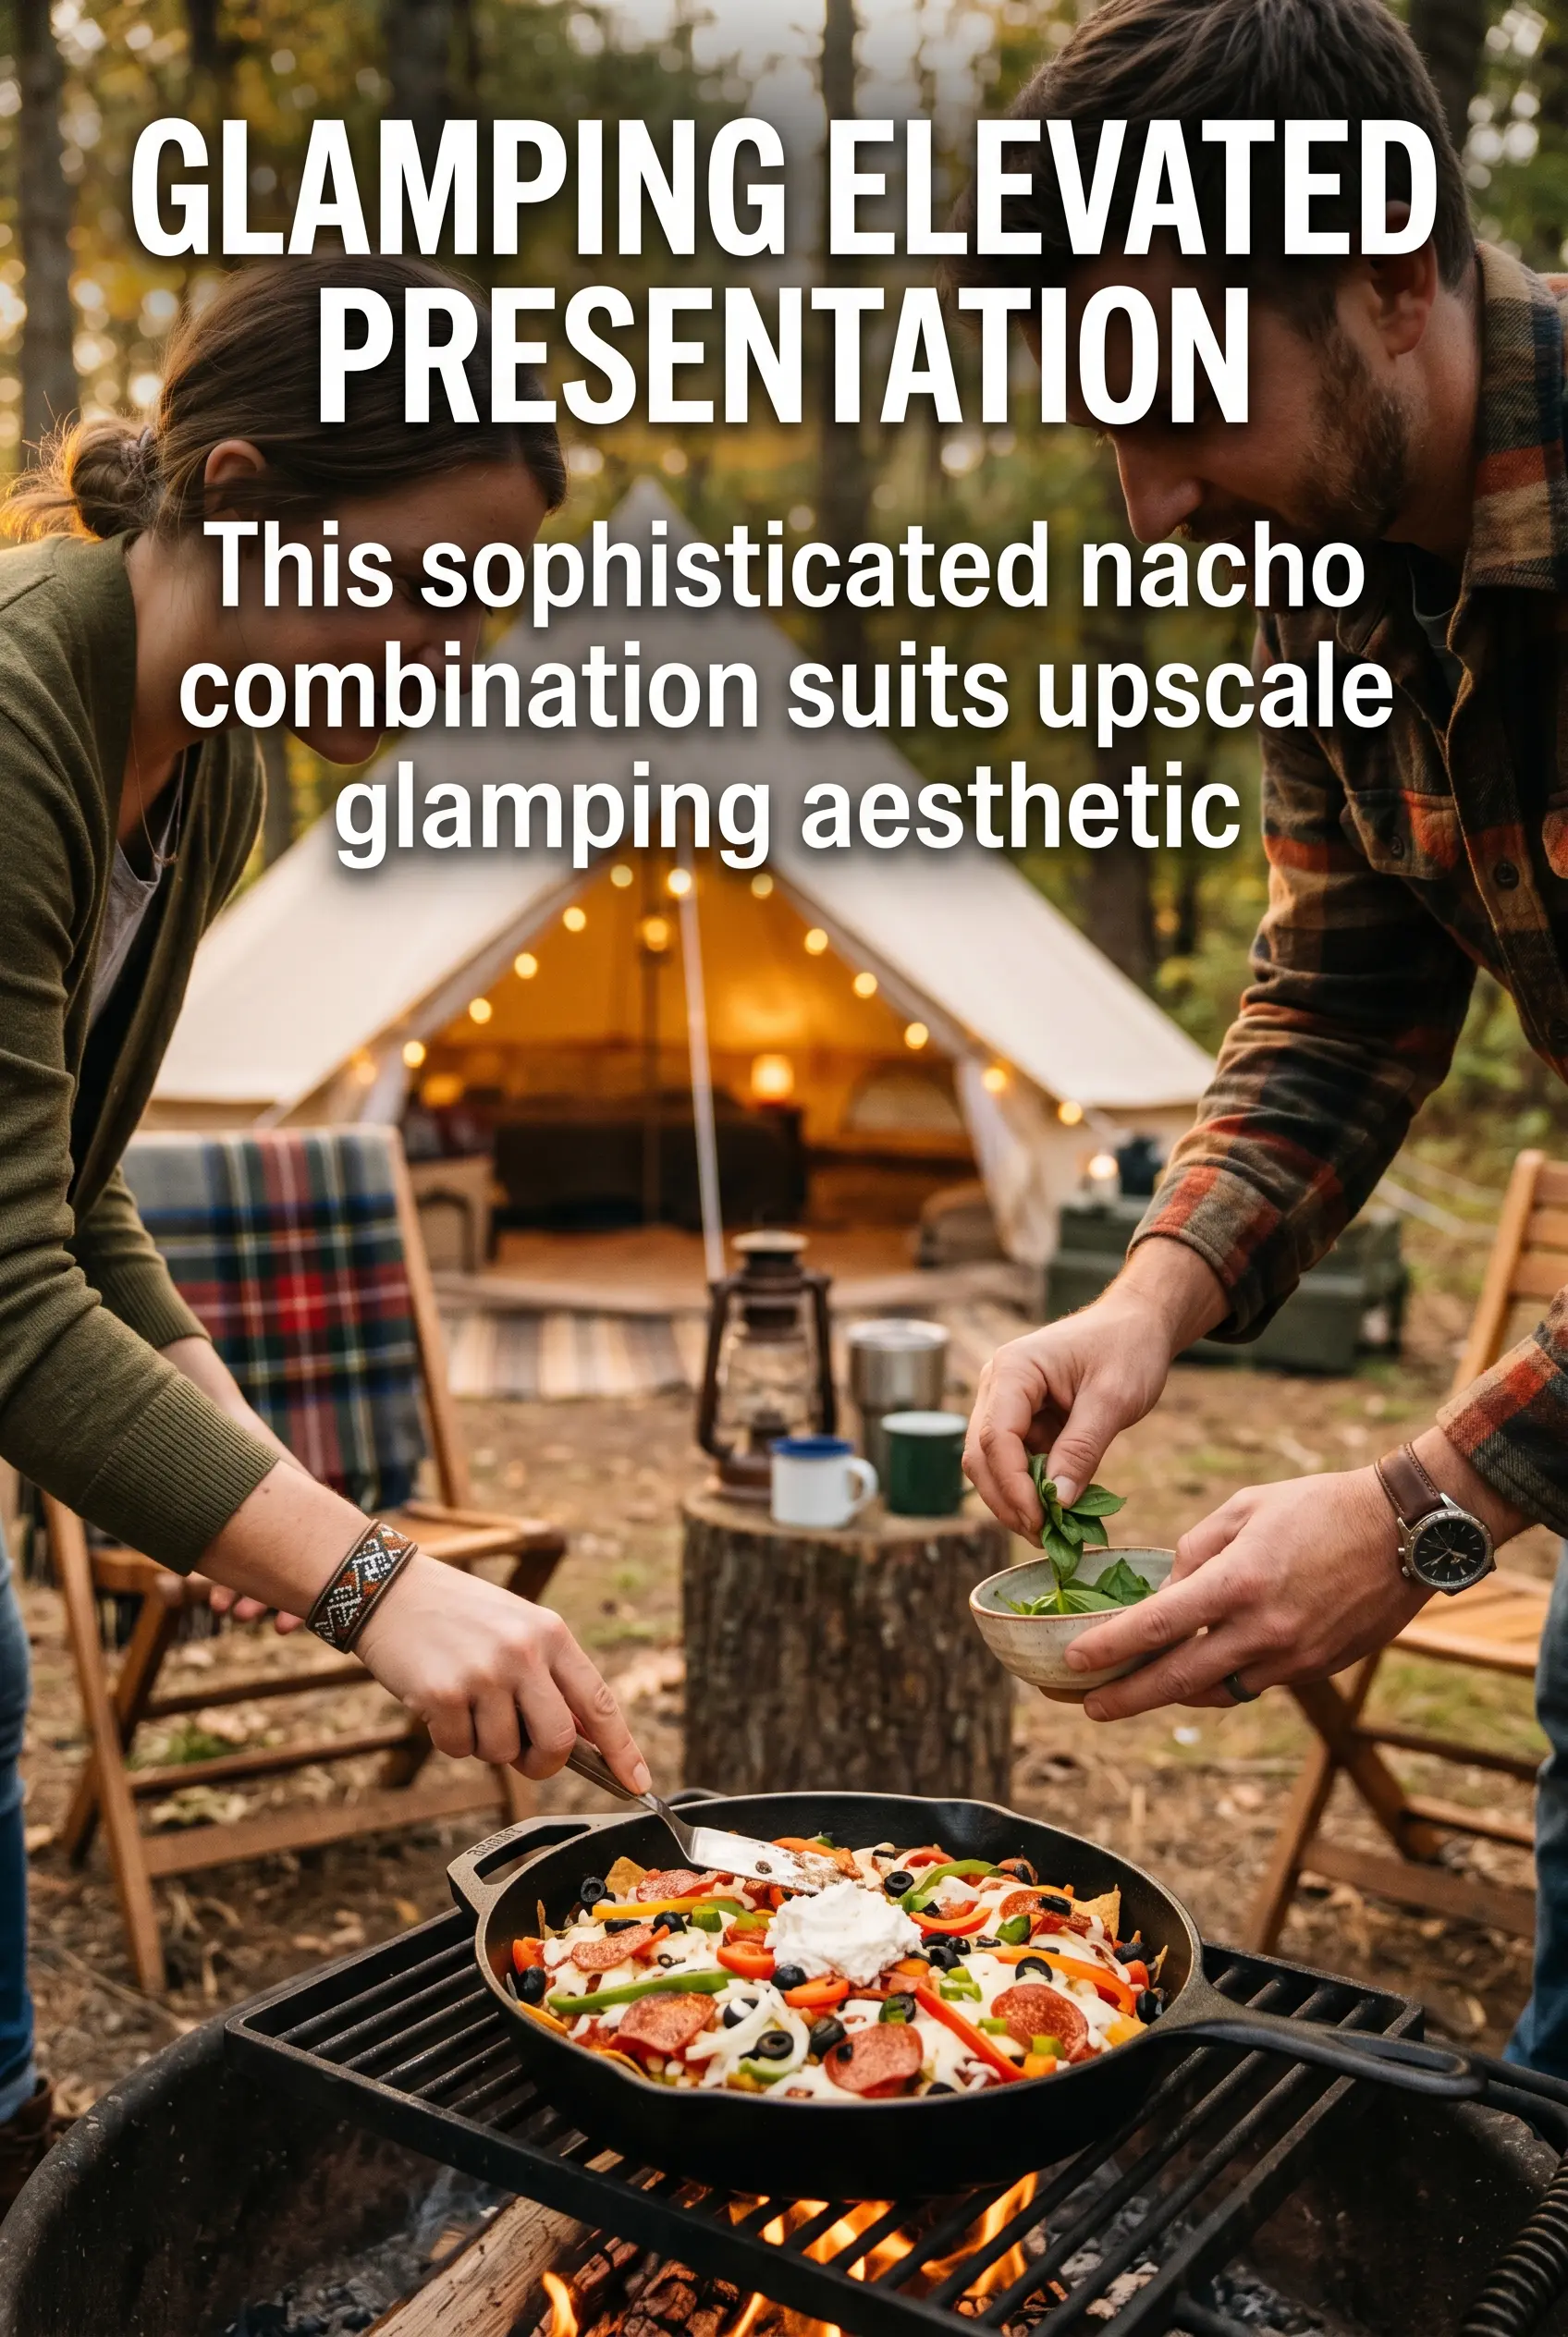
Add the remaining chips and toppings in the same order so the cheese lands where it can melt across both layers. Finish with Parmesan and Italian seasoning. That top layer helps anchor the loose toppings and gives the pan a more finished pizza look when it comes off the fire.
Cook over medium campfire heat
Set the pan on the grill grate over steady medium heat and leave it alone until the cheese is melted and bubbling, about 8 to 10 minutes. If the bottom starts to darken too quickly, move the pan to a cooler edge of the fire. The chips should still hold their shape when you slide a spoon underneath them.
Serve as soon as it comes off the heat
Pizza nachos wait for no one. Once the cheese is fully melted, take the pan off the fire and serve with warm pizza sauce on the side. If you let it sit too long in the pan, the steam trapped underneath keeps softening the chips.
How to Change These Campfire Pizza Nachos for Different Crowds
Make it meatless without losing the pizza feel
Skip the sausage and add extra bell peppers, olives, or sliced mushrooms if you have them pre-cooked. You still get the same salty, savory payoff from the pepperoni-style toppings and cheese, but the pan stays a little lighter and less greasy.
Use dairy-free cheese for a campsite-friendly swap
A good melt-style dairy-free mozzarella can work here, but it won’t stretch like regular cheese and it usually needs a little gentler heat. Keep the pan a touch farther from the flames and watch for the cheese to soften and pool rather than bubble aggressively.
Make it gluten-free with no other changes
The recipe is naturally gluten-free as long as your chips, sausage, and pizza sauce are labeled gluten-free. That’s the easiest kind of substitution because the texture stays the same and you don’t have to rebuild the whole dish.
Turn it into a bigger meal for hungry campers
Add an extra layer of chips and keep the toppings a little lighter per layer so the pan doesn’t collapse. This stretches the batch without creating a greasy middle, and it feeds more people without changing the flavor.
Storage and Reheating
- Refrigerator: Store leftovers in a covered container for up to 2 days. The chips will soften, but the flavor still holds.
- Freezer: Don’t freeze it. The chips turn soggy and the cheese texture goes downhill after thawing.
- Reheating: Reheat in a skillet over low heat or in a dry oven until the cheese loosens and the toppings warm through. The common mistake is blasting it in the microwave, which turns the chips soft in minutes.
Questions I Get Asked About This Recipe
Campfire Pizza Nachos
Ingredients
Equipment
Method
- Spread half the tortilla chips in a disposable aluminum pan in an even layer with chips touching for more crunch where they meet the cheese.
- Layer half the mozzarella, pepperoni, Italian sausage, black olives, and bell peppers over the chips so the top looks fully covered.
- Add the remaining tortilla chips, then repeat the mozzarella, pepperoni, Italian sausage, black olives, and bell peppers layers for a tall nacho stack.
- Sprinkle Parmesan and Italian seasoning over the entire pan for a salty, herby finish.
- Place the pan on the grill grate over medium campfire and cook for 8-10 minutes, watching for bubbling cheese and visible stretch between toppings.
- Remove from heat and serve immediately with warm pizza sauce for dipping so the chips stay crisp as the cheese sets.