Camping grilled nachos hit that sweet spot between low-effort and crowd-pleasing: hot, melty cheese; sturdy chips that still hold their crunch; and just enough char from the fire to make the whole pan taste like the best part of being outdoors. They’re the kind of campfire food people hover around, grabbing one loaded chip at a time until the pan is scraped clean.
The key is building the nachos in layers instead of dumping everything on top at once. That gives the cheese a chance to melt through the middle and helps keep the bottom chips from turning soggy. A disposable aluminum pan works best because it conducts heat evenly and keeps cleanup simple, which matters when you’re cooking at a campsite with limited tools.
Below, I’ll walk through the layering order that keeps these sturdy, the ingredient swaps that actually work, and the small timing details that keep the cheese bubbling without burning the chips.
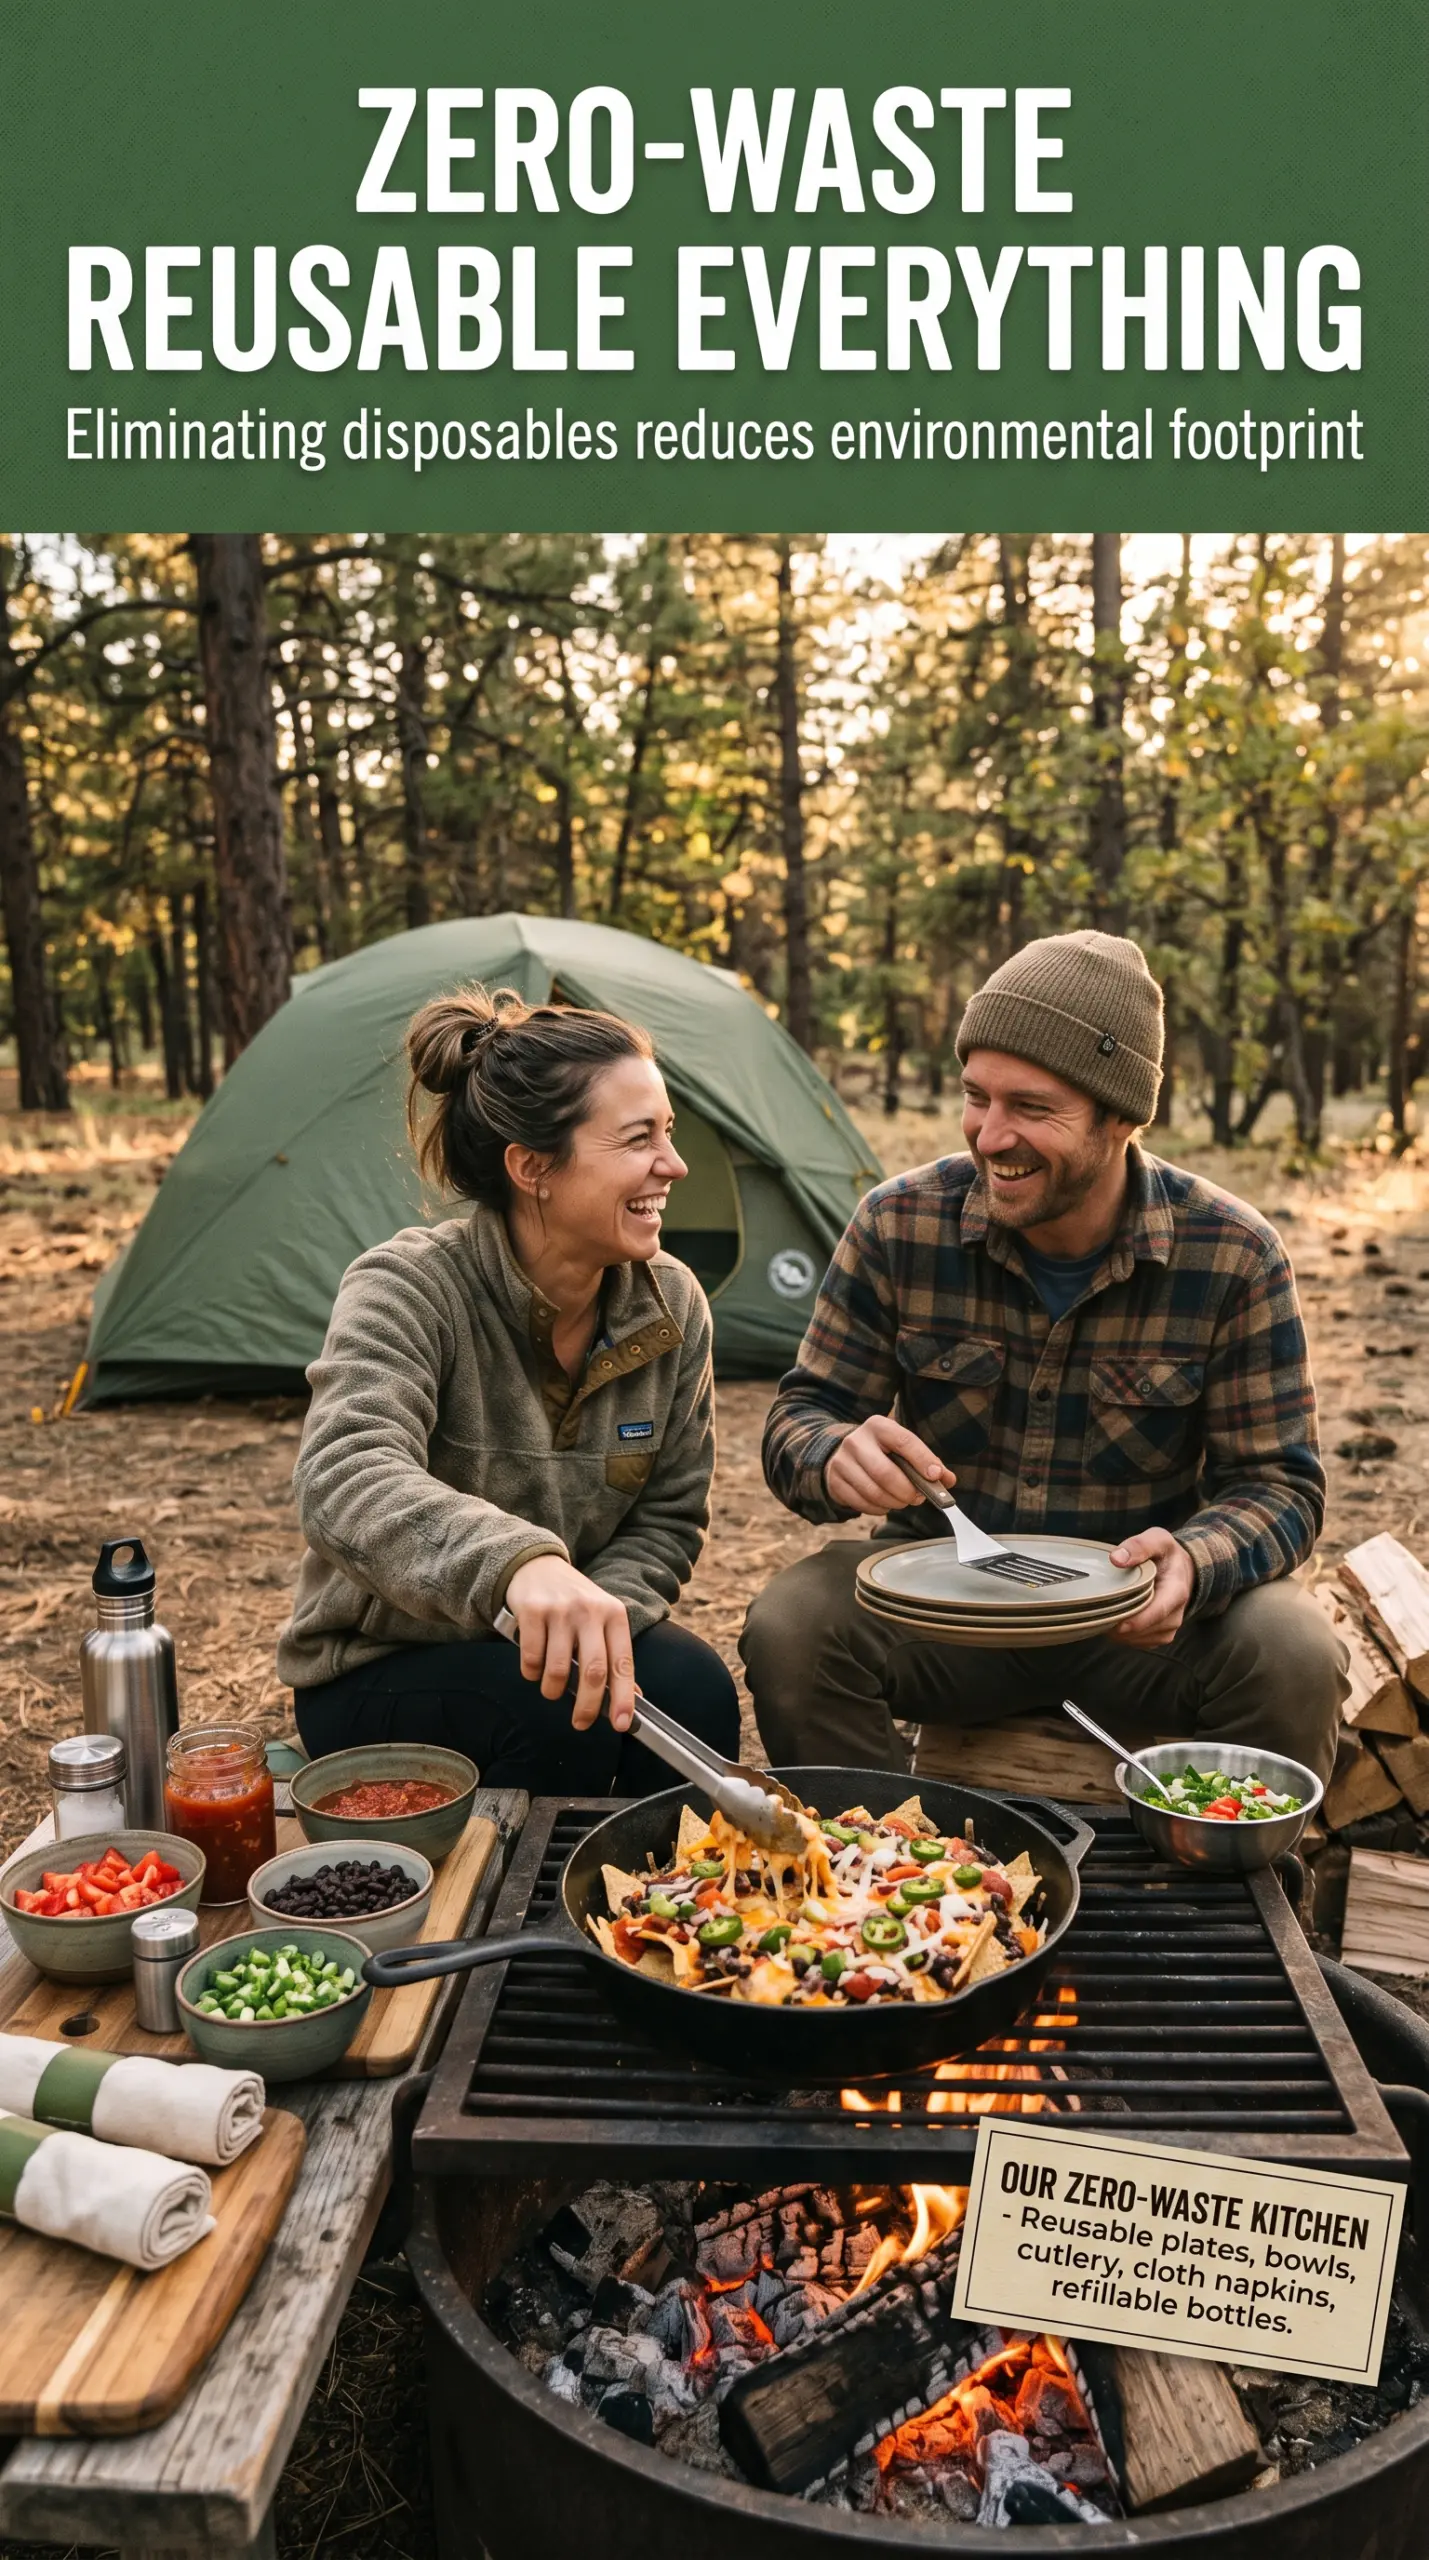
The cheese melted all the way through the layers and the chips on the bottom stayed crisp enough to scoop up the beans and beef. We made these over the campfire grate and they disappeared fast.
Save these camping grilled nachos for the night you want a bubbling campfire appetizer with barely any cleanup.
The Trick to Melting the Cheese Without Burning the Chips
The biggest mistake with grilled nachos is putting them over heat that’s too aggressive. Chips don’t need long cooking time; they need enough heat to melt the cheese before the edges scorch. Medium campfire heat gives you that window, especially if the pan sits on a grill grate instead of directly in the flame.
Layering matters here too. The chips on the bottom catch a little steam from the beans and beef, but the top layer gets the direct heat that makes the cheese bubble and flow. If your fire runs hot, pull the pan a little farther from the coals and cover the grill area loosely with a lid or foil for a minute or two to help the cheese melt evenly.
What Each Topping Is Doing in the Pan
- Tortilla chips — Use thick, sturdy chips here. Thin chips break fast under the weight of the beans and beef, and they go soft before the cheese finishes melting.
- Mexican cheese blend — This gives you melt and stretch. A good bagged blend works fine, but freshly shredded cheese melts a little smoother because it doesn’t have anti-caking starch coating every shred.
- Black beans — They add body and keep the nachos from feeling like just melted cheese on chips. Drain them well so extra liquid doesn’t soak the bottom layer.
- Ground beef — This is the savory anchor. Season it before it goes into the pan so the flavor is already built in; plain cooked beef tastes flat against the cheese.
- Salsa, sour cream, jalapeño, and cilantro — These go on after cooking. If you add them before heating, the salsa waters everything down and the sour cream can thin out and disappear into the pan.
- Lime wedges — The squeeze of acid wakes up the beef, beans, and cheese. Don’t skip it if you want the nachos to taste balanced instead of heavy.
Layering the Pan So the Bottom Chips Stay Crisp
Building the First Layer
Start with half the chips in a large disposable aluminum pan, then add half the cheese, beans, and beef. The order matters: chips first, then cheese against the chips, then the heavier toppings. That cheese layer helps glue everything together and keeps the beans and beef from rolling into one soggy pile. If the pan is packed too tightly, the center won’t heat evenly, so leave a little room for the toppings to settle.
Repeating the Layers
Add the second half of the chips, then repeat the cheese, beans, and beef. This creates two thinner layers instead of one overloaded mound, which is what helps the cheese melt through without the top getting scorched while the middle stays cold. If you’re feeding a crowd, resist the urge to pile everything in one deep pan. A shallower layer always melts better over campfire heat.
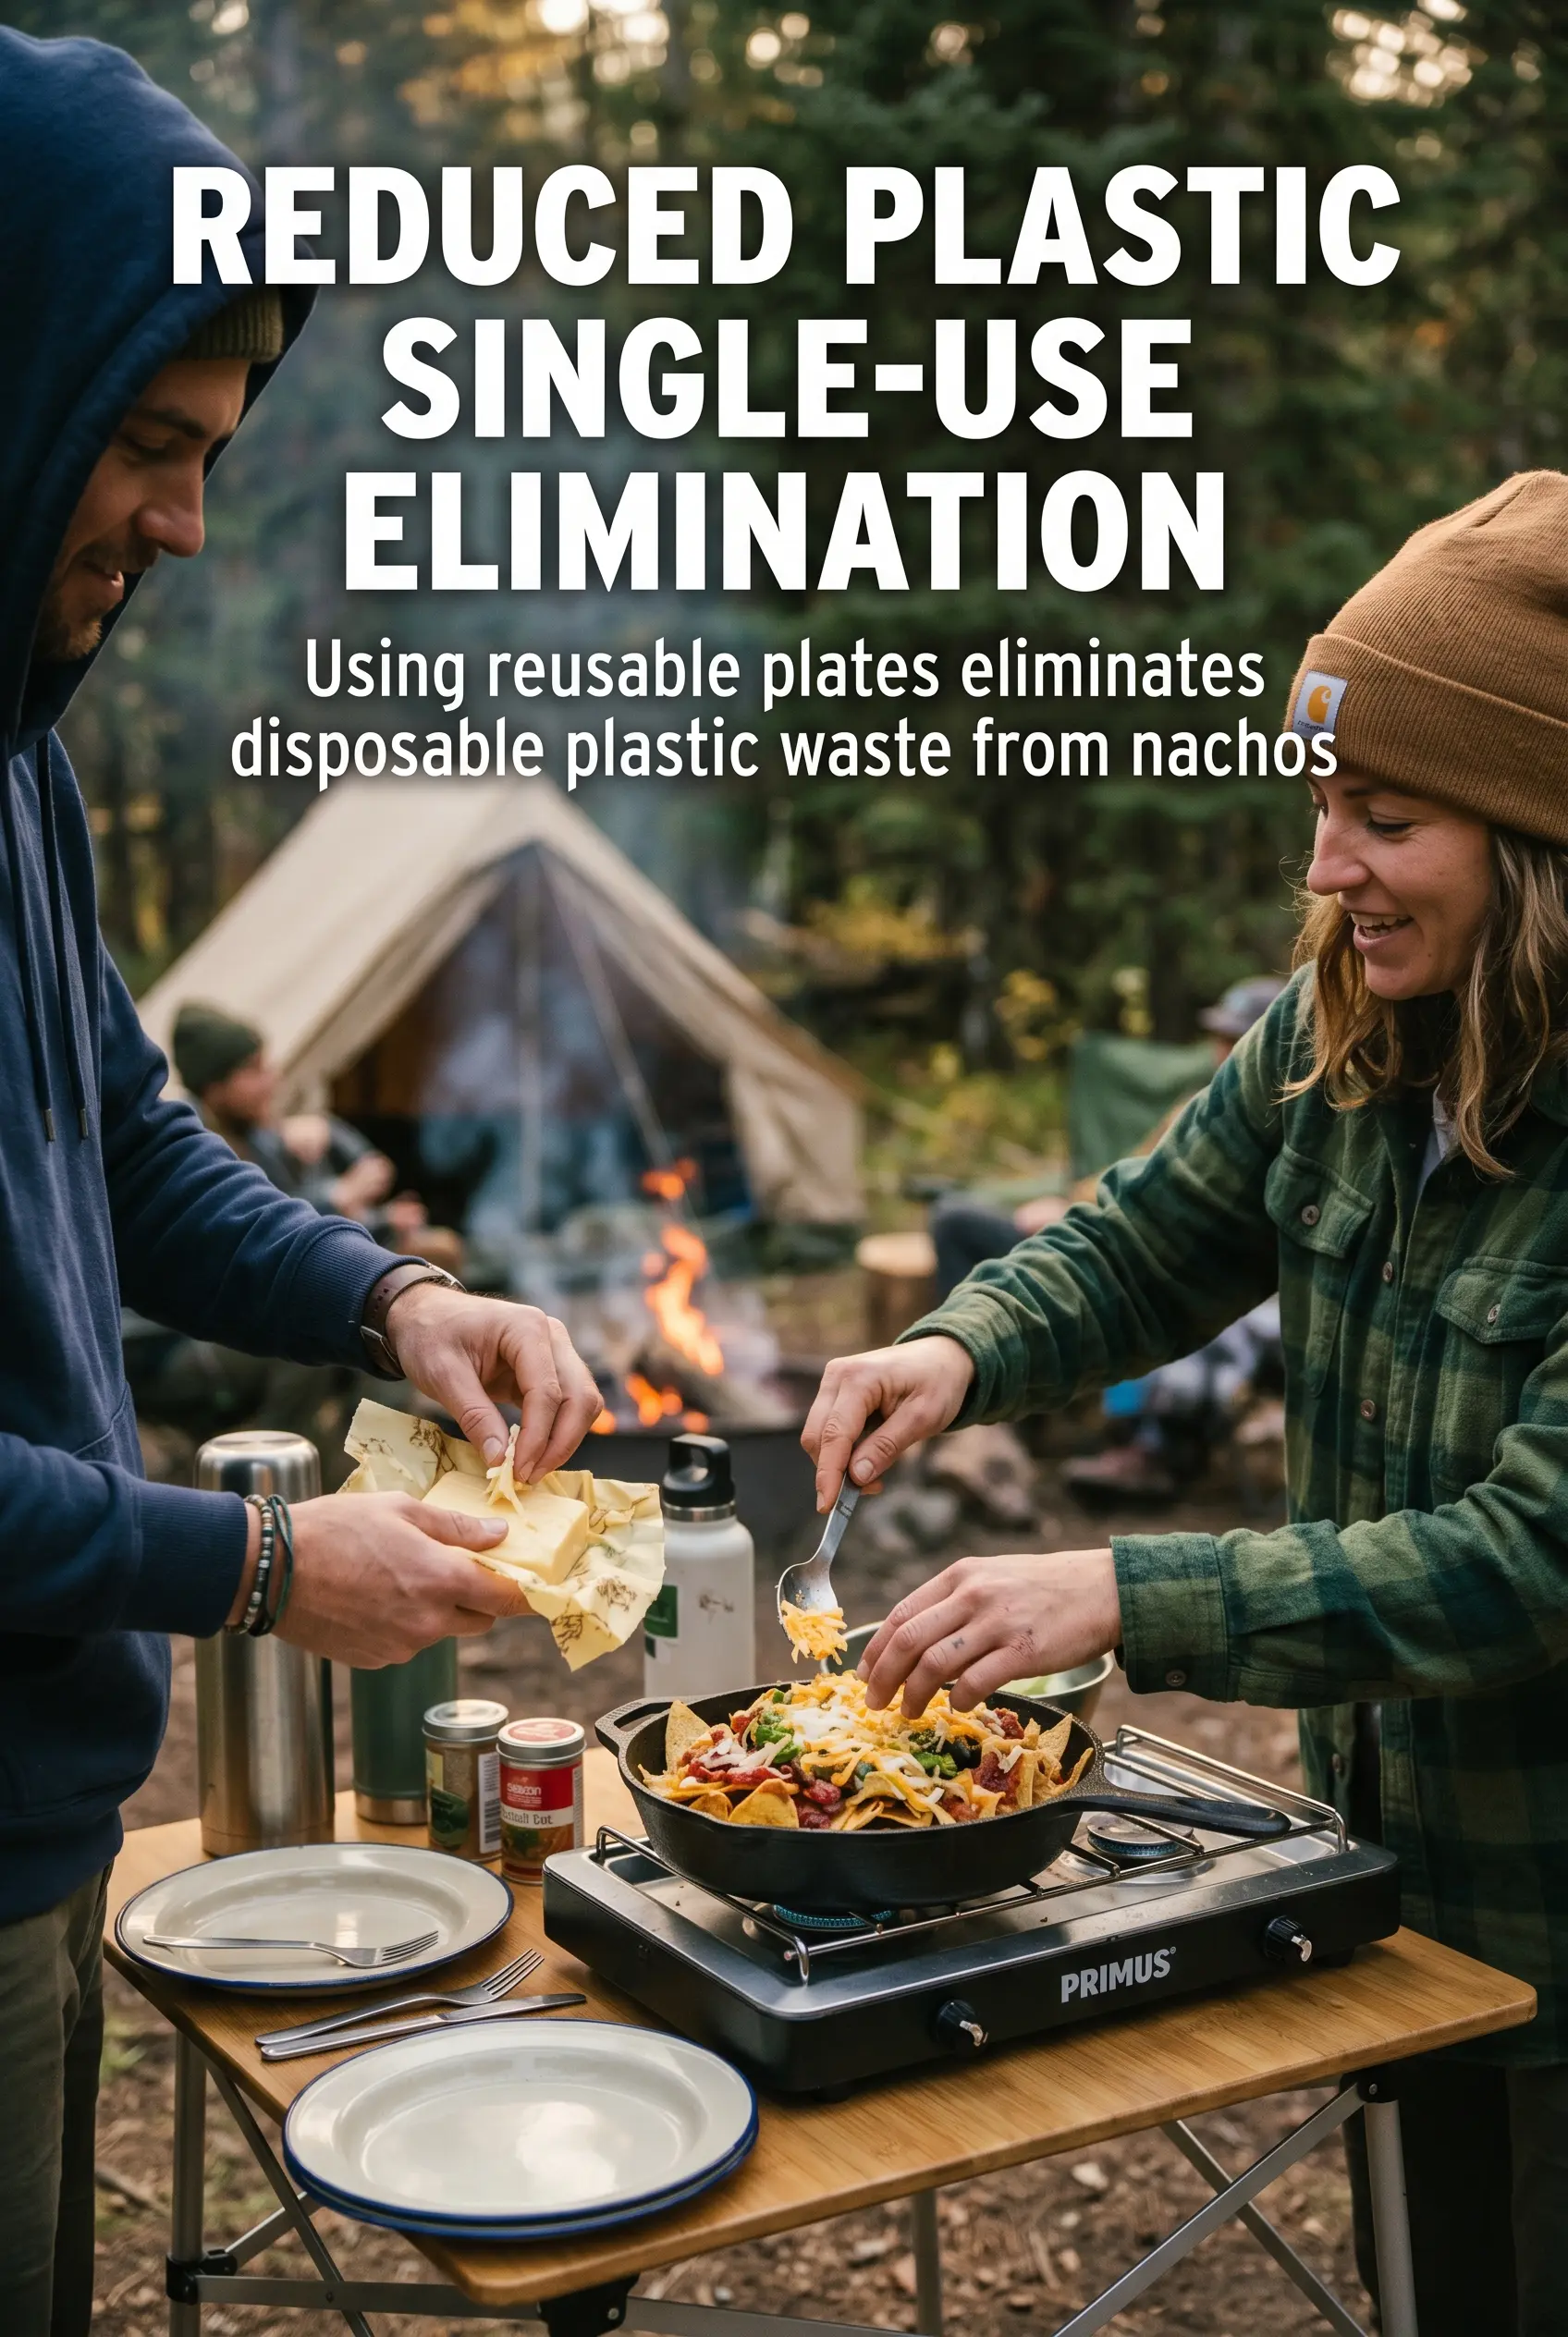
Cooking Over the Fire
Set the pan on a grill grate over medium campfire heat and cook for 8 to 10 minutes. You’re looking for bubbling cheese and hot toppings, not dark brown edges. If the fire is running hot, rotate the pan halfway through so the back doesn’t overcook before the front is ready. Pull it the moment the cheese is fully melted, because the chips keep softening for a minute after the pan comes off the heat.
Finishing at the Table
Top the nachos with salsa, sour cream, jalapeños, and cilantro after they come off the fire. That keeps the fresh toppings bright and prevents the sour cream from melting into the cheese. A squeeze of lime at the end makes the whole pan taste sharper and less heavy. Serve immediately, because these are at their best in the first few minutes while the chips still have some crunch.
How to Adapt These Campfire Nachos for Different Crowds
Make them vegetarian without losing the heft
Skip the ground beef and double the black beans, or add seasoned crumbled tofu or sautéed mushrooms if you want more texture. The nachos will still feel substantial because the beans and cheese do most of the heavy lifting, but the flavor will be a little lighter and less smoky.
Make them dairy-free
Use a dairy-free shredded cheese that melts well and skip the sour cream, or swap in a cashew-based topping after cooking. The result won’t have the same stretch as real cheese, so keep the layer thinner and use a pan with good heat contact to help it melt through.
Make them spicier
Add diced pickled jalapeños between the layers or mix a little hot sauce into the beef before assembling. That gives the heat more depth than just piling on raw sliced peppers at the end, and it spreads the spice through the whole pan instead of concentrating it in one bite.
Storage and Reheating
- Refrigerator: Leftovers keep for 2 days, but the chips soften as they sit. The flavor holds up better than the texture.
- Freezer: I don’t recommend freezing assembled nachos. The chips turn mushy and the toppings separate after thawing.
- Reheating: Warm leftovers on a sheet pan in a 350°F oven until the cheese loosens again. Don’t use the microwave if you want any crunch left; it turns the chips limp fast.
Questions I Get Asked About This Recipe
Camping Grilled Nachos
Ingredients
Equipment
Method
- Line a disposable aluminum pan with half the tortilla chips, spreading them into an even layer for consistent melting. Visual cue: the chips should cover the bottom with minimal gaps.
- Layer half the cheese, beans, and cooked ground beef over the chips, distributing the toppings to the edges. Visual cue: you should see distinct layers of cheese, beans, and beef.
- Repeat the layers with the remaining chips, cheese, beans, and beef, keeping the top covered in cheese. Visual cue: the final layer should look mostly cheesy and packed.
- Place the pan on the grill grate over medium campfire heat. Visual cue: the cheese edges begin to soften as heat rises from below.
- Cook for 8-10 minutes until the cheese is melted and bubbly. Visual cue: you should see bubbling across the surface with lightly browned spots.
- Remove from the heat and immediately top with salsa, sour cream, jalapeños, and cilantro. Visual cue: toppings sit bright and fresh against the bubbling cheese.
- Serve immediately with lime wedges. Visual cue: squeeze lime over the top just before eating for a fresh finish.