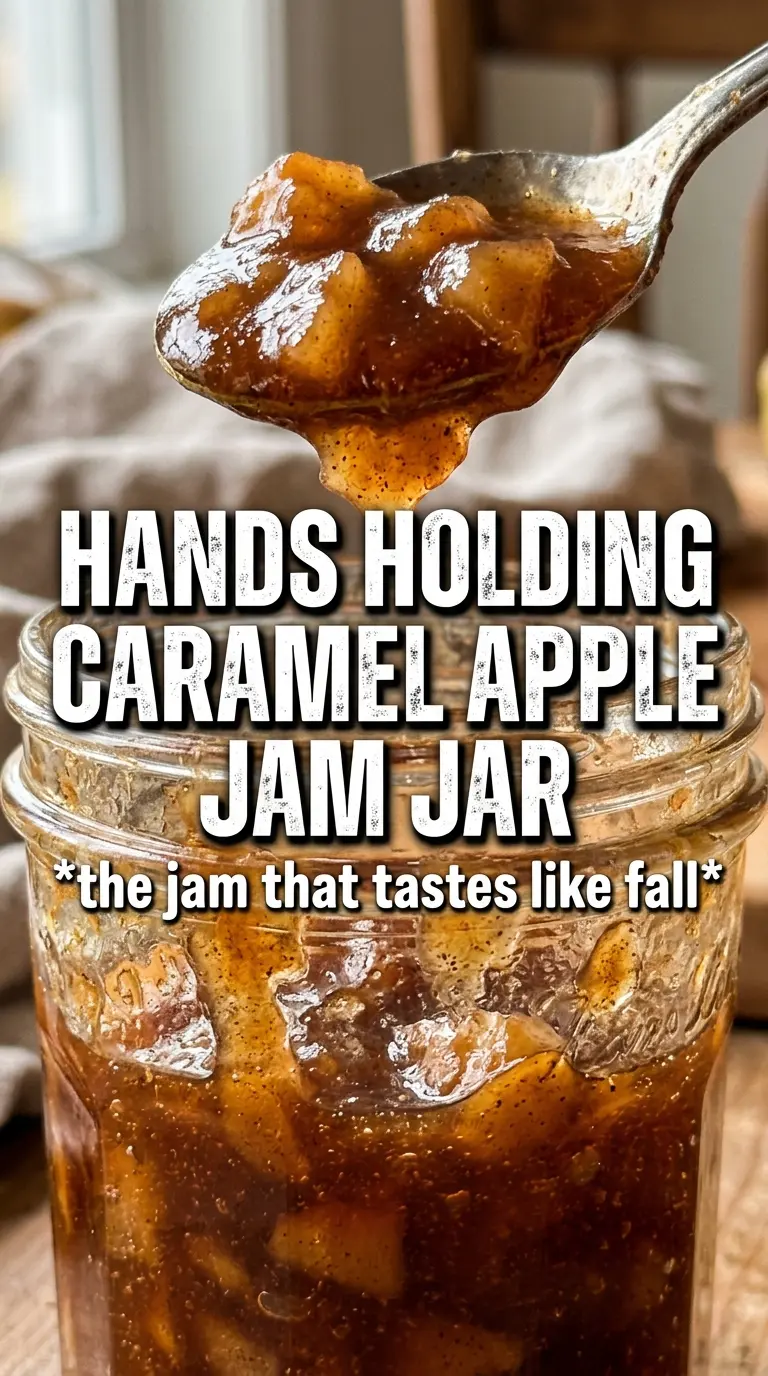
Caramel apple jam spreads like a spoonable pie filling, but it sets up with enough body to sit neatly on toast, biscuits, or a warm scone. The apples cook down into a soft, glossy preserve with little tender pieces left behind, and the brown sugar gives it that deep caramel note without turning it into a sticky candy. It’s the kind of jar you open for breakfast and end up using on everything from yogurt to pancakes.
What makes this version work is the balance between the fruit, the sugars, and the cooking time. The granulated sugar gives the jam its structure, while the brown sugar brings the darker, molasses edge that tastes like caramel once it’s reduced. A splash of apple cider or apple juice keeps the pot moving early on, and the lemon juice gives the jam enough acidity to keep the flavor bright and the finish from tasting flat. The spices go in near the end so they stay warm and noticeable instead of disappearing into the background.
If you’ve ever had apple jam turn runny or scorch on the bottom, the notes below will help you avoid both. I’ve also included the easiest way to tell when it’s reached set point, because that’s the part that decides whether you get a proper jam or a thick apple topping.
The apples broke down into a glossy jam and the spoon test on the cold plate worked exactly when you said it would. Mine set up beautifully after cooling, and the brown sugar gives it that caramel taste without needing any actual caramel sauce.
Caramel Apple Jam with warm spice and a glossy spoonable set is the one to keep for toast, biscuits, and gifting.
The Set Point Is What Separates Jam From Apple Syrup
The biggest mistake with fruit jam is stopping the cook because the pot looks thick. Hot jam always looks looser than it will once it cools, and apple mixtures are especially deceptive because the fruit softens fast before enough water has evaporated. You need the mixture to reach a point where the bubbles look slower and heavier, the spoon leaves a visible trail across the bottom of the pan, and a chilled plate test wrinkles instead of sliding.
The other trap is rushing the heat. If you crank it too high, the sugars can catch before the apples have a chance to break down evenly, which gives you scorched spots and a harsh flavor. Medium heat after the initial boil keeps the cook steady and gives you time to stir and watch the texture change. That’s how you get a jam that tastes like baked apples and brown sugar instead of just cooked-down fruit.
- Apples — Peel them and dice them finely so they soften at the same rate. Bigger chunks take longer to break down and can leave you with a loose preserve instead of a proper spread.
- Brown sugar — This is where the caramel note comes from. Light or dark brown sugar both work, but dark brown sugar gives you a deeper molasses finish.
- Apple cider or apple juice — The liquid helps dissolve the sugars at the start and keeps the mixture from sticking before the apples begin releasing their own juice. Cider gives a slightly fuller apple flavor, but juice works well if that’s what you have.
- Lemon juice — Don’t skip it. It sharpens the flavor and helps the jam taste bright instead of heavy, especially once the sugars cook down.
- Vanilla and spices — Add them near the end so they stay fragrant. If they go in too early, the cinnamon and vanilla lose their edge during the long simmer.
What Each Ingredient Is Actually Doing in This Recipe
- Primary ingredient (the star) — Quality matters most. Choose the best you can find.
- Cooking medium (oil, butter, or broth) — This carries flavors and prevents dryness.
- Seasonings (salt, pepper, spices, herbs) — Layer flavors so nothing overpowers. Build depth gradually.
- Aromatics (garlic, onion, herbs) — Cook with fat to bloom flavors. Become the foundation.
- Supporting ingredients — Complement the main ingredient without overpowering it.
- Sauce or liquid (if applicable) — Brings flavors together. Balance richness with acid.
- Acid (lemon, vinegar, wine, or other) — Brightens and prevents flat-tasting results.
- Final finish (garnish, glaze, or sauce) — Prevents one-dimensional taste and adds visual appeal.
Cooking It Down Until the Apples Turn Glossy and Thick
Start With the Sugar and Fruit
Combine the diced apples, both sugars, cider or juice, and lemon juice in a heavy-bottomed saucepan. The pot matters here because thin pans create hot spots and make it easier to scorch the sugars before the apples soften. Bring the mixture to a boil over medium-high heat, stirring until the sugar dissolves and the apples start to release juice. If the bottom looks dry at this stage, lower the heat a little and keep stirring; the goal is a wet, bubbling base, not a sticky mass.
Let the Apples Break Down at a Steady Simmer
Once it boils, lower the heat to medium and cook for 30 to 35 minutes, stirring frequently. You’re looking for the apples to turn translucent, then soft enough to collapse into the syrup as you stir. As the mixture thickens, the bubbles will get slower and the surface will look glossy instead of watery. If it starts to stick on the bottom, the heat is too high or you’ve gone too long without stirring.
Finish With Spice and Test the Set
Stir in the cinnamon, nutmeg, allspice, vanilla, and salt, then cook for 5 more minutes. That short finish keeps the spices warm and integrated without dulling them. For the set test, drop a spoonful onto a cold plate and push it with your finger after a minute; it should wrinkle slightly and move as one thick mass. If it still runs like sauce, give it a few more minutes and test again rather than guessing.
Make It Smoother or Keep the Pieces
For a smoother jam, cook the apples a few minutes longer and mash them lightly with a potato masher as they soften. For a chunkier spread, stir less aggressively and stop as soon as the apples are tender and the syrup has thickened. The flavor stays the same either way; the difference is all in texture.
Use Honey Instead of Part of the White Sugar
You can replace up to half of the granulated sugar with honey, but the jam will taste a little softer and less caramel-like. Honey also loosens the texture slightly, so plan on an extra few minutes of simmering to reach the same set. Keep the brown sugar in place if you want that deeper, cooked apple note.
Make It Dairy-Free and Vegan-Friendly
This jam is already naturally dairy-free and vegan, so there’s nothing to change. That makes it an easy jar to put on the table for mixed diets without special handling. Just check that your sugar is a brand you’re comfortable using if you’re strict about vegan processing methods.
Storage and Reheating
- Refrigerator: Keep sealed jars in the fridge for up to 3 weeks. The jam may thicken a little more after chilling, which is exactly what you want.
- Freezer: Freeze in freezer-safe containers with headspace if you’re not water-bath canning it. The texture holds up well, though the fruit can soften a touch after thawing.
- Reheating: For serving, warm only the amount you need in a small saucepan over low heat or in short microwave bursts. Don’t boil it again; that can make the jam sticky and over-reduced.
Questions I Get Asked About This Recipe
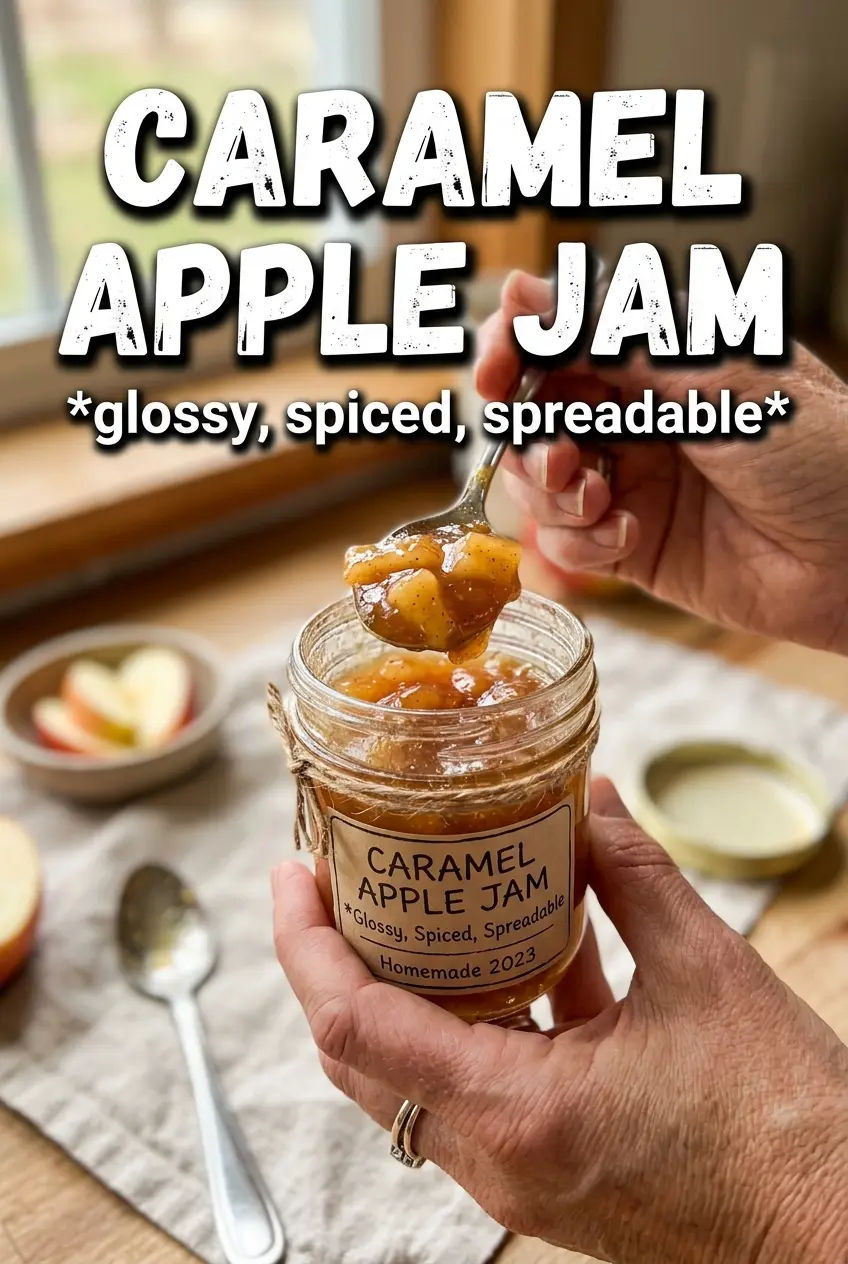
Caramel Apple Jam
Ingredients
Equipment
Method
- Combine the apples, granulated sugar, brown sugar, apple cider or apple juice, and lemon juice in a large heavy-bottomed saucepan.
- Bring the mixture to a boil over medium-high heat, stirring until the sugar fully dissolves.
- Reduce the heat to medium and cook, stirring frequently, for 30–35 minutes until the mixture thickens and the apples break down.
- Stir in the cinnamon, nutmeg, allspice, vanilla extract, and salt, then cook for 5 more minutes while stirring to combine.
- Test for set point by placing a spoonful on a cold plate and pushing it—if it wrinkles, the jam is ready.
- Ladle the hot jam into sterilized jars, leaving appropriate headspace for water-bath processing.
- Process in a water bath for 10 minutes, or skip canning and refrigerate for up to 3 weeks.


