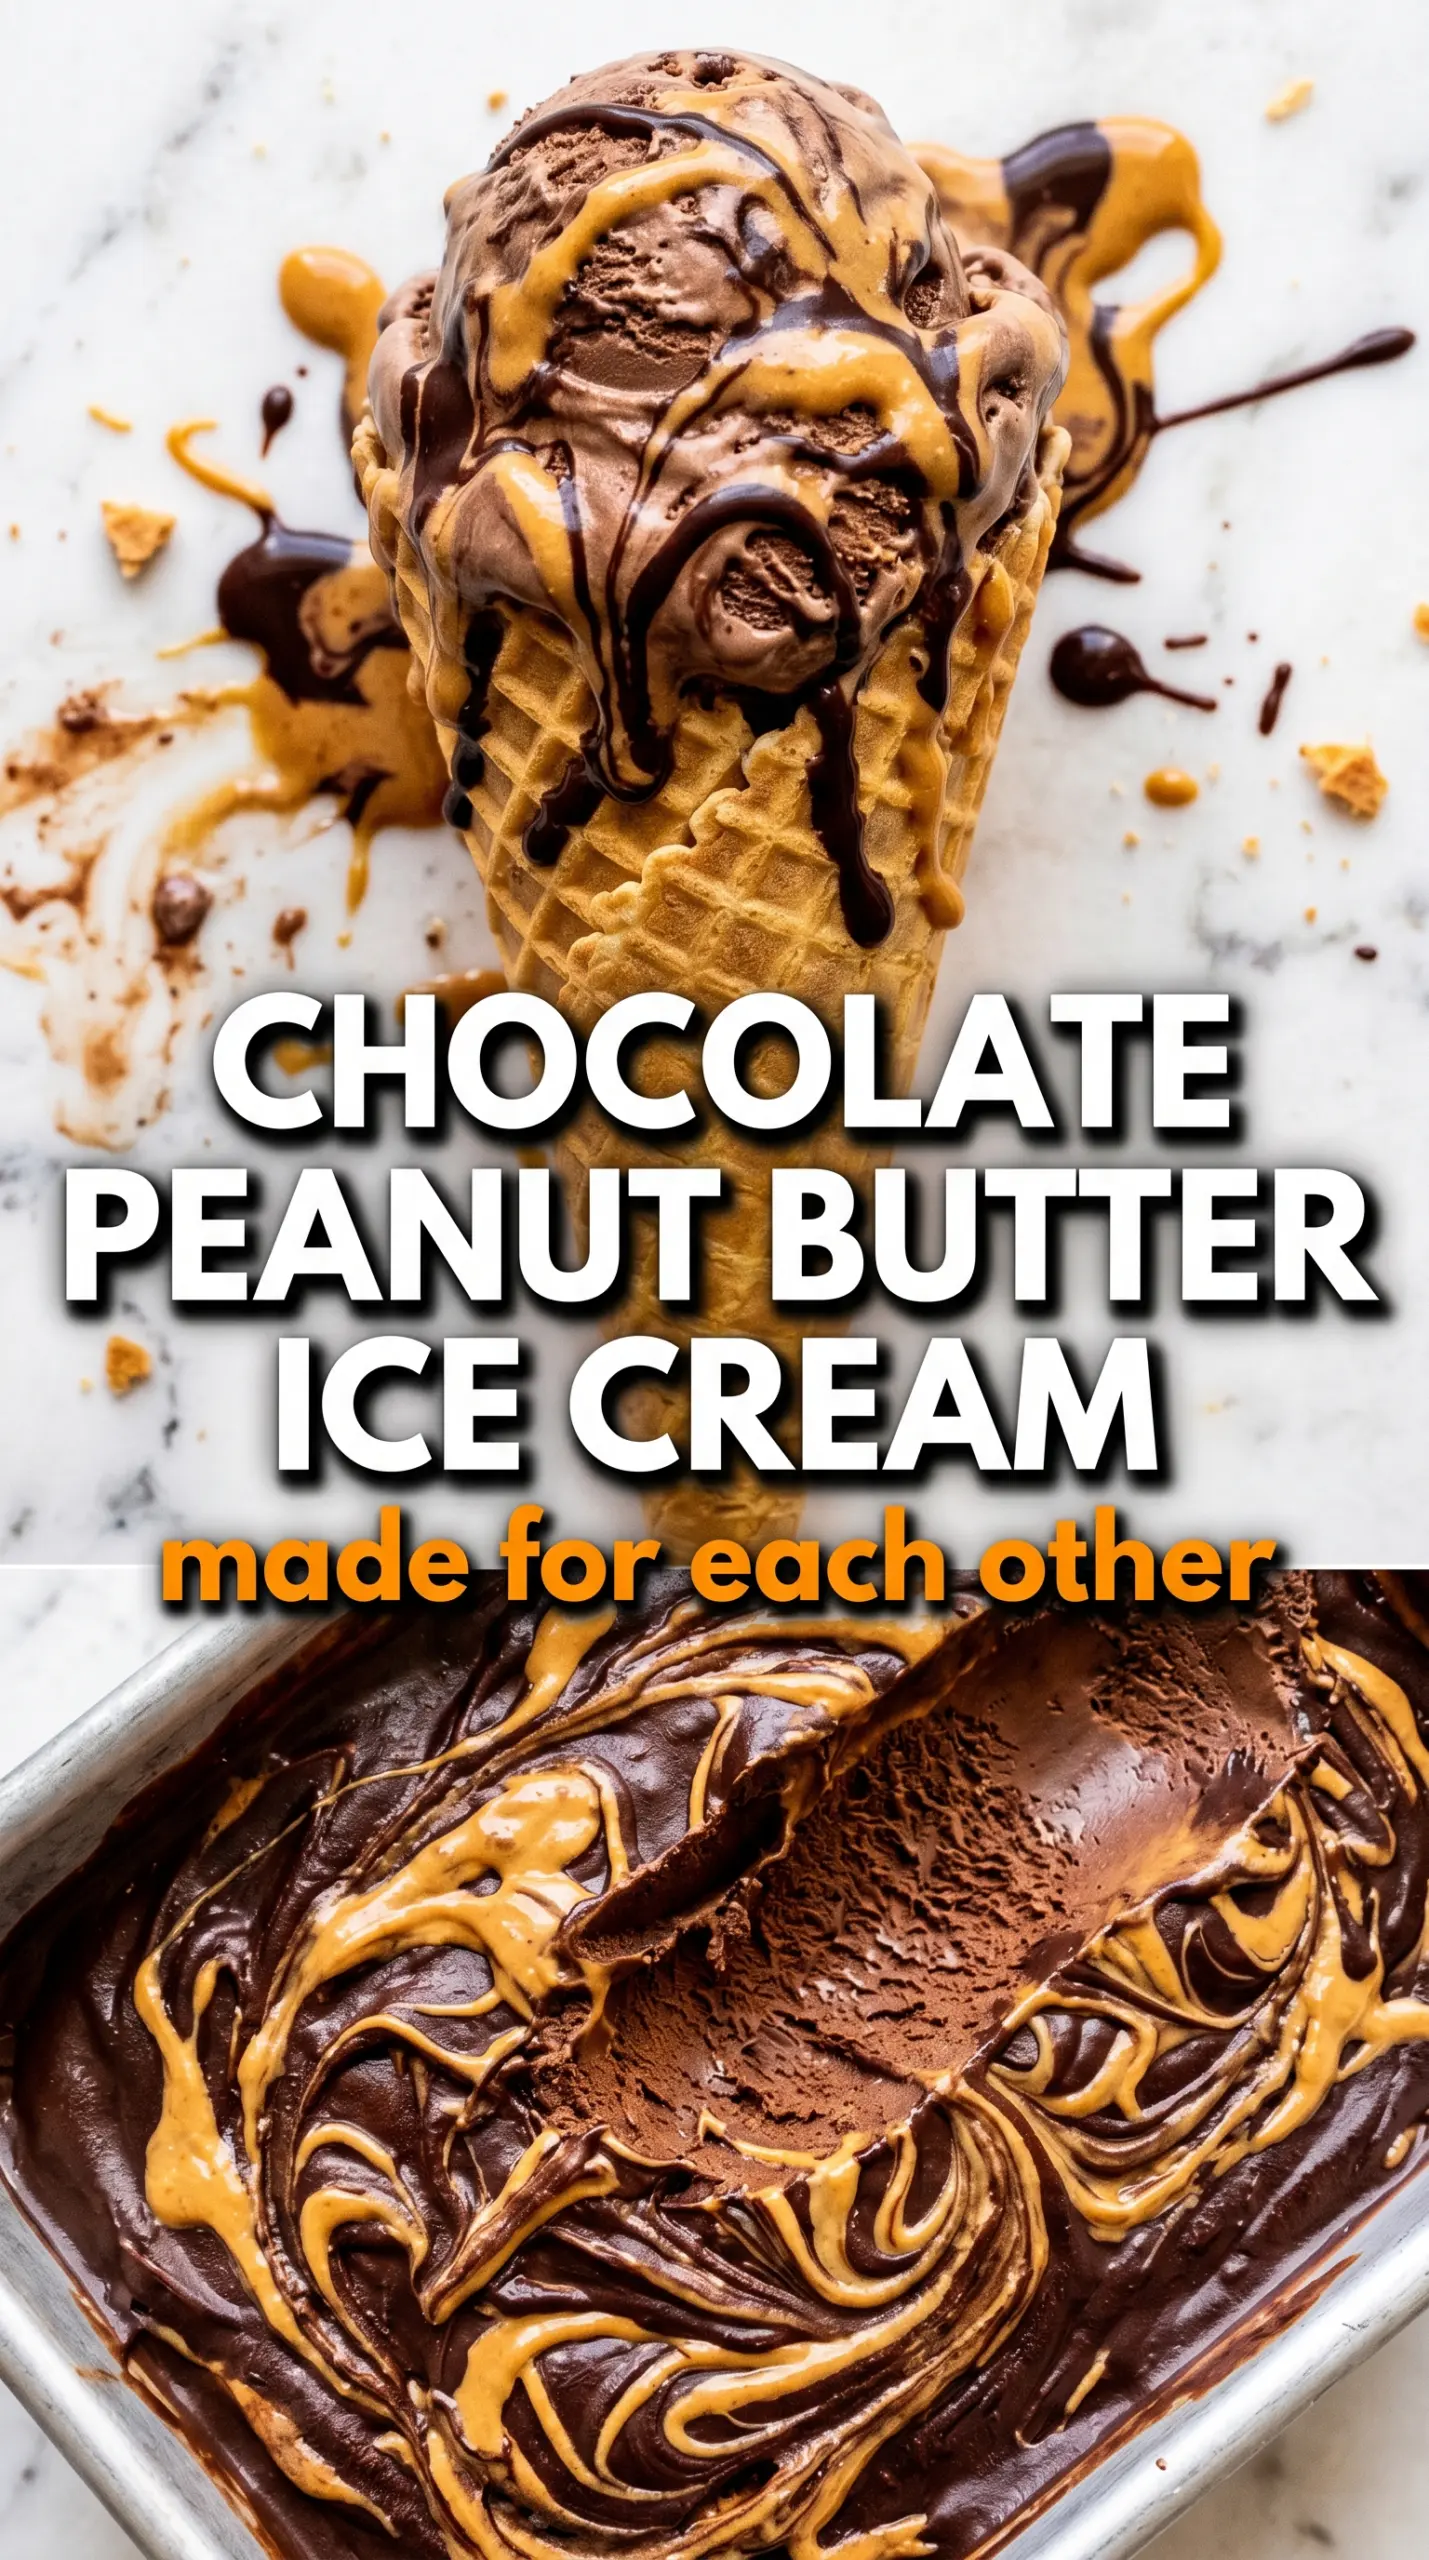
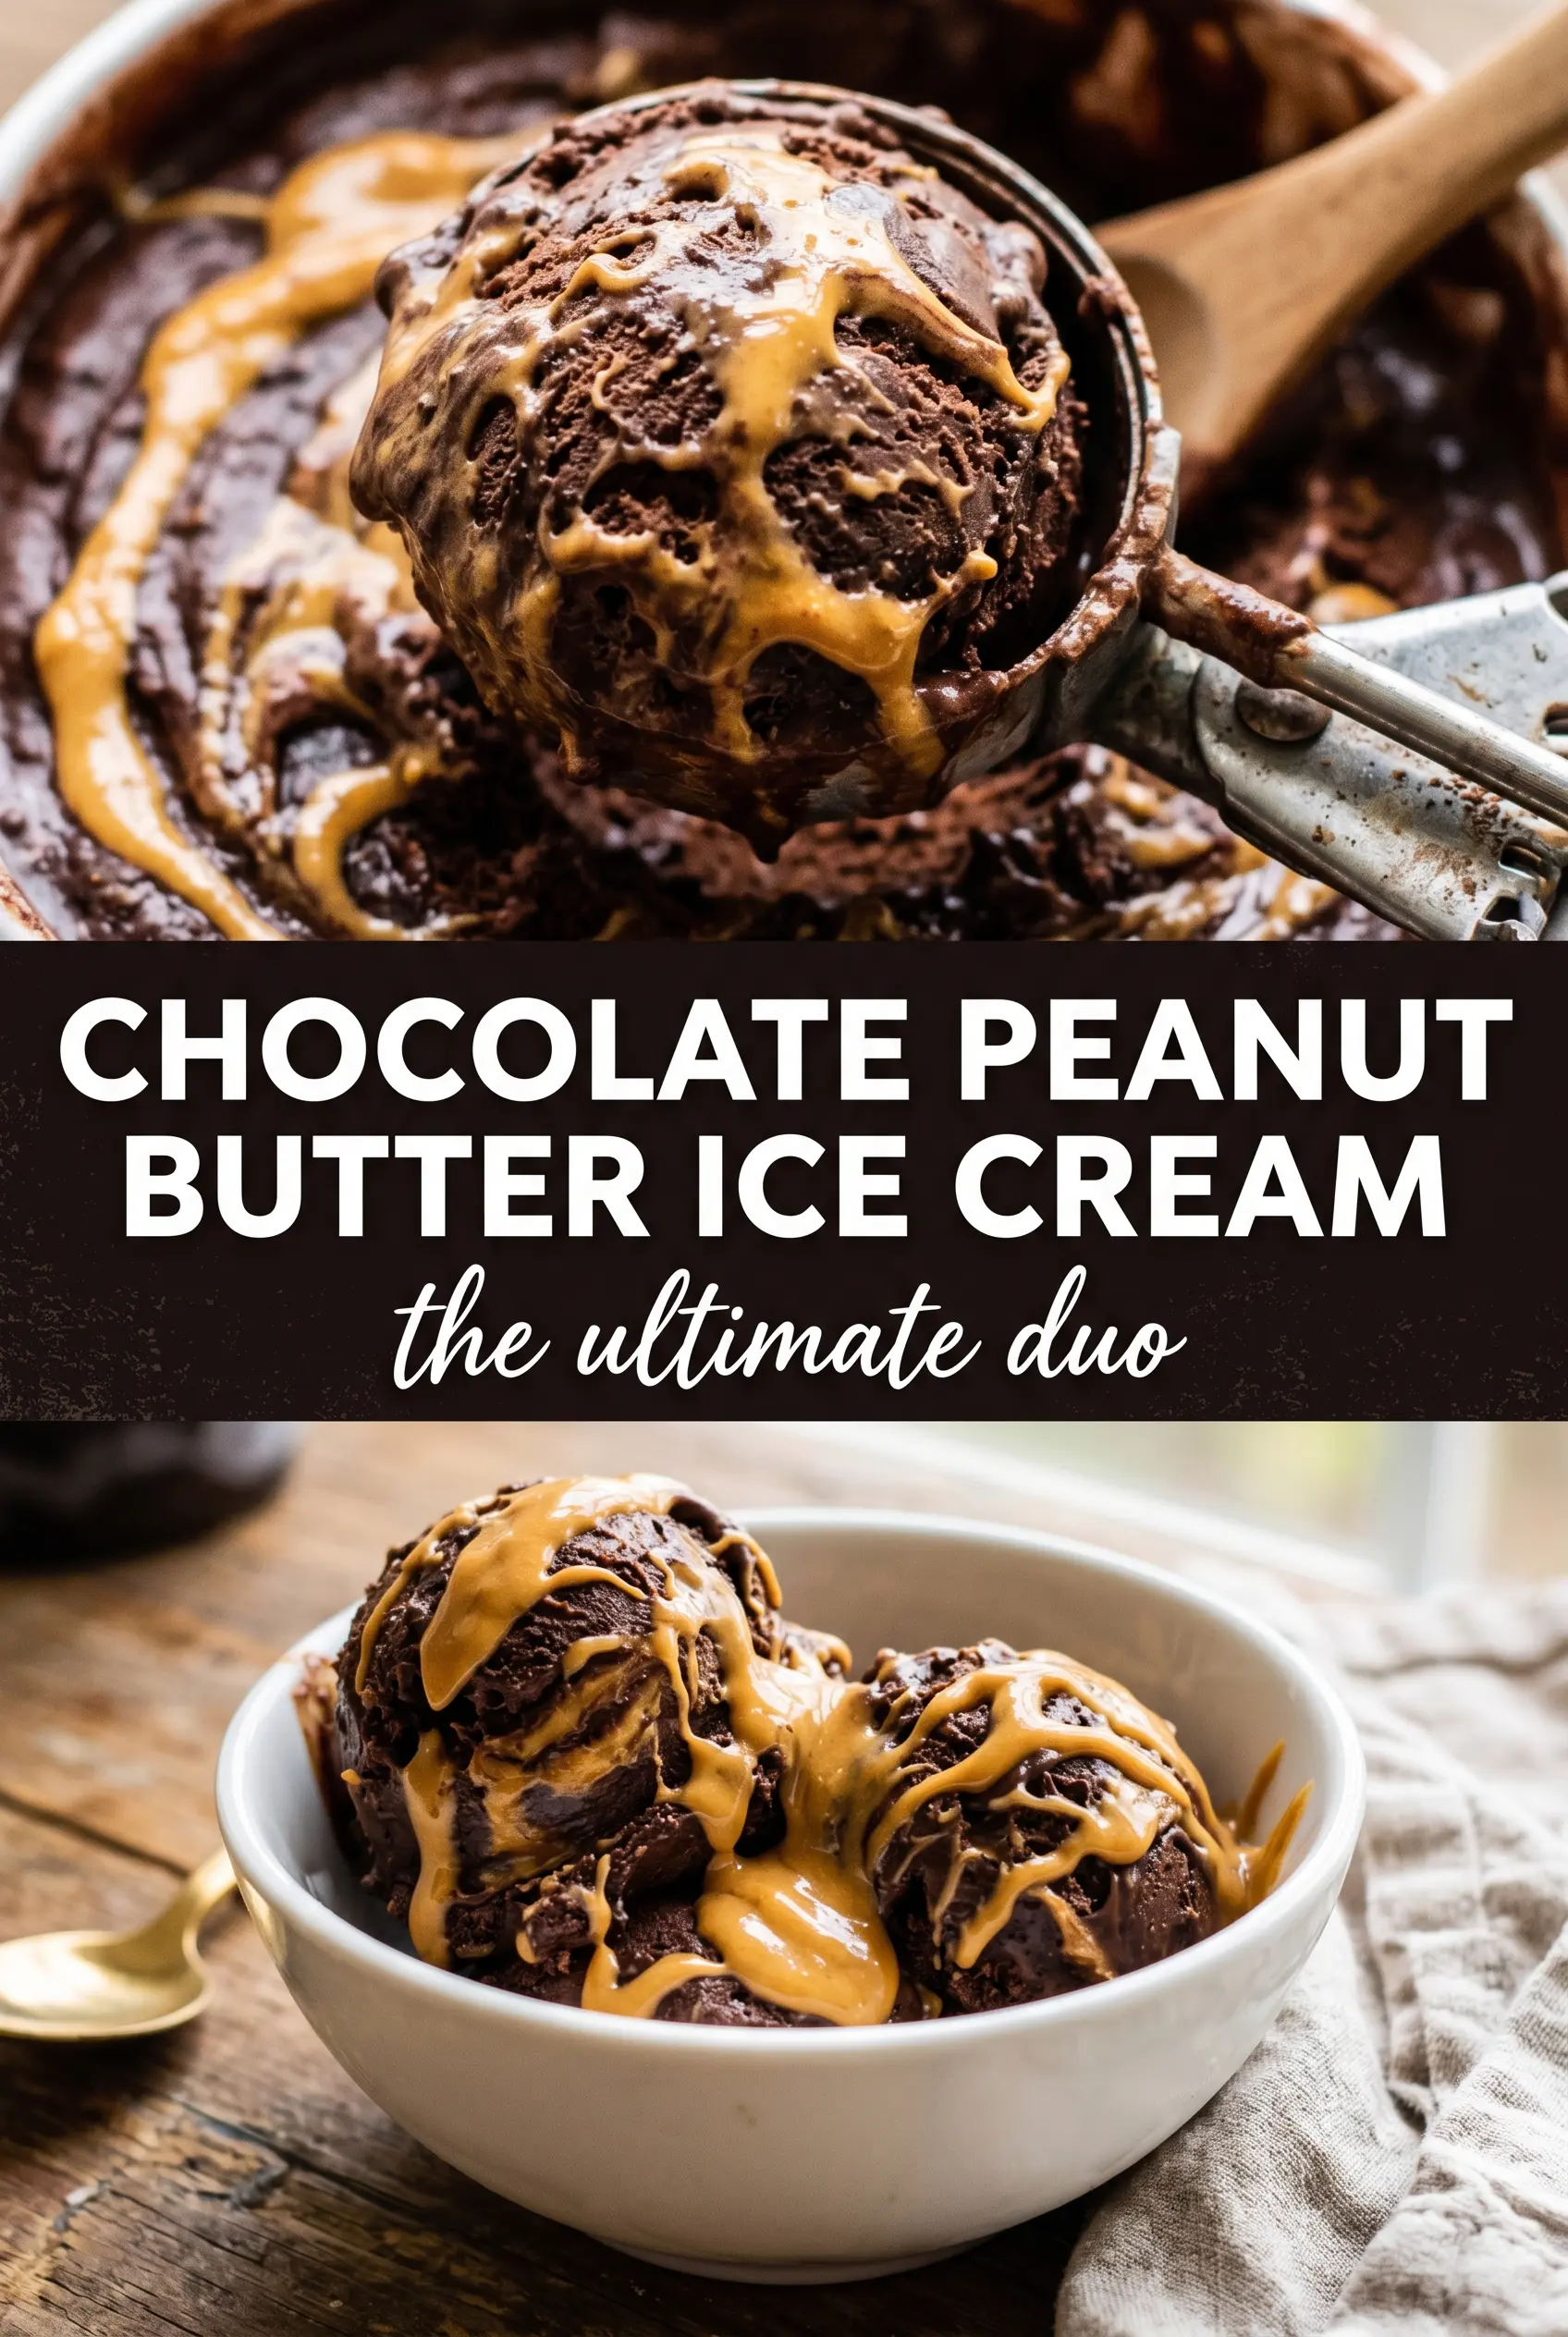
Deep chocolate ice cream with thick ribbons of creamy peanut butter is the kind of dessert that disappears fast once it hits the table. The base tastes like real chocolate, not just sweet cocoa, and the peanut butter stays distinct enough to cut through every spoonful instead of blending into the background. That contrast is what makes each bite feel rich without turning heavy.
The chocolate flavor gets built two ways here: cocoa for depth and chopped dark chocolate for body. Egg yolks give the custard a smooth, scoopable texture after churning, and the peanut butter goes in at the very end so it stays swirled instead of dissolving into the base. Warm it just enough to drizzle cleanly, and you get those dramatic ribbons that make this ice cream worth the extra step.
You’ll find the exact point where the custard should thicken, how to keep the peanut butter from clumping, and a few smart variations if you want to make it dairy-free or add a little crunch.
The custard turned out silky and the peanut butter swirled in perfectly instead of disappearing. I chilled it overnight and the texture after churning was spot on — creamy, scoopable, and not icy at all.
Save this chocolate peanut butter ice cream for the nights when you want thick chocolate custard and glossy peanut butter swirls in one scoop.
The Custard Needs Gentle Heat, Not a Hurry
The part that trips people up is the stove phase. Ice cream custard doesn’t need a hard boil to thicken; it needs steady, gentle heat until the egg yolks can do their job without scrambling. If you rush this and crank the burner, you’ll end up with grainy streaks or a base that tastes cooked instead of rich.
This recipe also leans on dark chocolate plus cocoa, which gives you a deeper chocolate flavor than cocoa alone. The chopped chocolate melts into the warm dairy and adds body, while the cocoa brings that first strong hit of flavor. Cook the custard only to 175°F and strain it if anything looks even slightly lumpy. That small bit of patience is what gives you a base that churns up smooth and dense instead of icy.
What Each Ingredient Is Doing in This Swirl
- Heavy cream — This is what gives the ice cream its lush, scoopable texture. You need the fat here; swapping in lighter cream makes the finished ice cream thinner and more icy.
- Whole milk — It loosens the base just enough so it churns cleanly. Lower-fat milk works in a pinch, but the texture won’t be as plush.
- Cocoa powder — This gives the base a deep chocolate backbone. Use unsweetened natural cocoa or Dutch-process cocoa; both work, though Dutch-process will taste a little darker and smoother.
- Dark chocolate — The chopped chocolate melts into the custard and adds depth that cocoa alone can’t give you. Use a bar you’d actually eat, since the flavor comes through clearly.
- Egg yolks — They thicken the custard and keep it creamy after freezing. There isn’t a real substitute if you want that classic custard-style texture.
- Creamy peanut butter — Warmed just enough to pour, it makes the ribbons that stay distinct in the finished ice cream. Natural peanut butter can work if it stirs smooth, but the swirl will be less glossy and a little more rustic.
- Vanilla and salt — Vanilla rounds out the chocolate, and salt keeps the peanut butter from tasting flat. Don’t skip the salt; it wakes up both flavors.
Building the Base and Swirling the Peanut Butter at the Right Moment
Start the Chocolate Dairy Slowly
Whisk the cocoa into the cream and milk before heating so it dissolves evenly instead of floating in dry pockets. Heat the mixture until it’s steaming and you see small bubbles around the edge, then add the chopped chocolate and whisk until smooth. If the chocolate looks stubborn, let the hot dairy sit on it for a minute before whisking again. That pause keeps you from overworking the mixture and cooling it down too fast.
Temper the Yolks Without Scrambling Them
Whisk the egg yolks and sugar until the mixture turns paler and a little thicker. Then pour the hot chocolate cream in a thin stream while whisking constantly. That gradual addition matters because it brings the yolks up to temperature slowly; dump it in too fast and you’ll cook pieces of egg before the custard even reaches the saucepan.
Cook to the Exact Thickening Point
Return everything to the saucepan and cook over medium-low heat, stirring constantly with a spatula and scraping the bottom. Stop when the custard reaches 175°F and lightly coats the back of a spoon. If it goes past that point, it can turn grainy fast, so pull it off the heat the second it thickens. Strain it, then stir in the vanilla and salt while the base is still warm.
Churn, Layer, and Swirl
Chill the custard completely before churning; warm base won’t freeze properly in the machine and can give you a loose, slushy texture. Once churned, layer the ice cream into a container and drizzle in the warmed peanut butter between layers. Use a knife to make a few wide figure-eight swirls, not frantic stirring, or you’ll lose the ribbons and end up with a blended base. Freeze until firm and you’ll get clean scoops with visible peanut butter streaks all the way through.
Ways to Bend This Ice Cream Without Breaking the Texture
Dairy-Free Chocolate Peanut Butter Ice Cream
Use full-fat canned coconut milk in place of the cream and milk, and expect a slight coconut note in the finished ice cream. The custard won’t taste exactly the same, but the texture stays rich if you keep the yolks and cook it gently. Choose a peanut butter with a short ingredient list so the swirl still tastes clean against the chocolate.
Crunchy Peanut Butter Swirl
Stir chopped peanut butter cups or chopped roasted peanuts into the churned ice cream before freezing, then keep the peanut butter drizzle. You’ll get a little crunch against the creamy base, but add the mix-ins after churning so they don’t get pulverized in the machine.
Less Sweet, Darker Chocolate Version
Use an extra-dark chocolate bar and reduce the sugar slightly if you like a more bittersweet finish. The ice cream will taste more grown-up and less candy-like, but don’t cut the sugar too aggressively or the texture can freeze harder than you want.
Storage and Reheating
- Refrigerator: The custard base can be held up to 2 days before churning, tightly covered. After churning, move it straight to the freezer.
- Freezer: It keeps well for about 2 weeks. Press parchment or plastic wrap directly on the surface to slow ice crystals, since homemade ice cream dries out faster than store-bought.
- Reheating: Let the container sit at room temperature for 5 to 10 minutes before scooping. If it’s rock hard, people usually try to dig in too soon and chip the surface instead of letting the edges soften first.
Answers to the Questions Worth Asking
Chocolate Peanut Butter Ice Cream
Ingredients
Equipment
Method
- Whisk cocoa powder into the heavy cream and whole milk until smooth, then heat until steaming. Visual cue: small bubbles around the edges and a light cocoa aroma, not a boil.
- Add the chopped dark chocolate and whisk until fully melted. Visual cue: the mixture turns glossy and thick enough to coat the whisk.
- Whisk the egg yolks and granulated sugar until pale and slightly thickened. Visual cue: the yolk mixture lightens in color and ribbons from the whisk.
- Slowly whisk the hot chocolate cream into the yolk mixture to temper the eggs. Visual cue: the stream stays steady without scrambling.
- Return everything to a saucepan and cook while stirring until it reaches 175F. Visual cue: the custard thickens enough to coat the back of a spoon.
- Strain the custard, then stir in the vanilla extract and salt. Visual cue: a smooth, lump-free base.
- Cool completely, then refrigerate at least 4 hours. Visual cue: chilled custard feels cold throughout when touched.
- Churn the chilled custard in an ice cream maker until thick and scoopable. Visual cue: the mixture looks like soft-serve with visible chocolate color.
- Warm the creamy peanut butter until pourable, then layer the churned ice cream into a container. Visual cue: you can drizzle thin ribbons across each layer.
- Drizzle warm peanut butter between each layer and swirl with a knife. Visual cue: thick peanut butter ribbons form marbled streaks throughout the dark base.
- Freeze at least 2 hours until firm. Visual cue: the surface looks matte and scoops hold their shape.


