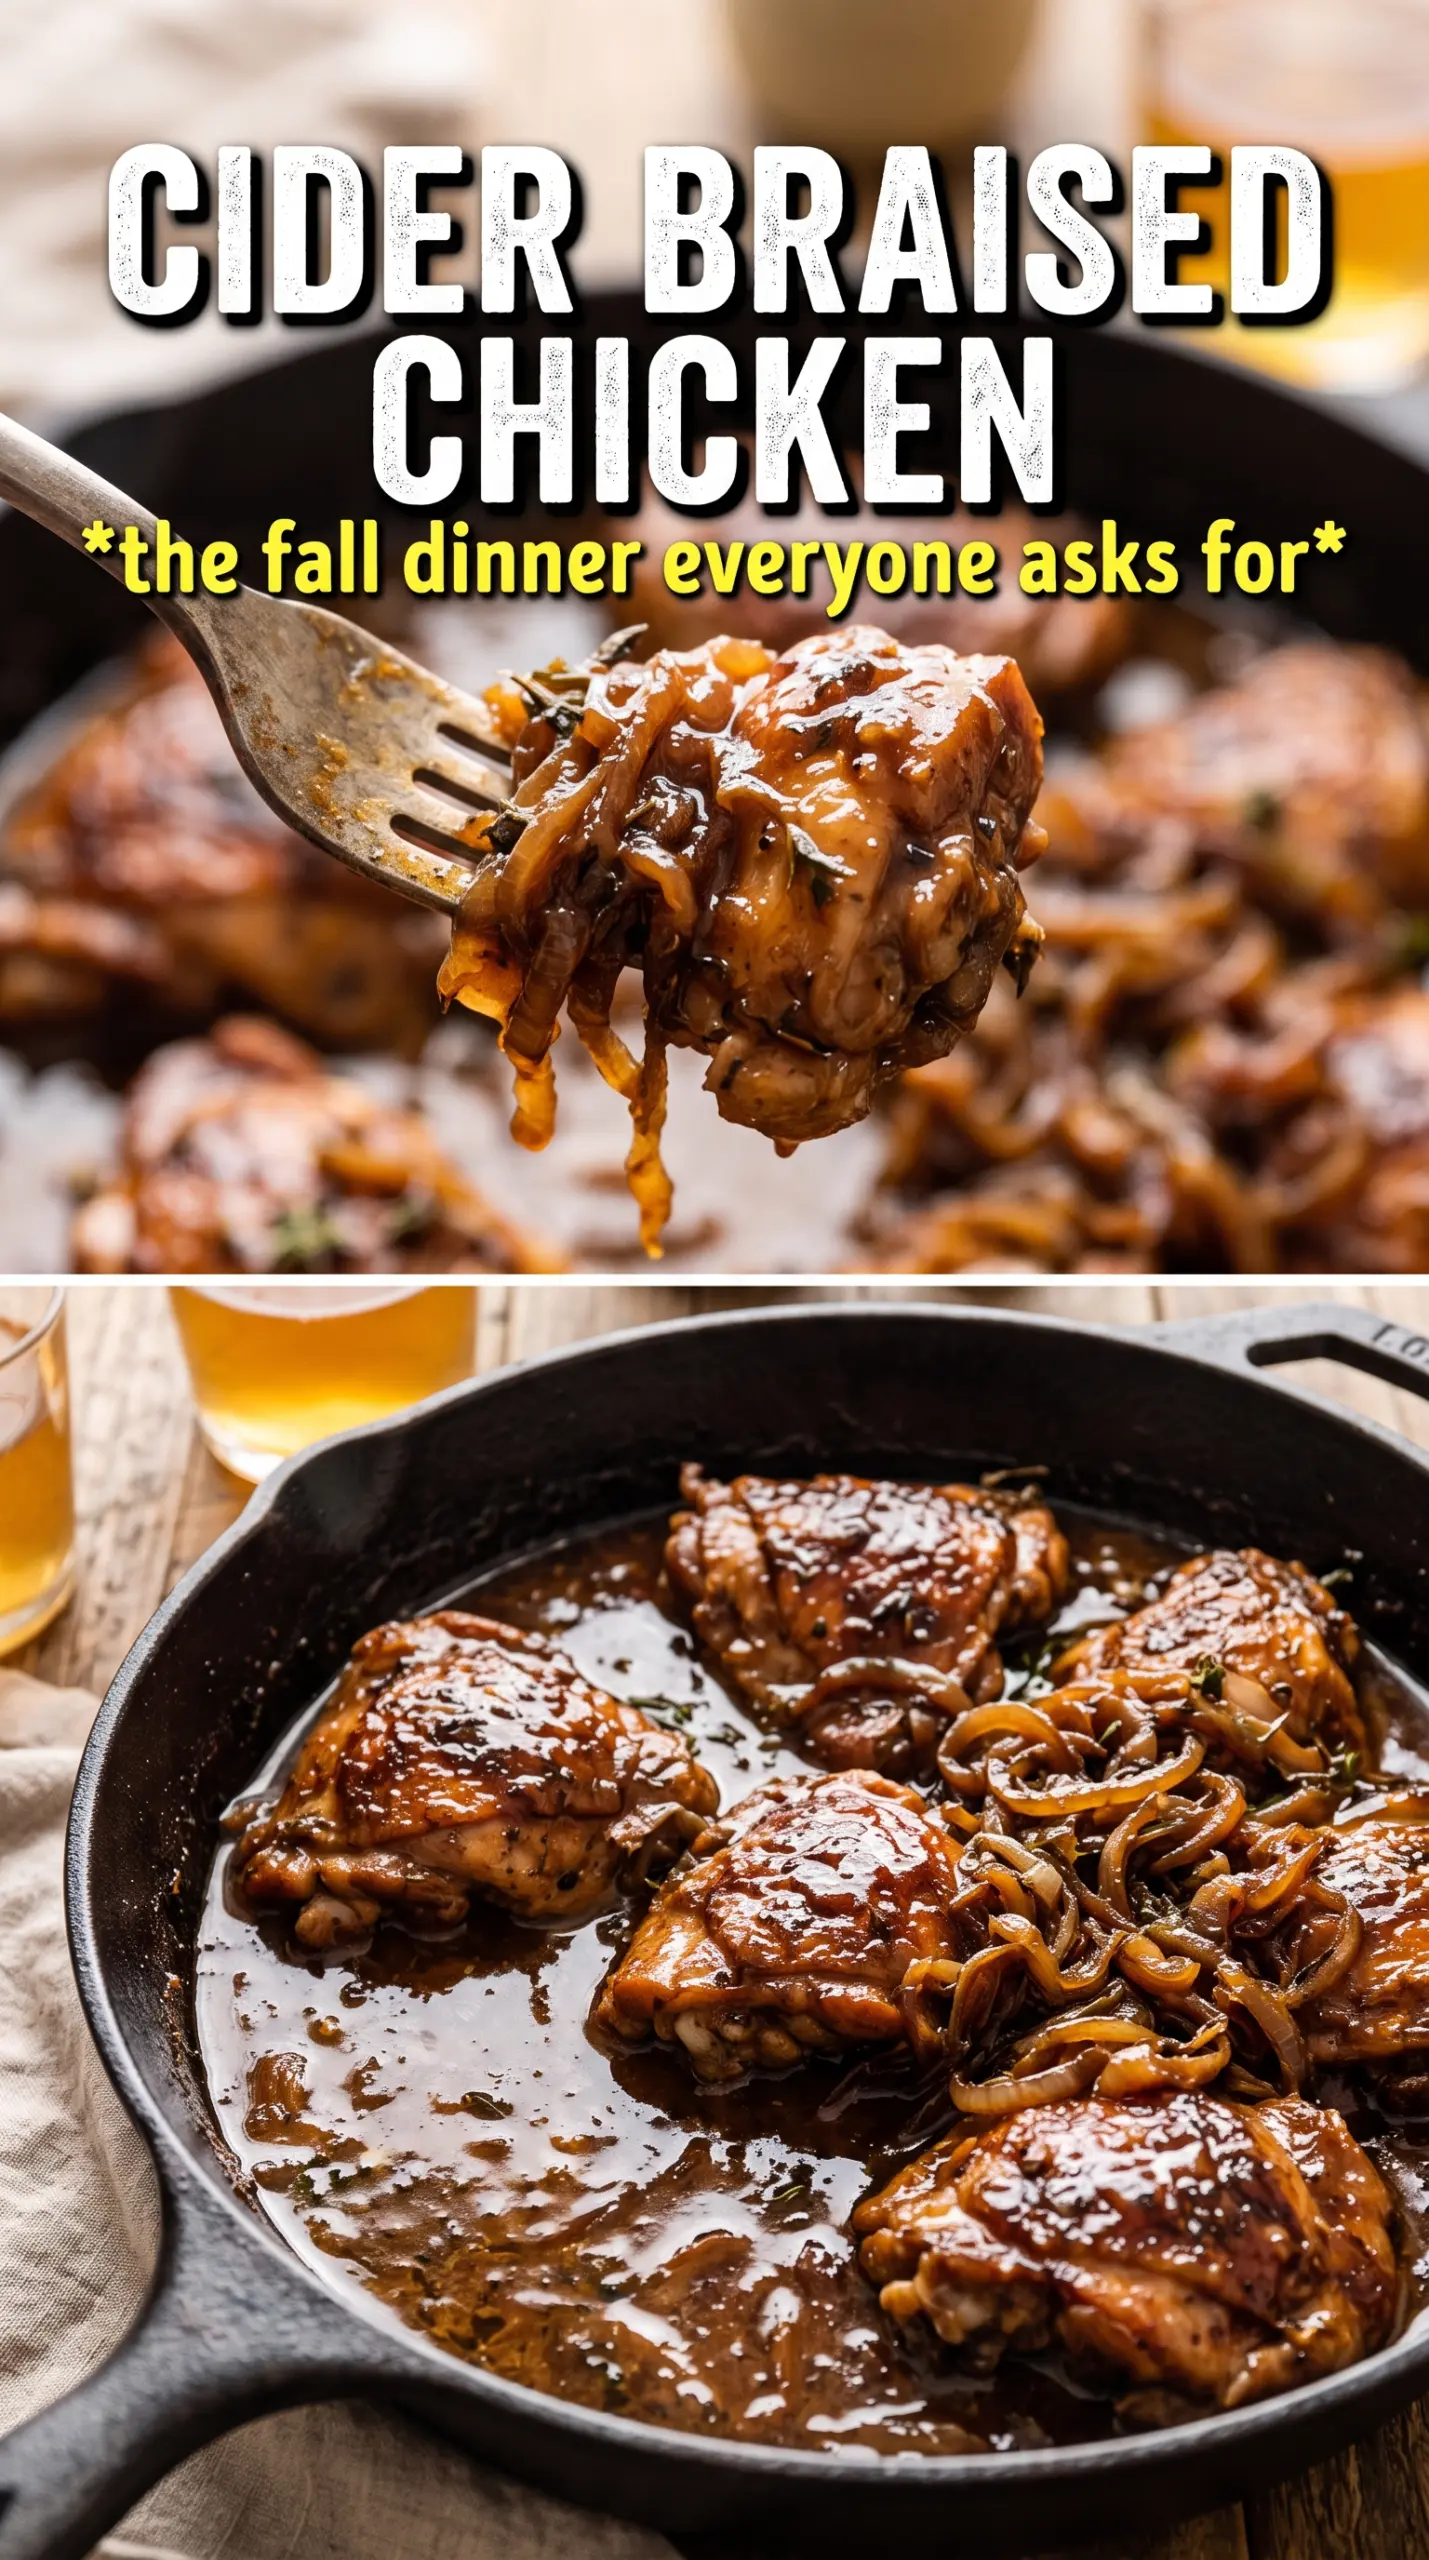
Golden chicken thighs and soft caramelized onions are what make this braise worth repeating. The skin starts out crisp and deeply browned, then the pan sauce turns glossy with cider, Dijon, and the sweetness of slow-cooked onions and apples. By the time it’s done, the chicken is tender enough to pull apart with a fork, and the sauce has enough body to cling to every bite.
The trick here is building flavor in layers instead of rushing the pan. The onions need time to go all the way to a deep amber, because that sweetness balances the sharp cider and mustard later on. Hard cider gives a little more bite and complexity, while fresh cider makes the dish rounder and softer. Either way, a splash of vinegar at the end keeps the sauce from tasting flat.
Below, I’ll walk through the part that matters most: keeping the chicken skin intact while the braise simmers, plus the small swaps that still give you a rich, balanced pan sauce.
The onions got gorgeously jammy and the cider sauce thickened just enough to spoon over mashed potatoes. I used fresh cider and the chicken was fall-apart tender without turning the skin rubbery.
Save this cider braised chicken with caramelized onions for the night you want a glossy pan sauce and tender chicken without a lot of fuss.
The Part Most Braises Get Wrong: Keeping the Sauce Balanced
The mistake with cider braises is letting them lean too sweet or too thin. Apples, onions, and cider all bring sugar, so the sauce needs something sharp and something savory to keep it from tasting like dessert. That’s why the Dijon and vinegar matter just as much as the cider itself. They cut through the richness and make the whole dish taste finished instead of one-note.
Pan searing first also matters more than people think. You want those thighs deeply colored before they go back into the liquid, because that browned skin and the fond left in the pan give the sauce its backbone. If you skip the sear or crowd the pan, the chicken steams and the sauce ends up pale and flat. The onions need patience too; pale onions will never give you the same depth.
- Chicken thighs — Bone-in, skin-on thighs hold up to the long simmer and stay juicy. Breasts can work in a pinch, but they cook faster and don’t give you the same rich braising result.
- Onions — These are the sweet base of the sauce. Thin slices cook down faster and turn silky instead of staying stringy.
- Apple cider — Fresh cider gives the softest, roundest sauce; hard cider adds a little bitterness and edge. If using hard cider, keep the broth and vinegar in the mix so the sauce doesn’t turn sharp.
- Dijon mustard — This is what makes the sauce taste intentional. It emulsifies into the liquid and keeps the braising broth from tasting watery.
- Apples — Add them after the onions are caramelized so they soften without disappearing. Firm apples hold their shape better than mealy ones.
What Each Ingredient Is Actually Doing in This Recipe
- Primary ingredient (the star) — Quality matters most. Choose the best you can find.
- Cooking medium (oil, butter, or broth) — This carries flavors and prevents dryness.
- Seasonings (salt, pepper, spices, herbs) — Layer flavors so nothing overpowers. Build depth gradually.
- Aromatics (garlic, onion, herbs) — Cook with fat to bloom flavors. Become the foundation.
- Supporting ingredients — Complement the main ingredient without overpowering it.
- Sauce or liquid (if applicable) — Brings flavors together. Balance richness with acid.
- Acid (lemon, vinegar, wine, or other) — Brightens and prevents flat-tasting results.
- Final finish (garnish, glaze, or sauce) — Prevents one-dimensional taste and adds visual appeal.
Building the Braise in the Right Order
Seasoning and Searing the Chicken
Pat the thighs dry and season both sides well before they hit the pan. Place them skin-side down in the olive oil and butter and leave them alone until the skin is deep golden and releases easily, about 7 to 8 minutes. If you move them too soon, the skin sticks and tears instead of crisping. Flip just long enough to color the other side, then pull them out and keep the rendered fat in the pan.
Coaxing the Onions Into Color
Add the sliced onions to the same pan and cook them over medium-low heat until they collapse, then slowly turn amber and soft, about 20 minutes. This is where the flavor builds, and rushing it gives you sharp, raw onion flavor instead of sweetness. If the pan looks dry, add a spoonful of water, not more butter. You want the onions to brown in the leftover chicken fat and browned bits, not fry aggressively.
Finishing the Sauce and Braising
Stir in the garlic and thyme just until fragrant, then add the apples for a short cook so they start to soften but don’t break apart. Pour in the cider, broth, mustard, and vinegar, scraping the pan well so every browned bit dissolves into the sauce. Return the chicken skin-side up, keep it above the liquid as much as possible, and cover the pan loosely while it simmers. When the chicken is done, let it rest uncovered for 5 minutes so the sauce thickens slightly instead of staying thin and brothy.
How to Adapt This Braise Without Losing the Good Part
Use hard cider for a sharper, more savory sauce
Hard cider brings more acidity and a little bitterness, which makes the sauce taste brighter and less sweet. If you use it, keep the Dijon and vinegar in the recipe; they help balance the sharper edge and keep the onions from disappearing into the background.
Make it dairy-free
Use all olive oil instead of the butter and the braise still works beautifully. You’ll lose a little roundness in the pan, but the onions, cider, and chicken fond carry enough flavor to make up for it.
Swap the chicken thighs for bone-in drumsticks
Drumsticks work well if that’s what you have, and they braise into the same kind of tender, pull-apart meat. Start checking them a little earlier, since they can cook through faster than thighs and dry out if they go too long.
Storage and Reheating
- Refrigerator: Store for up to 4 days. The sauce thickens and the onions get even softer overnight.
- Freezer: It freezes well for up to 2 months. Cool completely, then pack the chicken and sauce together so the meat stays moist when thawed.
- Reheating: Rewarm gently on the stove over low heat with a splash of broth if needed. High heat can tighten the chicken and make the sauce separate before it has a chance to loosen again.
Questions I Get Asked About This Recipe
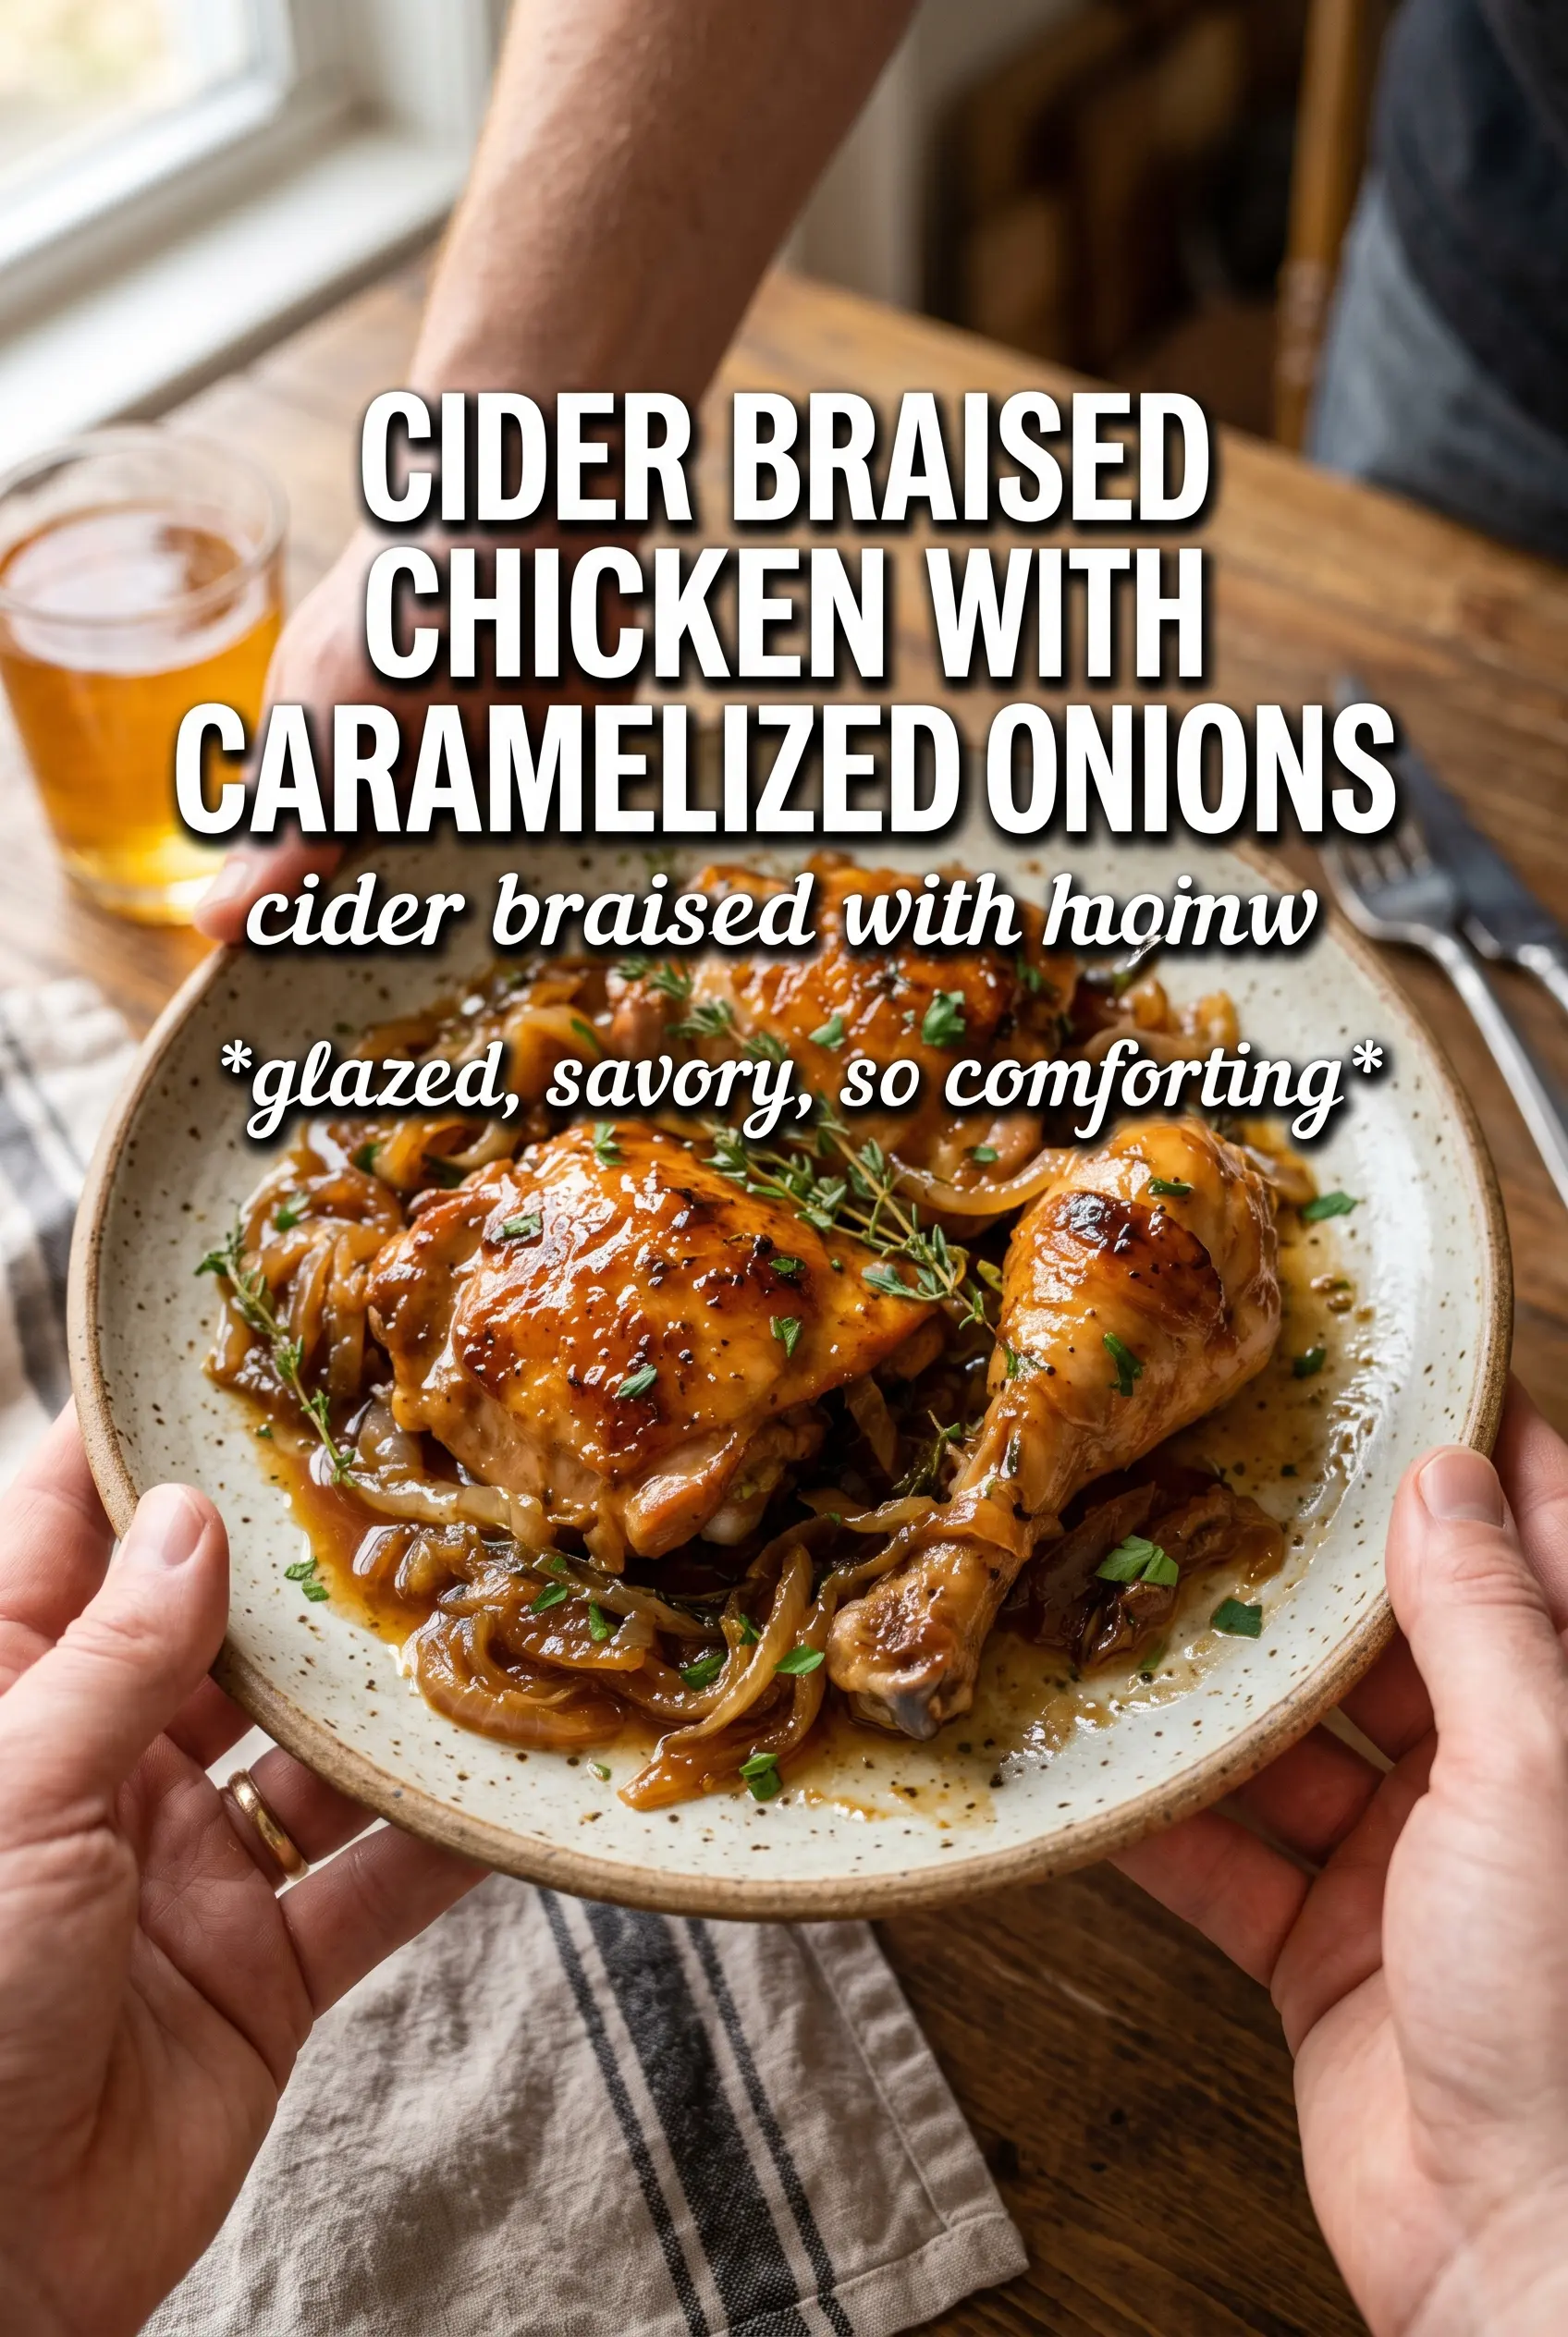
Cider Braised Chicken With Caramelized Onions
Ingredients
Equipment
Method
- Heat olive oil and 2 tablespoons butter in a Dutch oven over medium-high heat, then place chicken thighs skin-side down. Sear for 7-8 minutes until the skin is golden and crisp, using the surface to develop color (visual cue: browned skin).
- Flip the chicken and sear for 3 minutes on the other side. Remove the thighs to a plate (visual cue: browned edges).
- Reduce heat to medium-low, then add the sliced onions to the same pan with any remaining fat. Cook for 20 minutes, stirring occasionally, until deeply caramelized and dark golden (visual cue: onions look jammy and caramel-brown).
- Add minced garlic and fresh thyme and cook for 1 minute. Stir until fragrant (visual cue: aromatic, light browning at edges).
- Add the sliced apples and cook for 2 minutes. Stir so they begin to soften (visual cue: apples look slightly glossy and softened).
- Pour in apple cider to deglaze, scraping up browned bits from the bottom of the pan. Add chicken broth, Dijon mustard, and apple cider vinegar, then stir until smooth (visual cue: sauce turns evenly colored).
- Return chicken thighs to the pan skin-side up and spoon some sauce over the top. Cover and simmer for 25 minutes until cooked through (visual cue: internal juices run clear and thighs feel tender).
- Uncover and rest the chicken for 5 minutes so the sauce thickens slightly. Serve warm with the cider pan sauce and caramelized onions (visual cue: sauce clings to the spoon).


