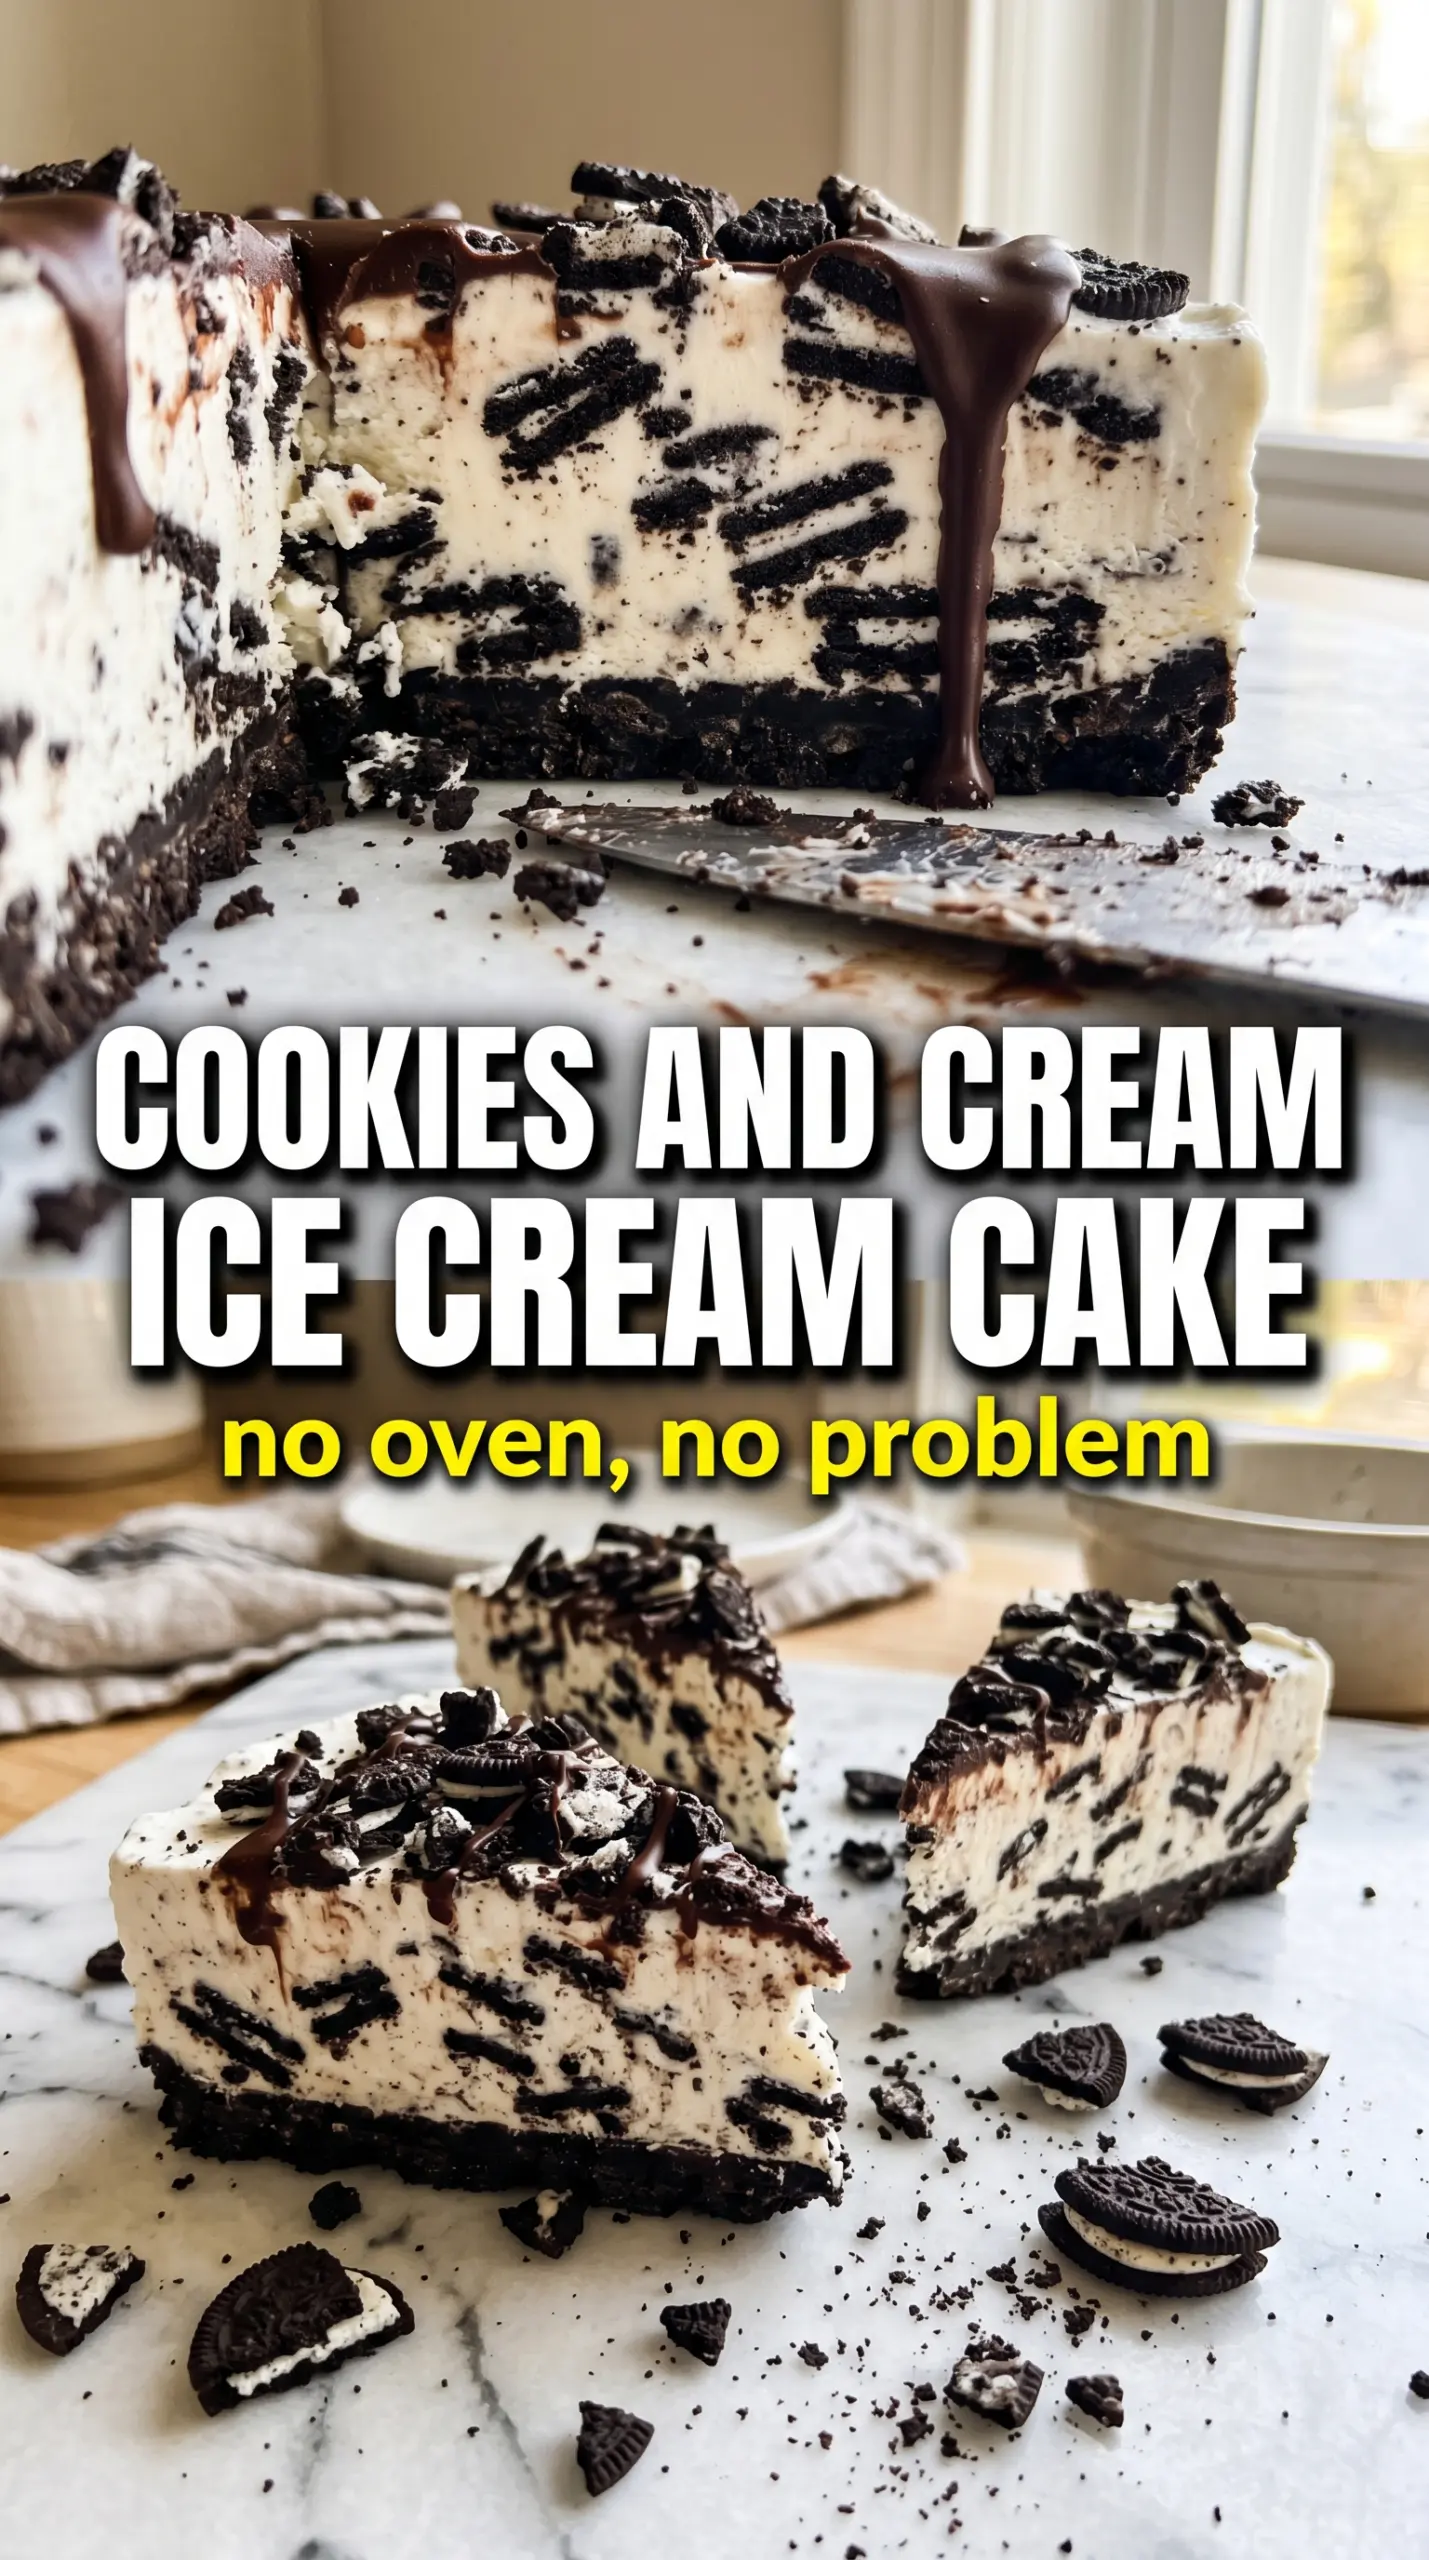
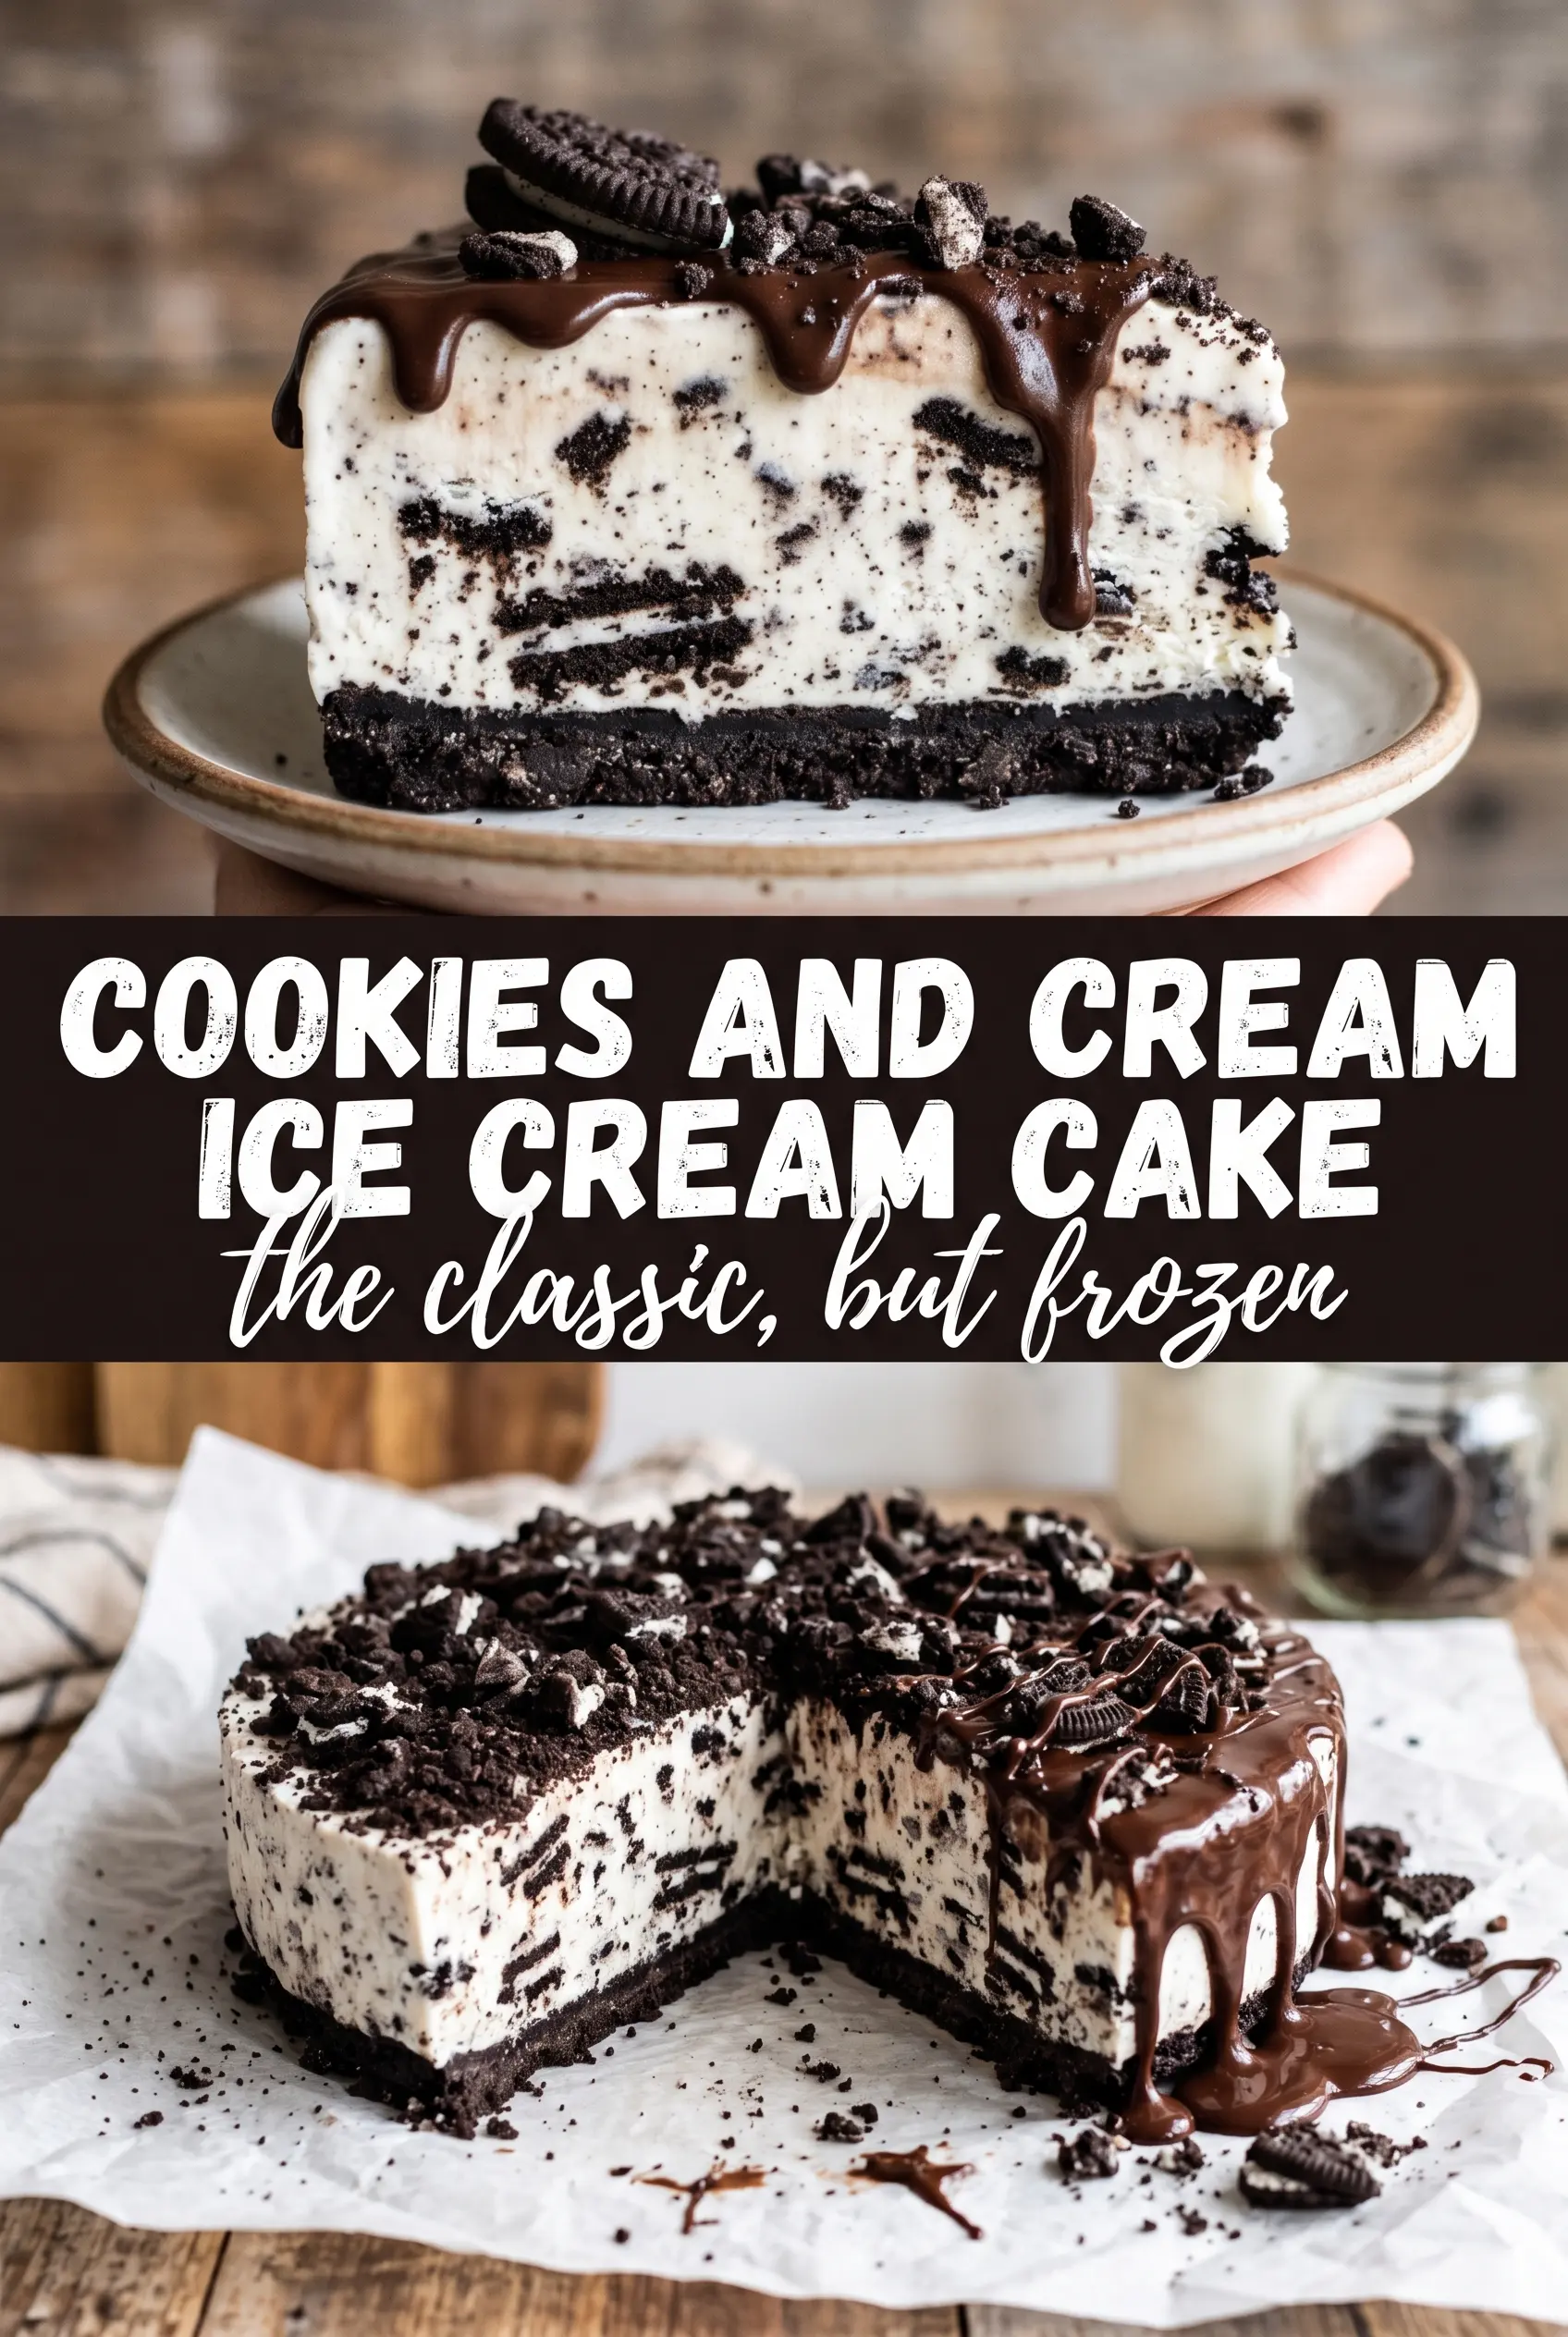
Cookies and cream ice cream cake lands with the kind of contrast people remember: a thick Oreo crust that holds its edge, a cold middle that slices cleanly, and a whipped top that softens each bite without turning heavy. The black-and-white layers look dramatic on the plate, but the appeal is in the texture as much as the look. You get crunch, creaminess, and that familiar chocolate-vanilla cookie flavor in one frozen dessert that feels special without asking for much effort.
The trick is freezing between layers. A crust that gets a short stint in the freezer turns sturdy instead of crumbly, and softened ice cream spreads without tearing the base underneath. The whipped cream layer works best when it’s spread over a fully frozen ice cream layer, because that keeps the top from sinking and gives you a clean finish when the cake unmolds.
Below, I’ve included the small details that matter most: how soft the ice cream should be, why a springform pan makes serving easier, and how to keep the cookie topping from disappearing into the cream.
The Oreo crust stayed firm even after slicing, and the cookies-and-cream layer was still creamy instead of icy after a full night in the freezer. My kids asked for the same cake at their birthday party next year.
Save this cookies and cream ice cream cake for birthdays, summer parties, and any time you want a frozen dessert with a dramatic Oreo-and-cream slice.
The Part That Keeps the Cake from Falling Apart When You Slice It
The biggest mistake with an ice cream cake is building it too fast. If the crust never gets firm, the ice cream starts to melt into it and the layers blur together before the cake ever reaches the table. Freezing the crust first gives you a base that behaves more like a proper dessert shell than a pile of cookie crumbs.
The second place people run into trouble is the top layer. Whipped cream spread over barely set ice cream can drag and streak, which is how you end up with a messy middle instead of clean stripes. Let each layer firm up before adding the next, and the cake will release from the pan with those neat black-and-white layers intact.
- Oreo cookies — The regular chocolate sandwich cookies make the crust and the topping. They crush into fine crumbs that hold together better than many other cookies, and the filling adds just enough fat to help the crust compact. Use full-size Oreos here, not double-stuffed, or the crust can turn a little greasy.
- Unsalted butter — Melted butter binds the crust so it slices cleanly. Salted butter works in a pinch, but the flavor can skew a little sharper once the cake is frozen. If the crumbs still look dry after mixing, add another teaspoon of butter instead of dumping in a lot at once.
- Cookies and cream ice cream — This is the flavor anchor, so quality matters more than brand names. Let it soften just until scoopable; if it gets soupy, it won’t hold a layer and can make the crust slosh around. You want pliable, not melted.
- Heavy whipping cream — This whips into the stable top layer and gives the cake a creamy finish that still holds its shape in the freezer. Lower-fat cream won’t whip as firmly, which makes the top slump after slicing. Cold cream whips faster and cleaner, so keep it chilled until the moment you use it.
- Powdered sugar and vanilla — These season the whipped cream without weighing it down. Powdered sugar dissolves smoothly, which keeps the topping silky instead of gritty. Vanilla rounds out the dairy flavor and makes the whole cake taste finished.
What Each Ingredient Is Actually Doing in This Ice Cream Cake
- Base layer (cookies, cake, or graham cracker) — This provides structure and stability. Crushed and mixed with butter creates a firm foundation.
- Ice cream (the main star) — Use quality ice cream or make homemade. Softness matters for layering.
- Sauce or topping between layers (fudge, caramel, or fruit) — This adds moisture, flavor, and prevents dryness. Don’t skip this layer.
- Frosting or whipped cream (optional outer layer) — This prevents freezer burn and adds creaminess. Stabilized whipped cream works best.
- Freezing time (at least 4-6 hours) — This sets the layers so cake slices cleanly. Longer freezing prevents melting during serving.
- Room temperature before serving (5-10 minutes) — This softens the cake slightly for better texture. Serve immediately after thawing.
- Toppings (chocolate, nuts, cookies, or sprinkles) — These add visual appeal and texture. Add right before serving.
- Storage (in freezer at 0°F or below) — This prevents ice crystal formation and maintains quality. Cover with plastic wrap.
Building the Layers So the Ice Cream Cake Slices Cleanly
Pressing the Oreo Crust
Crush 24 Oreos into fine crumbs and mix them with the melted butter until every crumb looks evenly damp. Press the mixture firmly into the bottom of a 9-inch springform pan, pushing it all the way to the edges so the base holds together when you lift the ring away. If the crust feels loose or sandy, it needs more pressure, not more butter. Freeze it for 15 minutes so it sets before the ice cream goes on.
Spreading the Ice Cream Layer
Let the cookies and cream ice cream soften at room temperature until it spreads easily but still looks thick and fluffy, not runny. Scoop it onto the frozen crust and work from the center outward with an offset spatula or the back of a spoon. If the crust starts lifting, stop and put the pan back in the freezer for a few minutes; trying to force the ice cream across a soft base is what tears the crust.
Whipping and Adding the Top
Whip the heavy cream with the powdered sugar and vanilla until stiff peaks form and the mixture holds its shape when the beaters lift. Spread it over the frozen ice cream layer in smooth sweeps so you don’t leave gaps at the edges. If the ice cream layer isn’t fully firm, the whipped cream will sink and the top will look slumped instead of clean and tall.
Finishing with Cookies and Freeze Time
Crush the remaining Oreos and scatter them over the whipped cream, then add the black and white sprinkles if you’re using them. Freeze the finished cake for at least 2 more hours, though longer is better if you want the cleanest slices. Run a thin knife around the edge of the springform before releasing it, and let the cake sit at room temperature for 5 to 10 minutes before slicing so the knife cuts through the layers instead of shattering them.
How to Change the Cake Without Losing the Oreo-and-Cream Contrast
Make It Ahead for a Birthday Party
This cake is actually better made ahead because the layers firm up overnight and slice more cleanly the next day. Assemble it the day before, keep it covered in the freezer, and add the sprinkles right before serving if you want them to stay bright and crisp.
Dairy-Free Version That Still Holds Its Shape
Use dairy-free chocolate sandwich cookies, a coconut-based or almond-based cookies and cream frozen dessert, and a dairy-free whipped topping that can be beaten or spread to a firm finish. The texture will be a little softer than the dairy version, but the layering method stays the same and the cake still slices nicely if you give it enough freeze time.
Chocolate Lover’s Swap
Add a thin drizzle of chocolate sauce between the crust and ice cream, or fold crushed chocolate sandwich cookies into the whipped cream topping for a darker, more intense cookie flavor. Keep the drizzle light so it doesn’t freeze into a hard layer that makes slicing messy.
Storing Leftovers
Refrigerator: Don’t store this one in the fridge; it melts fast and turns soupy. Freezer: Wrap the cake well and keep it frozen for up to 2 weeks for the best texture, though the cookie topping softens a little over time. Reheating: There’s no reheating here; set leftover slices on the counter for 5 to 8 minutes before serving so the knife can cut through the crust without cracking it.
Questions I Get Asked About This Recipe
Cookies and Cream Ice Cream Cake
Ingredients
Equipment
Method
- Combine 24 crushed Oreo cookies with melted unsalted butter until evenly moistened, then press firmly into a 9-inch springform pan. Freeze for 15 minutes, until the crust is set to the touch.
- Spread softened cookies and cream ice cream over the frozen crust in an even layer. Freeze for 3 hours, until firm enough to hold a topping.
- Whip heavy whipping cream, powdered sugar, and vanilla extract to stiff peaks, keeping the mixture thick and scoopable. Spread the whipped cream over the frozen ice cream in an even layer.
- Crush the remaining 12 Oreo cookies and scatter them over the whipped cream so the top is speckled. Freeze for at least 2 more hours, until fully set.
- Decorate the top with black and white sprinkles, then release from the springform pan to serve. Slice and serve straight from the freezer for clean black-and-white layers.