Fluffy campfire bread comes off the fire with a crisp, golden outside and a soft, steamy middle that pulls apart in warm layers. The dough wraps neatly around a roasting stick, so each bite gets a little crackle from the crust and a tender crumb inside. It’s the kind of bread that disappears fast because it tastes just as good plain as it does with butter, jam, or honey.
The trick is keeping the dough simple and supple. A little sugar helps the outside brown without turning bitter, while baking powder gives the bread enough lift to stay light instead of dense. The melted butter adds richness and keeps the dough easy to knead in a bag, which is handy when you’re cooking outdoors and don’t want a pile of dishes.
Below, I’ve included the few details that matter most: how to keep the dough from sliding off the stick, what the bread should look like before you pull it from the fire, and a few smart swaps if you want to change the flavor or make it work with what you’ve got packed for camp.
The dough stayed on the stick the whole time, and the bread cooked up with that perfect golden crust and a soft, fluffy middle. We ate half the batch before it even made it back to the table.
Save this fluffy campfire bread for the next time you want a golden, stick-roasted side with a soft center and crackly crust.
The Secret to Bread That Stays on the Stick
The biggest failure with campfire bread is dough that’s too loose. If it’s sticky and slack, it slips, sags, and cooks unevenly before the outside has time to set. A slightly firm dough holds its shape better, wraps neatly, and gives you a bread stick with a proper crust instead of a raw ribbon of dough around the handle.
Rotating constantly matters more than people think. Campfire heat is uneven, and one side can go from pale to scorched in a minute if you leave it parked in one spot. You want steady browning all the way around, with the bread puffing a little and pulling away from the stick at the edges when it’s done.
- Don’t over-wet the dough — Start with the milk and butter, then stop as soon as the dough comes together. A drier dough grips the stick better and cooks up with more structure.
- Work with short ropes — Long ropes are harder to manage over the fire. Shorter pieces wrap more evenly and brown at the same pace.
- Keep it over coals, not flames — Direct flames scorch the outside before the middle cooks. Hot coals give you gentler, more even heat.
What the Flour, Butter, and Milk Are Doing Here
- All-purpose flour — This gives the bread enough strength to wrap around the stick without tearing, while still staying tender. Bread flour makes it a little chewier; all-purpose is the best balance for this kind of outdoor bread.
- Baking powder — This is the lift in the recipe. You need it for that fluffy middle, since there’s no yeast time here.
- Butter — Melted butter adds flavor and tenderness, and it helps the dough knead together quickly in the bag. If you swap in oil, the bread still works, but the flavor is flatter.
- Milk — Milk softens the dough and helps with browning. Water will work in a pinch, but the bread won’t taste as rich and the crumb won’t be quite as soft.
- Sugar — Just enough to encourage browning and round out the flavor. Skip it only if you want a more plain, biscuit-like bread.
Wrapping, Roasting, and Knowing When It’s Done
Mixing the Dough in One Bag
Start by combining the dry ingredients in a large zip-top bag, then add the melted butter and milk. Knead the bag until the dough comes together and no dry flour remains, pressing out the air as you go. If the dough feels sticky enough to cling to the bag, add a spoonful of flour and work it in before shaping.
Shaping the Ropes
Divide the dough into eight equal pieces and roll each one into a rope long enough to spiral around the end of a roasting stick. Press the dough gently as you wrap so it overlaps itself a little, which helps it bake into one solid piece instead of unraveling. If the rope is too thick, the center stays doughy; too thin, and it dries out before the crust colors.
Roasting Over the Coals
Hold the bread over hot coals and keep it moving. You’re looking for even golden color on all sides and a surface that feels set when you tap it lightly with a utensil or the stick. If one side browns too fast, lift it higher from the heat for a minute and let the heat catch up slowly instead of chasing a burnt crust.
Finishing and Serving
Slide the bread off the stick as soon as it’s cooked through and serve it warm. The center should be fluffy, not gummy, and the outside should have that crisp, lightly blistered crust that makes campfire bread worth the effort. Butter melts into it fast, and honey or jam takes it in a sweeter direction without hiding the roasted flavor.
How to Change the Flavor Without Breaking the Texture
Dairy-Free Campfire Bread
Swap the butter for melted dairy-free margarine or neutral oil and use unsweetened non-dairy milk. Oil gives the softest texture, while margarine keeps a flavor closer to the original. The bread still browns well, though it won’t taste quite as rich as the butter version.
Savory Campfire Bread
Cut the sugar in half and add a pinch of garlic powder or dried herbs to the dry mix. This makes a bread that leans more toward a dinner roll and pairs well with soup or grilled meat. The texture stays the same, but the finished bread tastes less sweet and a little more rustic.
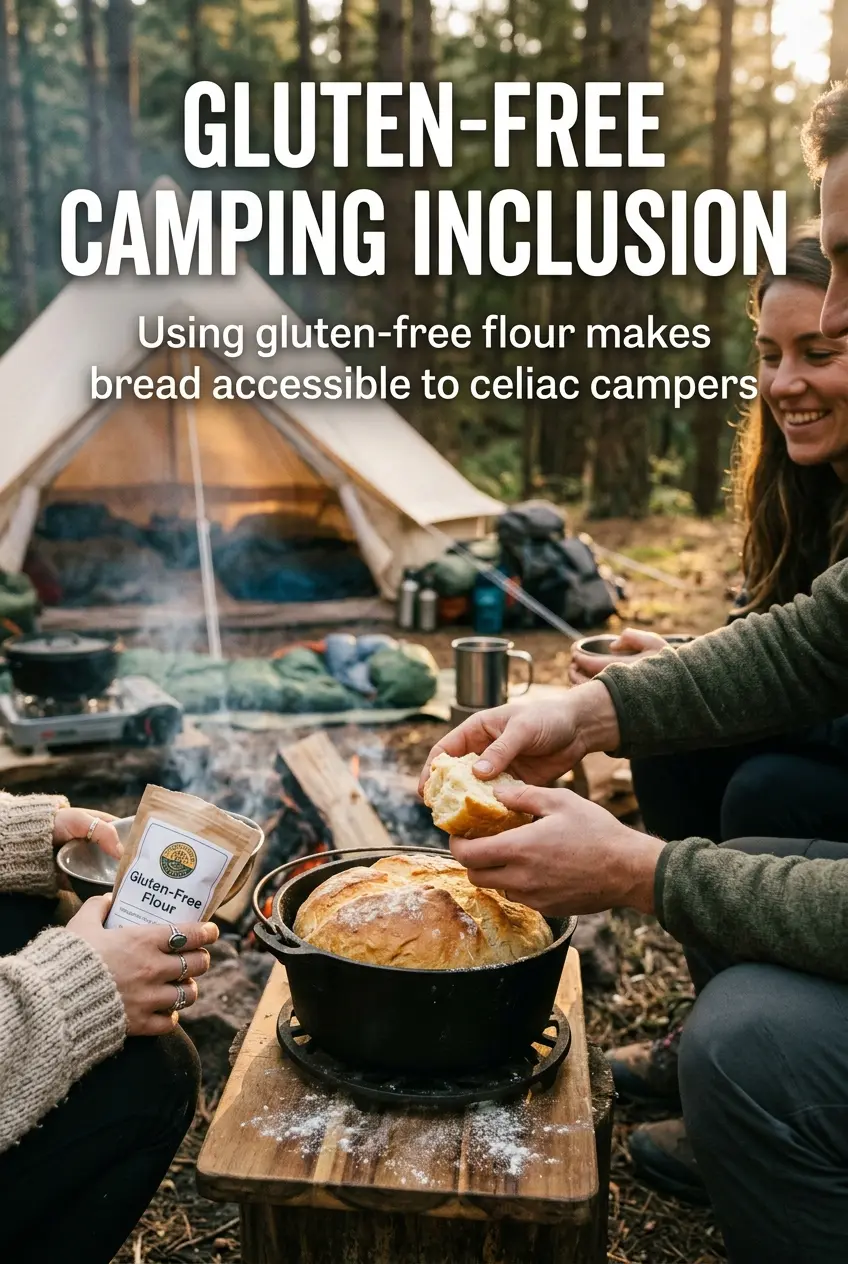
Gluten-Free Version
Use a cup-for-cup gluten-free flour blend that includes xanthan gum. The dough may feel a little softer, so chill it for a few minutes before shaping if it gets too loose. It won’t have quite the same chew, but it still roasts into a golden, fluffy campfire bread.
Storage and Reheating
- Refrigerator: Store leftovers in an airtight container for up to 2 days. The crust softens as it sits.
- Freezer: Freeze fully cooled bread for up to 1 month, wrapped tightly. Reheat from thawed for the best texture.
- Reheating: Warm in a low oven or toaster oven until heated through. Microwaving makes the crust rubbery and the center dense.
Answers to the Questions Worth Asking
Fluffy Campfire Bread
Ingredients
Method
- Combine all-purpose flour, baking powder, salt, and sugar in a large zip-top bag, shaking until evenly mixed. No lumps should remain in the dry mix.
- Add melted butter and milk to the bag, seal, and knead until a cohesive dough forms. Squeeze and fold the dough for about 2–3 minutes until it feels smooth and stretchy.
- Divide the dough into 8 portions, keeping the rest covered so it doesn’t dry out. Each portion should be similar in size for even cooking.
- Roll each portion into a long rope and wrap it around the end of a roasting stick in a spiral with snug turns. Leave a little space between coils so the bread can cook through without burning.
- Hold the stick bread over campfire coals, rotating constantly, for 10–12 minutes until golden brown and cooked through. Watch for deep golden color and a set center with no doughy patches.
- Slide the loaf off the stick and serve warm with butter, jam, or honey. Pull it apart to confirm the fluffy interior and crusty exterior roasted over the fire.