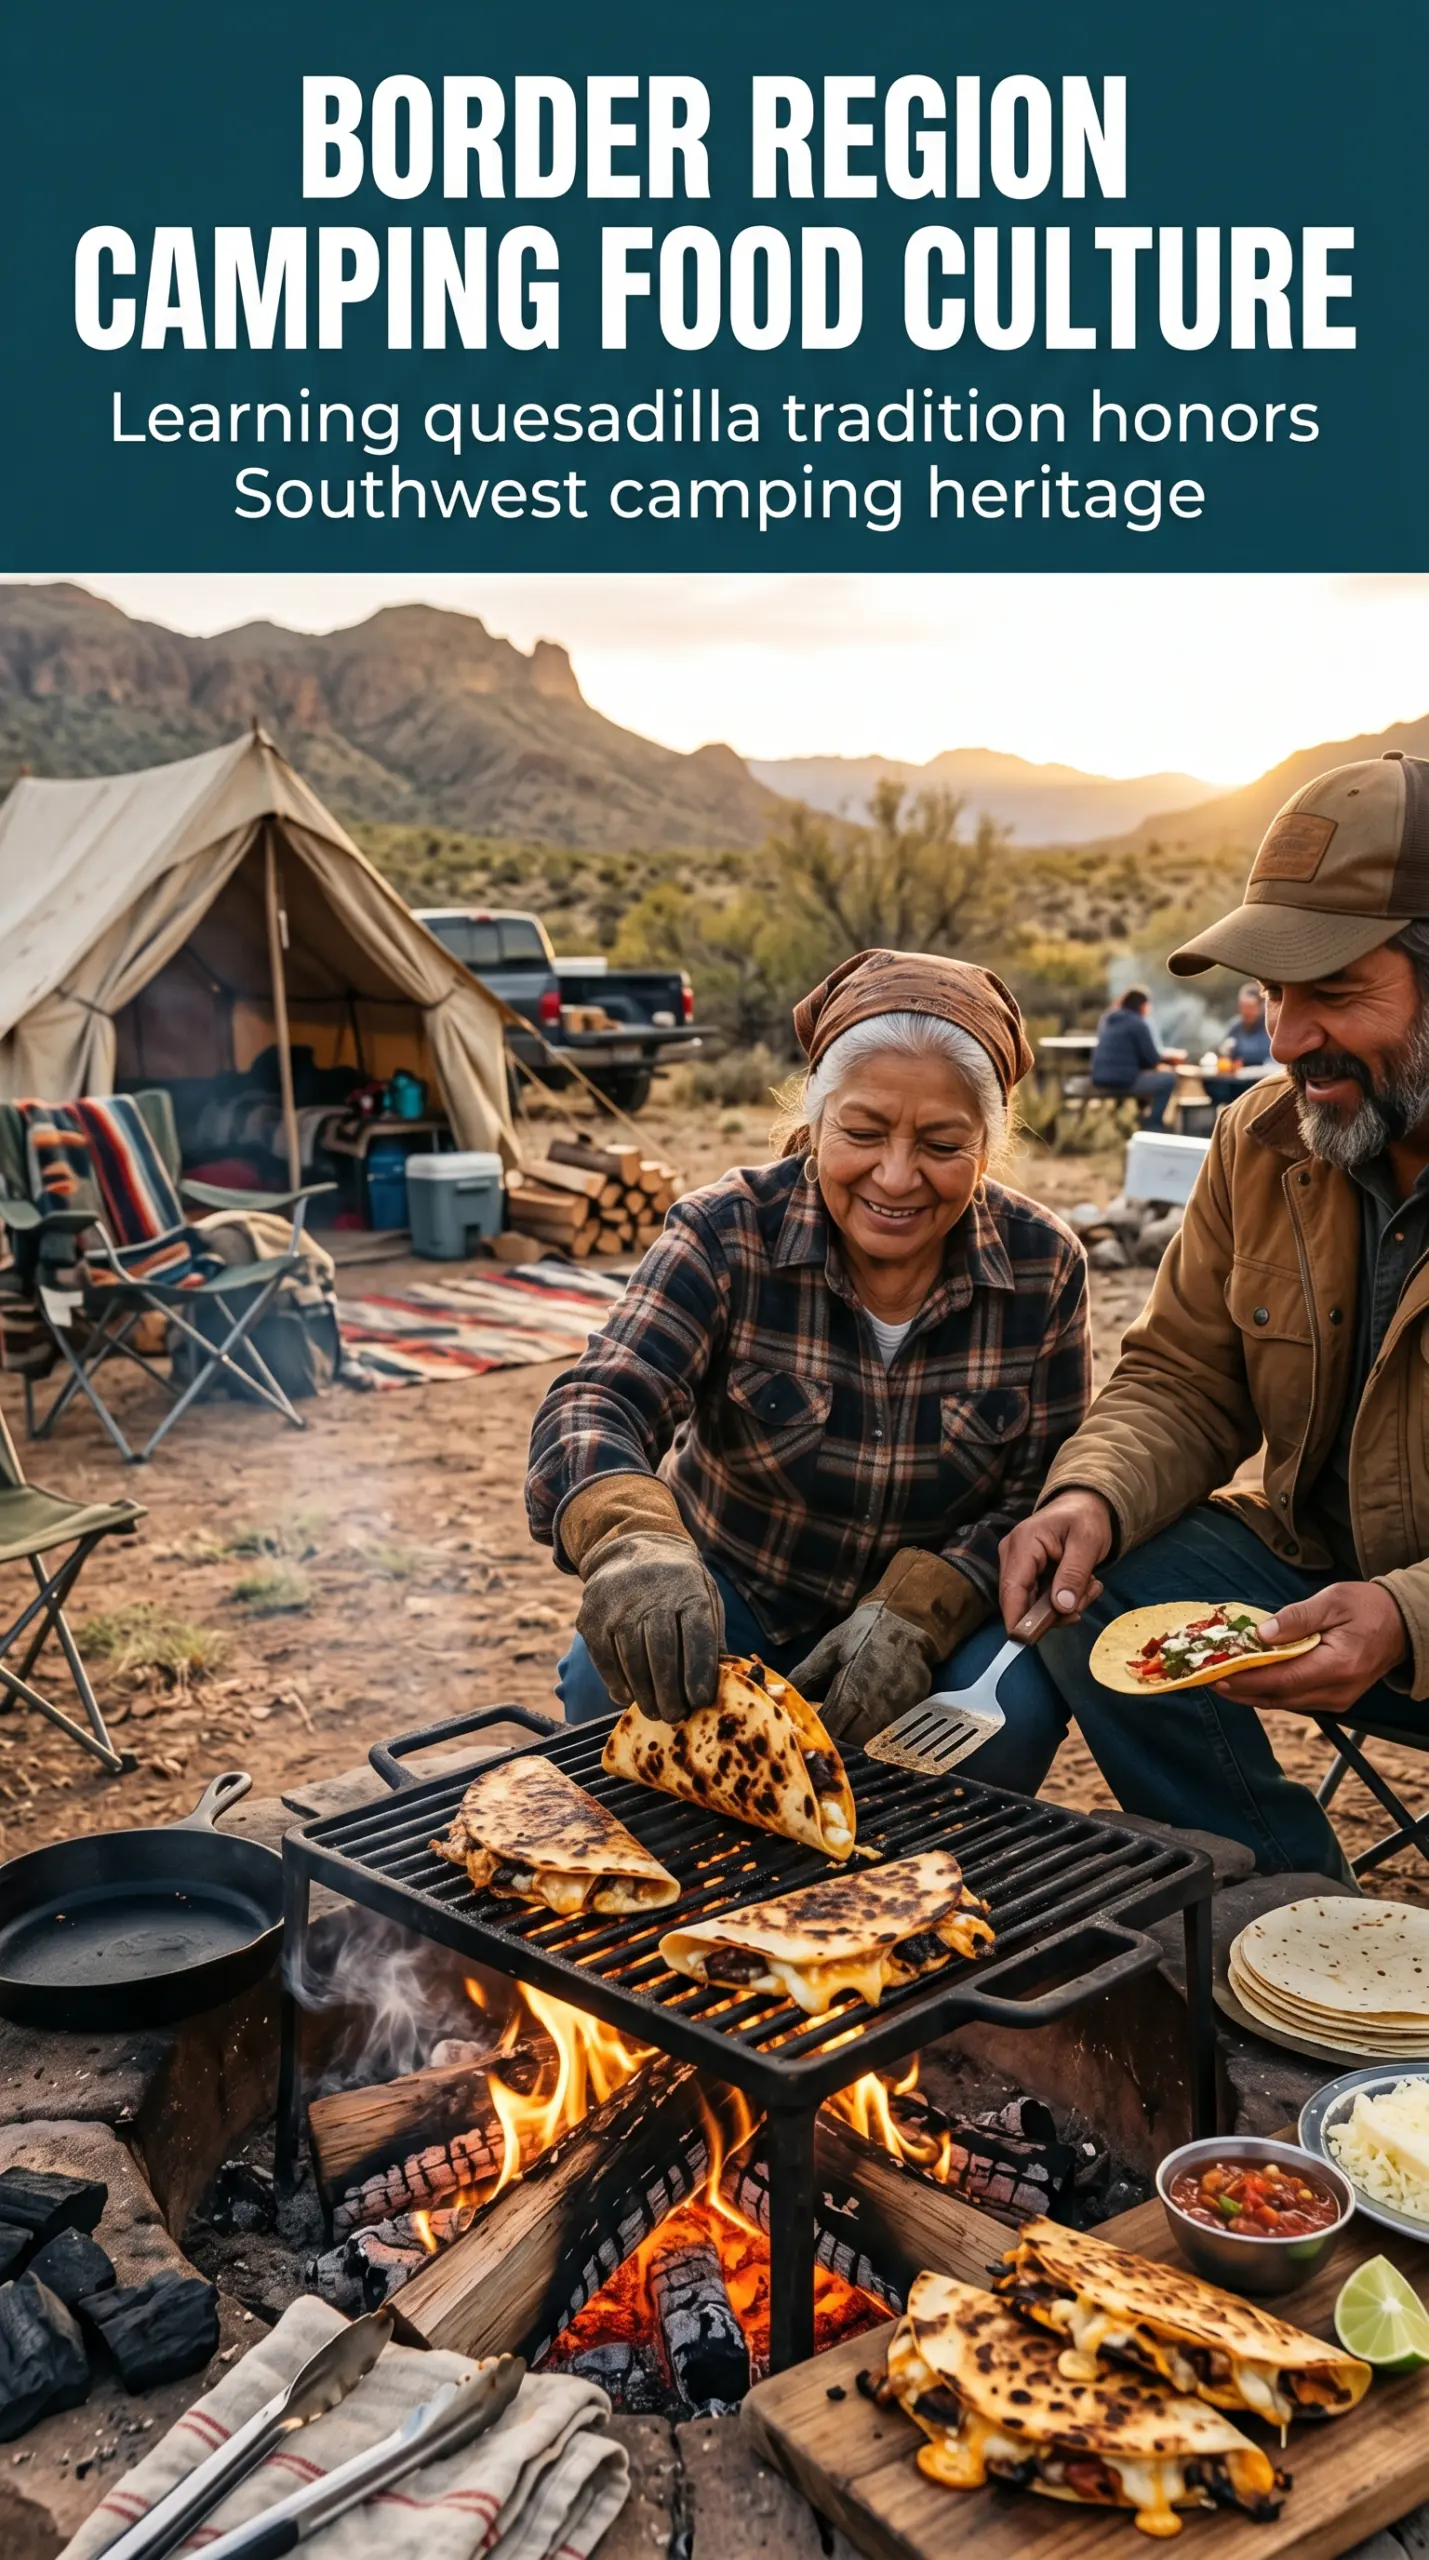
Grilled campfire quesadillas come off the heat with crisp, blistered tortillas and a center that stays molten long enough to pull into stretchy strands. The best ones have a little smoke on the outside, browned spots from the grill or skillet, and enough heft to eat as dinner without feeling fussy.
What makes this version work is the balance: enough cheese to glue everything together, but not so much that it leaks out before the tortillas toast. A hot cast iron skillet or steady grill grate gives you that quick, even browning before the filling has time to dry out. Shredded chicken adds substance, while peppers, onion, and jalapeño keep every bite from tasting flat.
Below, I’ve included the little timing details that keep the tortillas from scorching and the filling from sliding out. There’s also a few useful swaps if you want to make these vegetarian or adjust them for whatever’s in your camp cooler.
The tortillas crisped up beautifully over the fire and the cheese melted all the way through without everything falling out. I added a little extra jalapeño and the smoky edge from the grill made them taste like something from a campsite restaurant.
These grilled campfire quesadillas stay crisp on the outside and gooey in the middle, even over an open flame.
The Trick to Keeping Campfire Quesadillas from Sinking Through the Grate
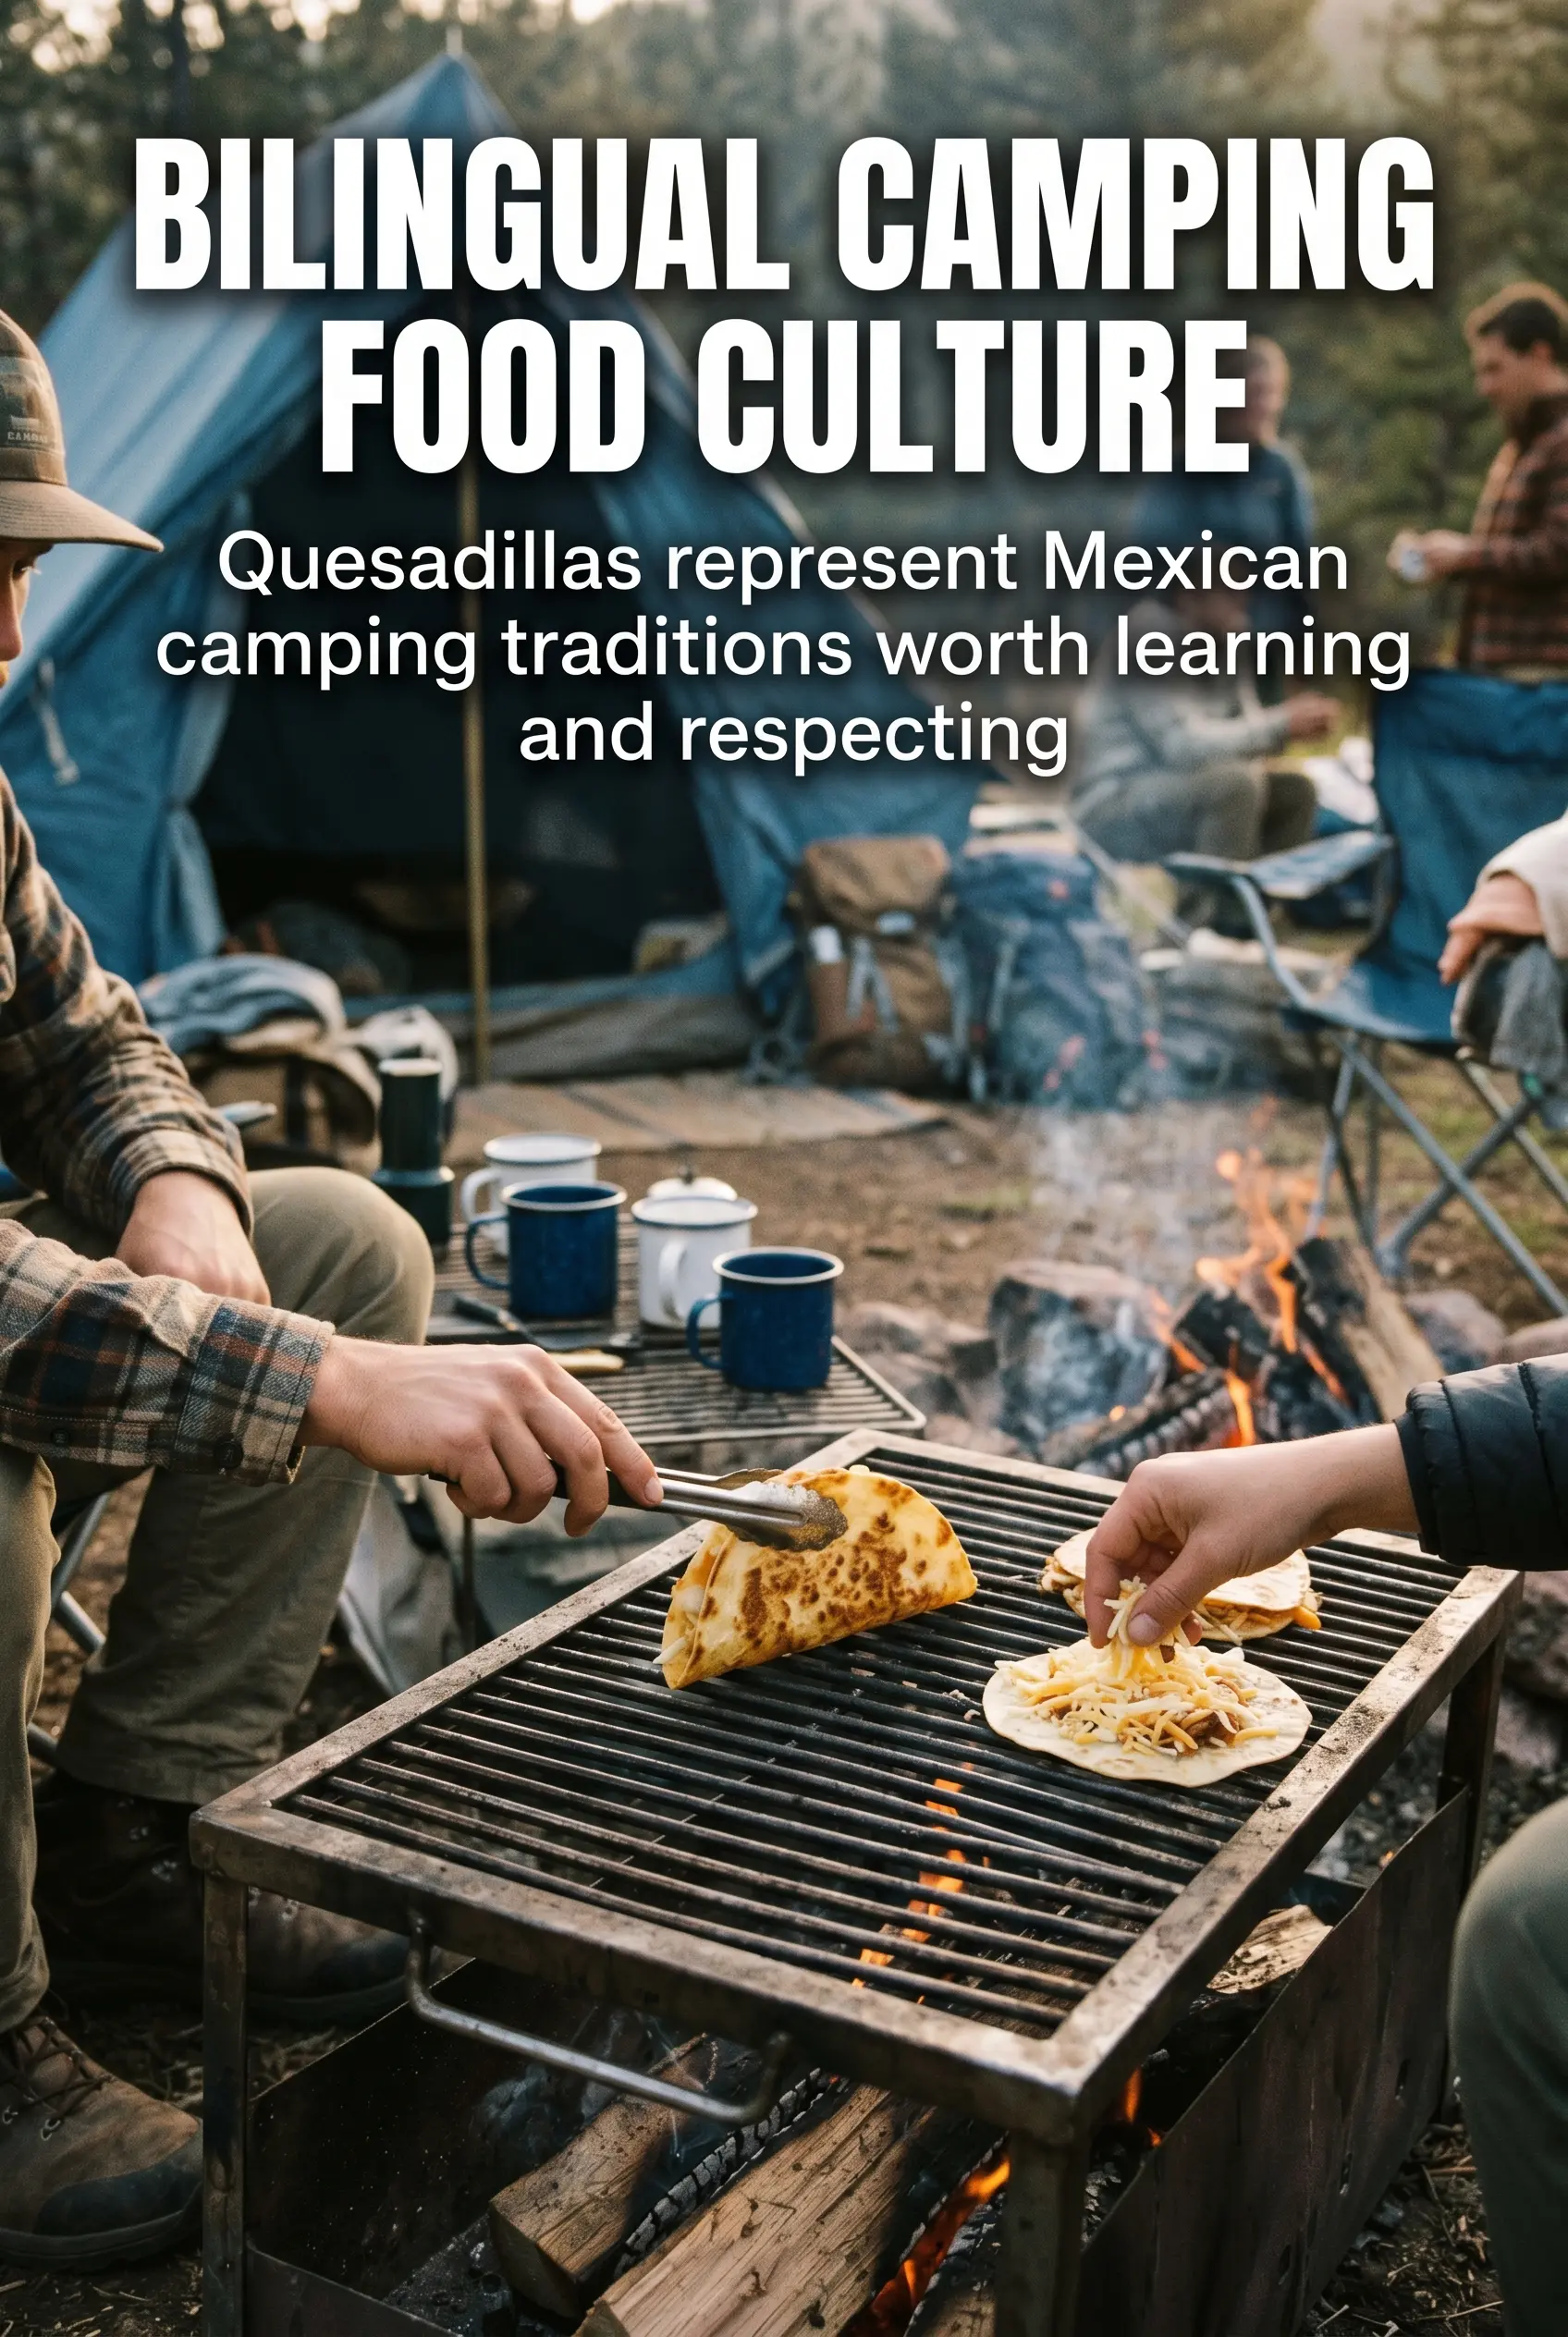
The main problem with quesadillas over a fire is heat control. If the flame is too aggressive, the tortilla chars before the cheese has time to melt, and if the surface is too cool, the filling warms up but the shell stays pale and limp. A cast iron skillet gives you the easiest control, but a clean grill grate works well as long as the heat is steady and not licking straight up through the tortillas.
Pressing the top tortilla gently matters more than people think. You’re not sealing it shut; you’re helping the filling settle into an even layer so the bottom side browns without leaving a thick, cold pocket in the middle. Let the first side develop color before flipping. If you move it too early, the cheese hasn’t had a chance to bind everything together and the filling can slide.
What Each Ingredient Is Doing in These Quesadillas
- Flour tortillas — Large flour tortillas hold together better than corn here and give you the flexible, crisp-edged finish you want over heat. Go with the biggest ones you can find so the filling stays contained and the wedges cut cleanly.
- Mexican cheese blend — This is the glue. A blend with Monterey Jack, cheddar, and similar melting cheeses gives you stretch plus flavor; pre-shredded works fine, though freshly shredded melts a little smoother if you’ve got the time.
- Shredded chicken — Cooked chicken turns these from snack to dinner without adding extra cooking time. Keep it finely shredded so it warms through fast and doesn’t tear the tortilla when you bite in.
- Bell pepper, onion, and jalapeño — These add crunch, sweetness, and a little heat. Dice the pepper and onion small so they soften on the grill; thin jalapeño slices give you pops of spice instead of overwhelming the filling.
- Butter or oil — A thin slick on the skillet or grate helps the tortilla brown instead of drying out. Butter gives a richer flavor; oil is a little more stable over fire and tends to brown more evenly.
The Short Window Between Melted Cheese and Burnt Tortilla
Setting Up the Heat
Start with a hot cast iron skillet or a preheated grill grate over a steady campfire. You want enough heat to toast the tortilla in about 3 to 4 minutes per side, but not so much that the outside blackens before the center softens. If the fire is roaring, wait a few minutes and cook over the calmer part of the flames.
Building the Filling Fast
Lay down the first tortilla, then move quickly with the cheese, chicken, peppers, onion, and jalapeño. Speed matters because a warm surface starts the browning right away, and you don’t want the tortilla sitting there while you’re still assembling. Keep the filling in an even layer and leave a narrow border at the edge so melted cheese doesn’t pour out as soon as it warms.
Flipping Without Losing the Filling
Top with the second tortilla and press gently with a spatula. Cook until the bottom is golden with visible grill marks or deep skillet color, then flip in one confident motion. If the quesadilla feels loose when you lift it, give it another 30 seconds; the cheese needs to set just enough to hold everything together before the turn.
Cutting and Serving Hot
Pull the quesadilla off the heat as soon as both sides are crisp and the cheese is fully melted. Let it rest for a minute, then cut into wedges while it’s still hot and elastic. Salsa, sour cream, and guacamole give you cool contrast, which matters here because the filling is rich and the edges are salty and crisp.
How to Adapt These for a Different Camp Menu
Make Them Vegetarian
Skip the chicken and add extra peppers, onion, and a handful of black beans or sautéed mushrooms. You’ll lose the meaty bite, but the filling stays satisfying and the cheese still carries the whole quesadilla.
Use What’s in the Cooler
Turkey, leftover pulled pork, or even chopped steak can stand in for the chicken. Just keep the pieces small and already cooked so they warm through by the time the tortillas are done.
Make It Dairy-Free
Use a good melting dairy-free cheese and brush the tortillas with oil instead of butter. The texture won’t be quite as stretchy, but the crisp exterior and hot filling still hold up well over the fire.
Storage and Reheating
- Refrigerator: Store leftovers in an airtight container for up to 3 days. The tortillas soften a bit, but the flavor holds up.
- Freezer: Freeze wrapped wedges for up to 1 month, though the texture is best fresh. Reheat straight from frozen so the cheese can warm before the tortilla dries out.
- Reheating: Warm in a skillet over medium-low heat or in a 375°F oven until the center is hot. The common mistake is blasting them on high heat, which burns the outside before the filling is thawed or heated through.
Questions I Get Asked About This Recipe
Grilled Campfire Quesadillas
Ingredients
Equipment
Method
- Heat a cast iron skillet or place a grill grate over the campfire until hot enough to sizzle when food touches it, using a steady, direct heat. Visual cue: you should see faint bubbling if you sprinkle a tiny amount of water on the surface (evaporation quickly).
- Place one tortilla on the hot cooking surface and quickly layer the shredded Mexican cheese, chicken, bell pepper, onion, and jalapeños. Visual cue: the cheese should cover the tortilla area so it melts into the filling.
- Top with the second tortilla and press down gently to seal the edges lightly. Visual cue: the filling should look evenly sandwiched with no big gaps.
- Cook for 3-4 minutes on the first side until golden with clear grill marks and the cheese is starting to ooze. Visual cue: edges look set and the center looks glossy from melted cheese.
- Flip and cook another 3-4 minutes until both sides are deeply golden and the cheese fully melts through. Visual cue: when you lift slightly, melted cheese stretches and the wedges will pull apart cleanly.
- Remove from heat, cut into wedges, and serve immediately with salsa, sour cream, and guacamole. Visual cue: cheese stretches when the quesadilla is separated.