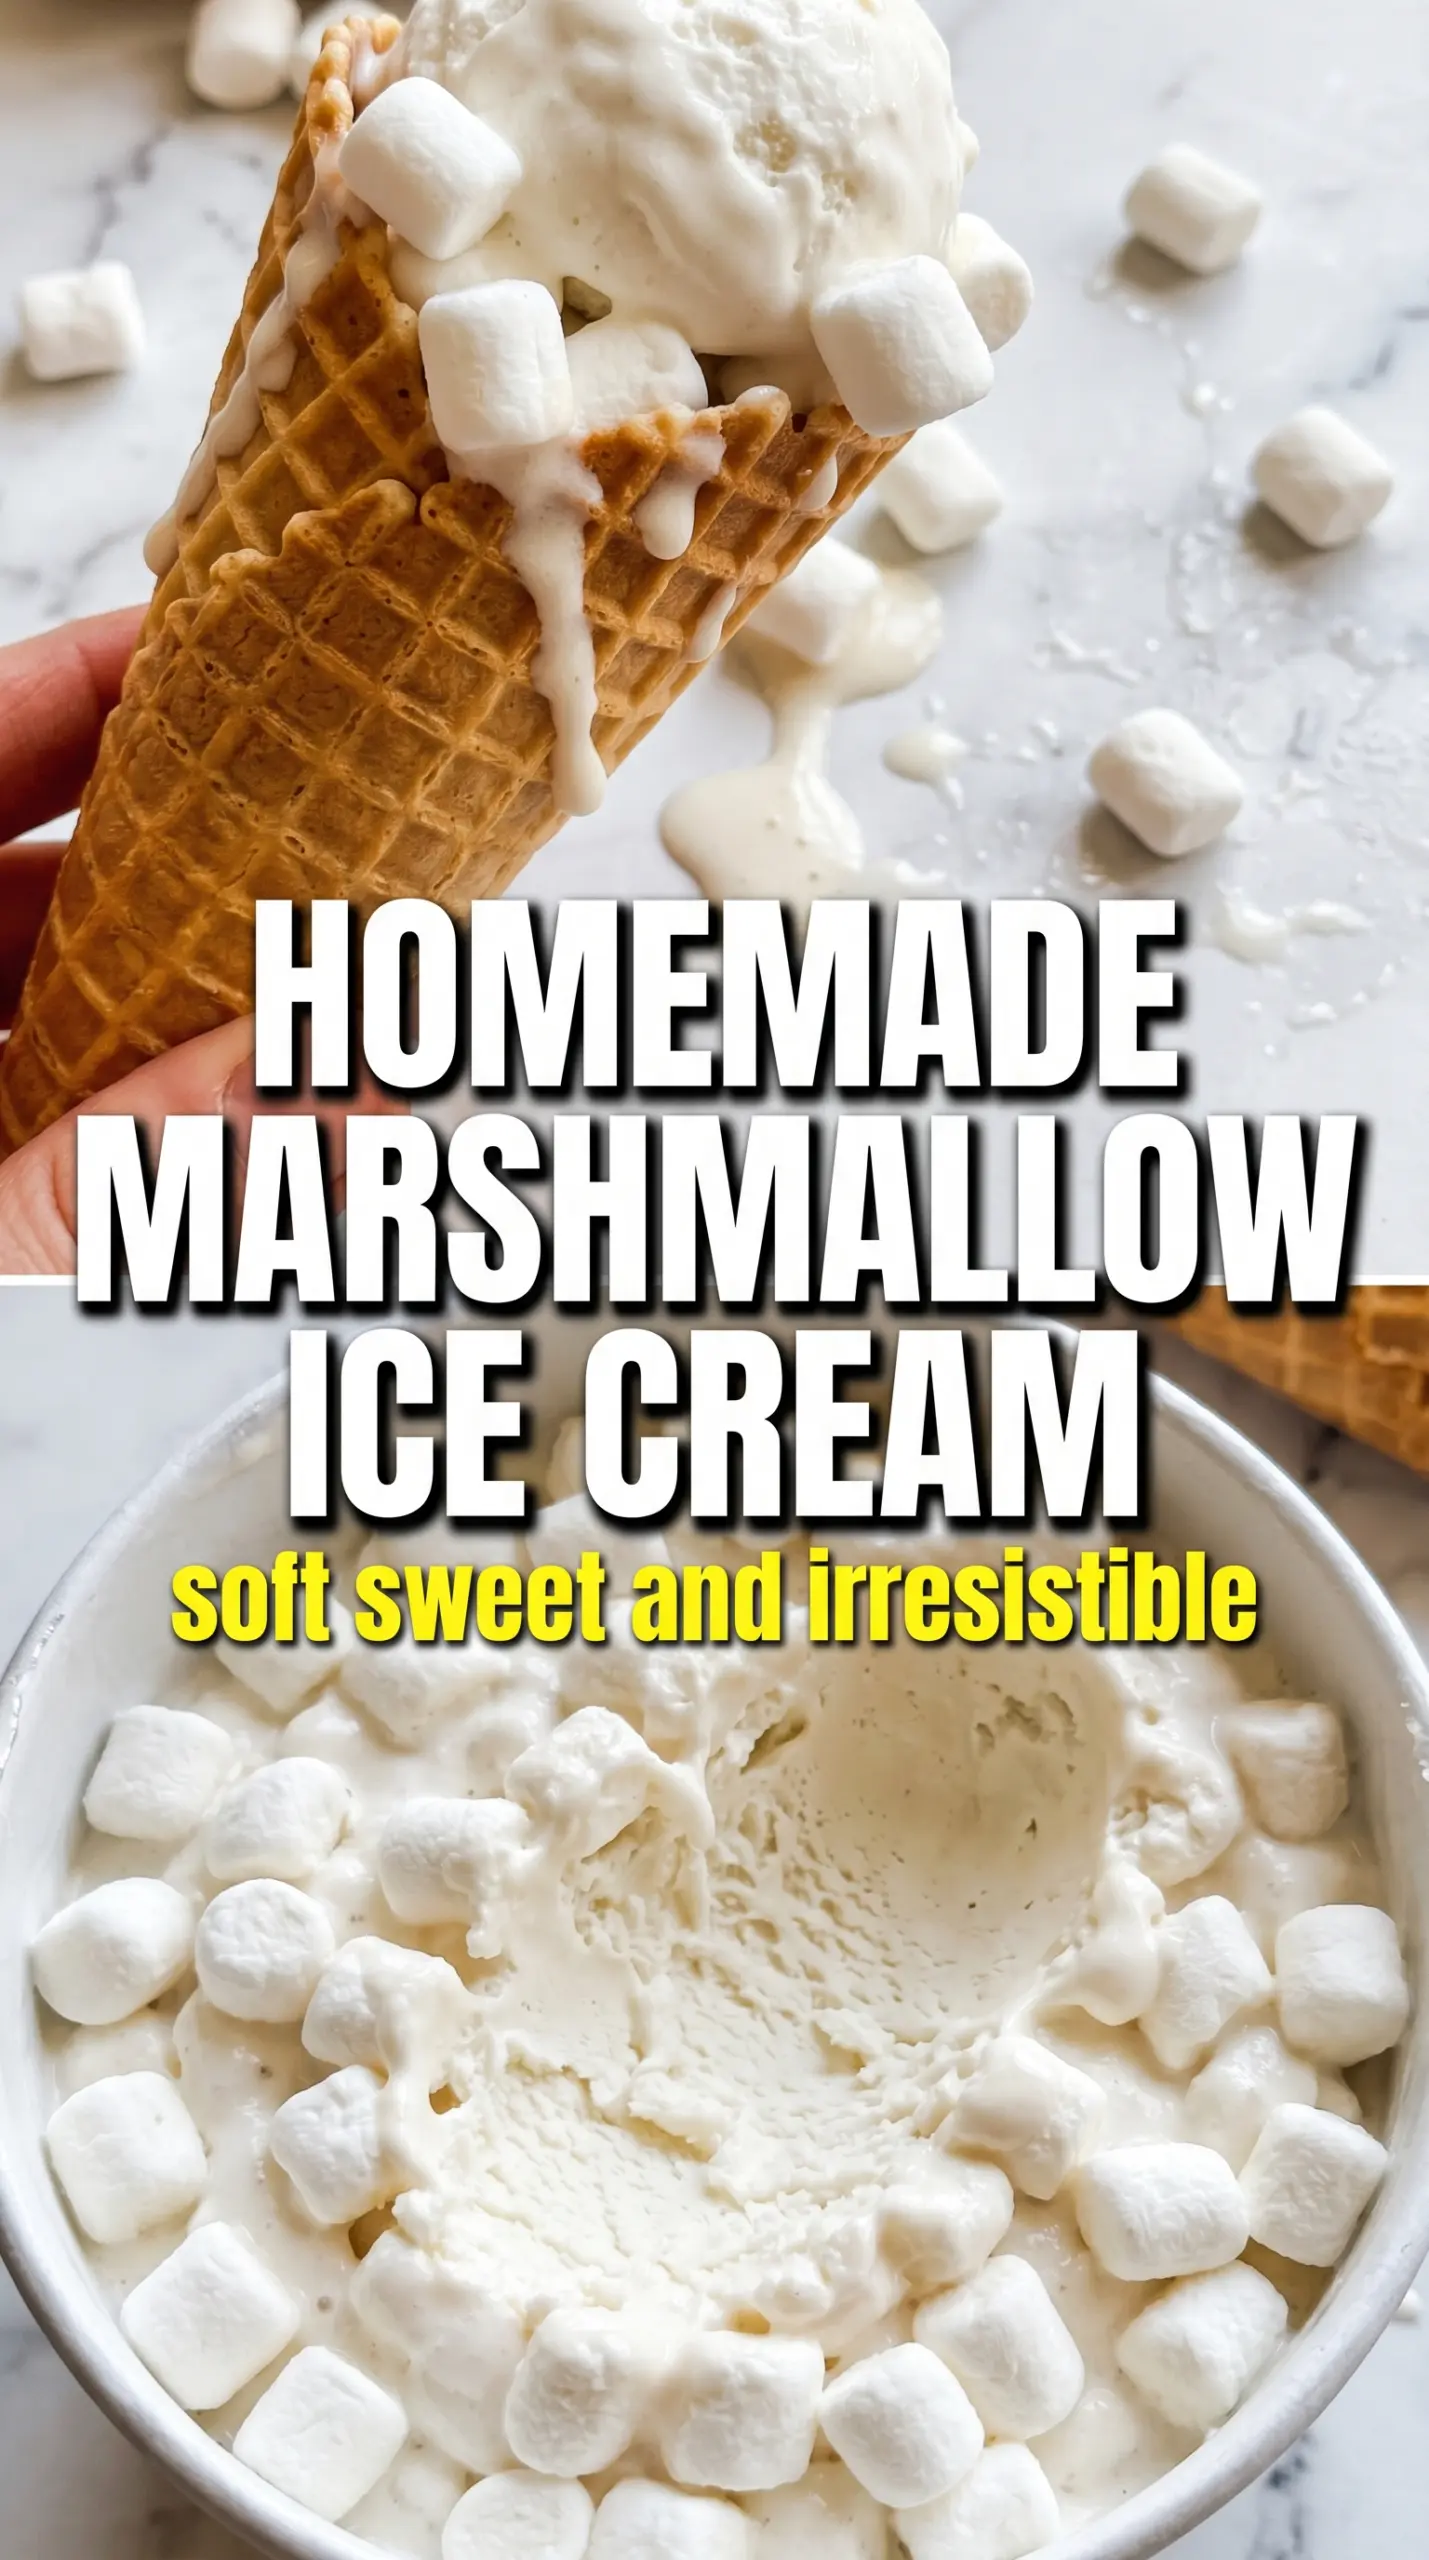
Cloud-white marshmallow ice cream lands with the kind of soft, billowy texture that makes a scoop disappear before you’ve even set the bowl down. It tastes like marshmallow cream turned into a frozen dessert: sweet, plush, and gently vanilla-scented, with mini marshmallow pieces that stay chewy instead of icy when they’re folded in at the very end.
The trick here is building a custard base first, then melting the marshmallow creme into it while the mixture is still warm enough to go smooth but not so hot that it turns sticky or scorched. Egg yolks give the ice cream body, and the marshmallow fluff brings the signature flavor without making the texture heavy. A full chill matters, too. If the base goes into the churn even a little warm, the finished ice cream turns soft and slushy instead of dense and scoopable.
Below you’ll find the small details that make this work: when to stop cooking the custard, how to fold in the mini marshmallows, and how to lean into a toasted marshmallow note if you want something a little more nostalgic.
The custard stayed silky and the marshmallow flavor came through without tasting too sweet. I folded in the mini marshmallows at the end like you said, and they stayed soft instead of turning hard in the freezer.
Save this cloud-like homemade marshmallow ice cream for the nights when you want a soft, fluffy scoop with real marshmallow flavor.
The Step That Keeps Marshmallow Ice Cream Smooth Instead of Gummy
Marshmallow creme behaves differently from plain sugar or chocolate in frozen desserts. It already contains stabilizers, so the goal isn’t to cook it hard or drive off moisture; it’s to dissolve it cleanly into the custard while the base is still hot enough to stay fluid. If the mixture boils after the yolks go in, the eggs can curdle and the marshmallow base can take on a sticky, gluey texture that never really smooths back out.
Cooking the custard to 175°F gives you enough thickness for a rich scoop without crossing into scrambled-egg territory. That’s the point where the mixture coats the back of a spoon and leaves a clean trail when you drag a finger through it. Pull it off the heat as soon as it reaches that temperature, then whisk in the Fluff until every streak disappears.
- Marshmallow creme — This is the flavor anchor. Regular marshmallows don’t melt into the same silky base, so the jarred creme is the ingredient that gives you the right texture and taste.
- Egg yolks — They give the ice cream body and a custard finish. There isn’t a true stand-in if you want that classic scoopable richness, though a cornstarch-thickened base can work in a pinch.
- Heavy cream and whole milk — Cream keeps it lush, while milk keeps it from turning heavy. Using all cream makes the finished ice cream feel dense instead of fluffy.
- Mini marshmallows — Fold them in at the very end so they stay soft. If you add them too early, they absorb moisture and turn tough in the freezer.
What Each Ingredient Is Actually Doing in This Ice Cream
- Base ingredient (cream, milk, or custard) — This provides the foundation and richness. Quality matters.
- Sweetener (sugar, honey, or condensed milk) — This sweetens and prevents ice crystals. The ratio is critical.
- Flavor element (vanilla, fruit, chocolate, coffee, or other) — This defines the ice cream personality. Use quality ingredients.
- Egg yolks (if making custard base) — These create richness and silky texture. Optional but elevates ice cream.
- Churning (if using ice cream maker) — This incorporates air and prevents ice crystals. Critical for smooth texture.
- Freezing temperature and time — Proper freezing prevents rock-hard texture. Store at 0°F or below.
- Mix-ins (chocolate, cookies, fruit, or swirls) — These add texture and prevent one-dimensional flavor. Add near end of churning.
- Serving temperature (slightly soft, not rock hard) — This provides creamy mouthfeel. Remove from freezer 5 minutes before serving.
From Steamed Milk to Churned Scoops Without a Grainy Base
Warming the Dairy
Heat the cream and milk until the edges just start to steam and small bubbles form around the pan. You want it hot, not boiling. If it comes to a hard simmer, the yolks can thicken too fast when you temper them, and that’s where little bits of cooked egg start showing up in the base.
Tempering the Yolks
Whisk the sugar and yolks until the mixture looks pale and slightly thickened, then stream in the hot dairy in a slow ribbon while whisking constantly. That gradual addition raises the yolk temperature without shocking them. If you dump the dairy in all at once, the eggs can seize and leave you with a lumpy custard that won’t churn smoothly.
Cooking to the Right Thickness
Return the mixture to the saucepan and cook over medium-low heat, stirring constantly and scraping the bottom and corners of the pan. Stop at 175°F. The custard should lightly coat a spoon, and a fingertip swiped across the back should leave a clean line. If it starts bubbling, the heat is too high and the eggs are in danger.
Melting in the Marshmallow Creme
Take the pan off the heat before whisking in the marshmallow creme. It should melt down completely into a smooth, glossy base with no white streaks left behind. If a few stubborn bits remain, keep whisking while the mixture is still warm; don’t put it back over high heat, or the custard can tighten up before the marshmallow fully blends.
Chilling, Churning, and Folding
Stir in the vanilla and salt, then chill the base until it’s fully cold, at least 4 hours. Churn it in your ice cream maker until it reaches soft-serve thickness, then fold in the mini marshmallows during the last couple of minutes. If you want a toasted marshmallow note, torch the mini marshmallows briefly first; just keep the torch moving so they blister instead of melting into puddles.
How to Tweak the Scoop Without Losing the Fluffy Marshmallow Texture
Toasted Marshmallow Ice Cream
Torch the mini marshmallows until they’re blistered and caramelized on the outside before folding them in. That adds a campfire note and a little chew, but don’t overdo it or they’ll melt into the base and disappear.
Dairy-Free Version
Use full-fat coconut milk and coconut cream in place of the dairy, then keep the rest of the method the same. The texture will be a touch softer and the coconut will come through, but the marshmallow flavor still carries the dessert.
Lower-Sugar Scoop
You can reduce the granulated sugar slightly, but don’t cut it too far. Sugar isn’t just sweetness here; it helps keep the ice cream soft after freezing. If you go too low, the texture firms up into a blocky, icy scoop.
Storage and Reheating
- Refrigerator: Not applicable for the finished ice cream, but the churned base can rest in the fridge up to 24 hours before freezing.
- Freezer: Store in an airtight container for up to 2 weeks for the best texture. After that, it still tastes fine, but the mini marshmallows can get firmer and the surface may pick up ice crystals.
- Reheating: Let the container sit at room temperature for 5 to 10 minutes before scooping. If you try to dig in straight from the freezer, the edges crack and the texture feels hard instead of creamy.
Answers to the Questions Worth Asking

Homemade Marshmallow Ice Cream
Ingredients
Equipment
Method
- In a saucepan, heat heavy cream and whole milk until steaming, whisking often as you warm it.
- In a bowl, whisk egg yolks and granulated sugar until smooth, then slowly whisk the hot cream mixture into the yolks to temper.
- Return the mixture to the saucepan and cook over medium heat until it reaches 175°F, stirring constantly so it thickens.
- Remove from heat and whisk in marshmallow creme until completely melted and smooth.
- Whisk in vanilla extract and salt until fully combined, then cool the mixture completely.
- Refrigerate the mixture for 4 hours so it’s thoroughly chilled before churning.
- Churn in an ice cream maker according to the manufacturer instructions until thickened to a soft-serve texture.
- Briefly torch the mini marshmallows for a toasted marshmallow flavor, then fold them into the ice cream in the last 2 minutes.
- Transfer to a freezer-safe container and freeze until firm.


