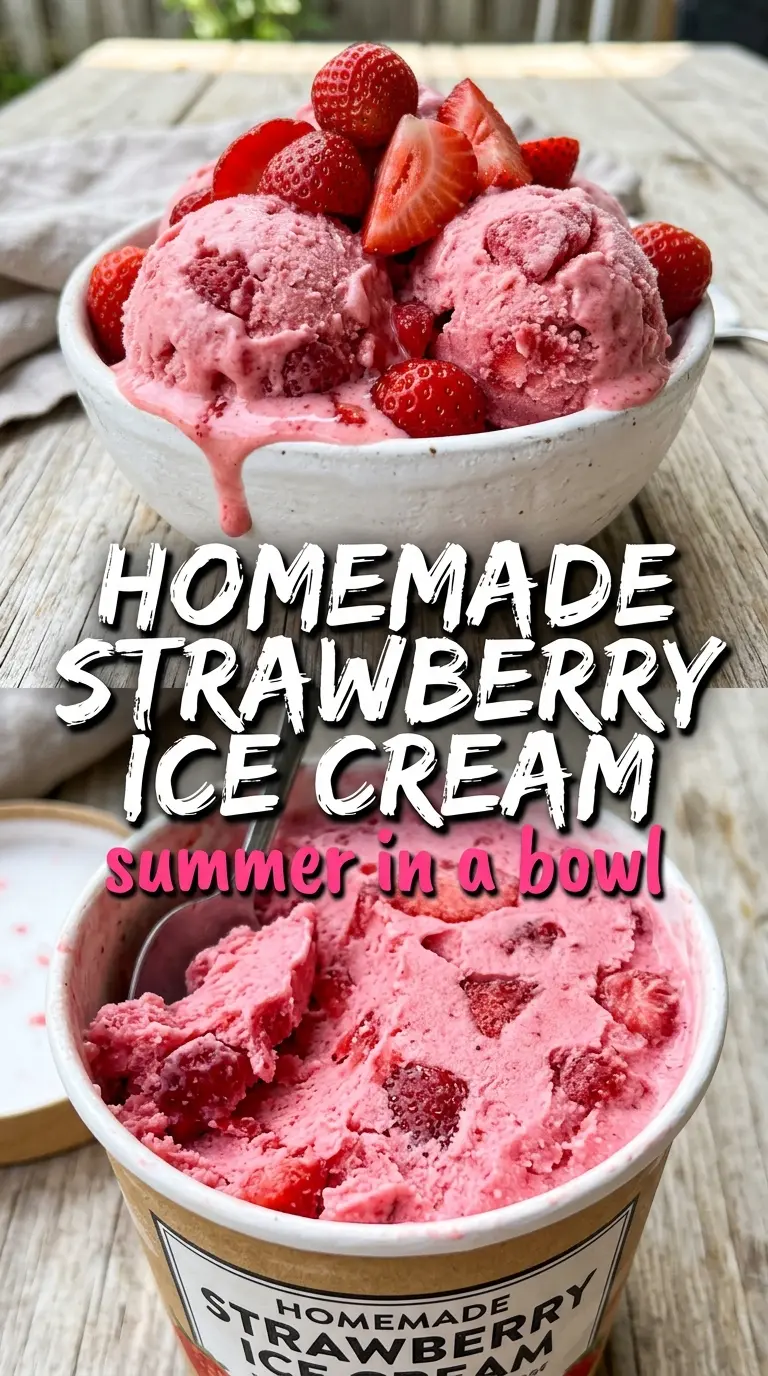
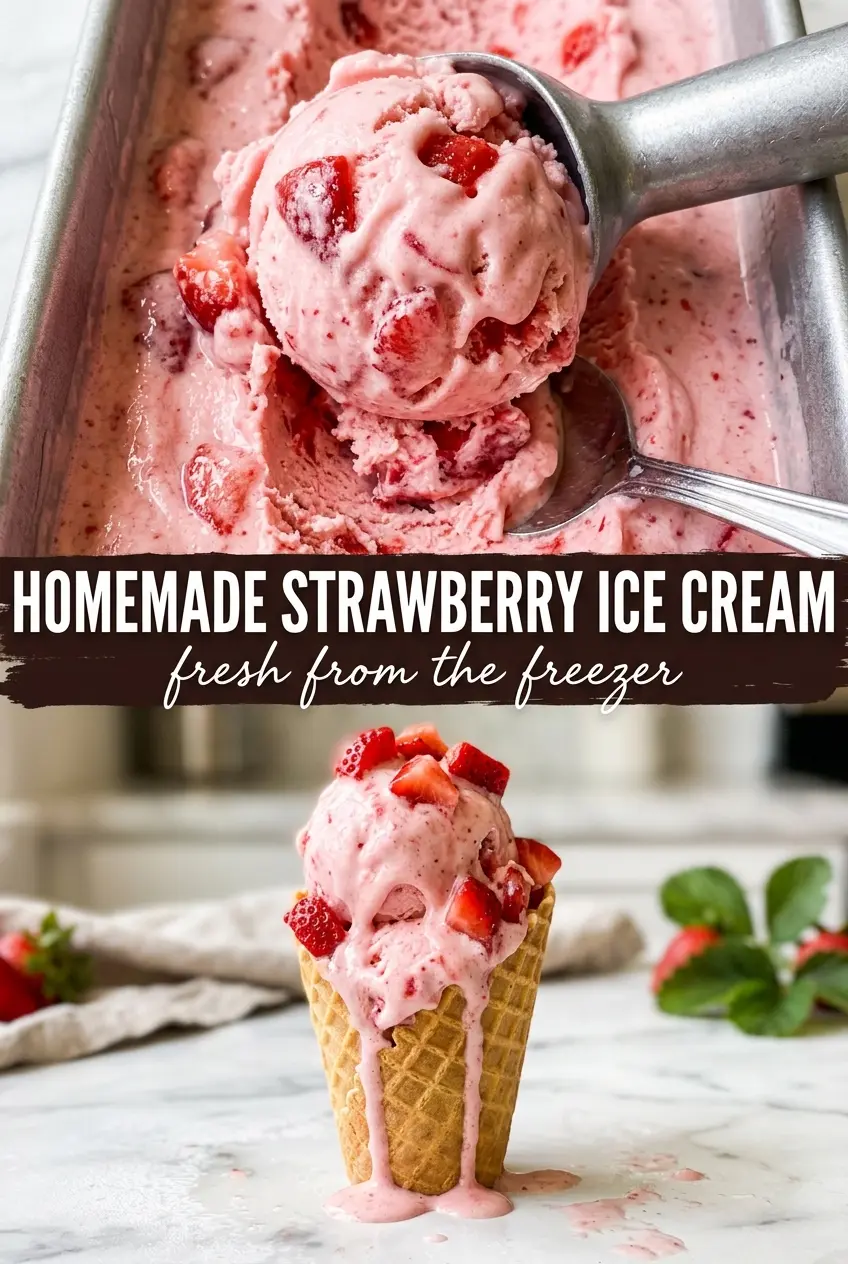
Homemade strawberry ice cream tastes like actual strawberries first and dessert second, which is exactly why it earns a permanent spot in the freezer when berries are good. The color stays naturally pink, the texture turns plush and creamy, and the fruit flavor doesn’t get lost under too much cream or artificial sweetness. You get little bits of berry in every scoop instead of a one-note pink scoop that tastes more like candy than fruit.
The trick is building the base as a custard, then adding the strawberry puree at the end of churning. That keeps the dairy rich and smooth while the berries stay bright instead of cooking down into something flat. Macerating the strawberries with a little sugar and lemon juice pulls out their juices and sharpens the flavor, and the egg yolks give the finished ice cream enough body to scoop cleanly after freezing.
Below you’ll find the exact timing that keeps the custard silky, plus a few ways to adapt the recipe if you want a seedless version, a slightly lighter base, or a make-ahead plan for a dinner party.
The custard turned out silky and the strawberry puree stayed bright instead of icy. I loved that the berry pieces were still there, and it scooped beautifully after a couple hours in the freezer.
Love the real strawberry pieces and creamy custard base? Save this homemade strawberry ice cream for the next time berries are sweet and you want a scoopable freezer treat.
The Custard Base Is What Keeps This Ice Cream Scoopable
Strawberry ice cream can turn icy fast if the base is too thin. Fruit brings water, and water freezes hard. The custard solves that problem by giving the mixture enough fat and egg yolk structure to stay creamy even after a full freeze.
The other place people run into trouble is the heat. Once the dairy goes into the yolks, the custard only needs to reach the point where it coats the back of a spoon. Push it past that and you get scrambled egg bits or a grainy texture that no amount of churning can fix. Stir steadily, keep the heat moderate, and pull it the moment it thickens.
- Egg yolks — These are doing the heavy lifting for texture. They thicken the base and help it freeze into something you can scoop without a chisel.
- Heavy cream and whole milk — Cream gives richness, while whole milk keeps the ice cream from feeling heavy. Swapping in lower-fat milk makes the result icier.
- Fresh strawberries — Fresh berries give the brightest flavor and the best natural color. Frozen strawberries work in a pinch, but they usually need a little extra draining after thawing so the base doesn’t get watery.
- Lemon juice — This doesn’t make the ice cream tart. It wakes up the strawberry flavor and keeps the puree from tasting flat.
What Each Ingredient Is Doing Before It Hits the Machine
- Granulated sugar — Some goes with the strawberries to draw out juice, and the rest sweetens the custard. That split matters because sugar also lowers the freezing point, which keeps the finished ice cream softer.
- Vanilla extract — Use a good vanilla here. It doesn’t take over, but it rounds out the strawberry flavor and keeps the custard from tasting eggy.
- Salt — Just a pinch, but it makes the fruit taste fuller and keeps the sweetness in check.
- Substitution note — If you need a seedless finish, strain the strawberry puree after blending. You’ll lose a little texture, but the flavor stays strong and the final scoop looks smoother.
Churning the Base Without Turning It Grainy
Macerate the berries first
Toss the sliced strawberries with part of the sugar and the lemon juice, then let them sit until they look glossy and juicy. That 30-minute rest pulls out liquid and concentrates the berry flavor, which means the puree tastes like strawberries instead of watered-down jam. Mash them for a chunkier ice cream or blend them for a smoother one, then chill the puree before it goes into the machine.
Cook the custard low and steady
Heat the cream and milk until steaming, then whisk them into the yolks slowly so they don’t curdle. Return everything to the pan and cook over medium-low heat, stirring constantly, until it thickens enough to coat a spoon and reaches 170-175F. If you see tiny curds, the heat went too high; pull the pan off the burner immediately and whisk hard, then strain at once.
Chill before churning
Strain the custard, then stir in the vanilla and salt. Cool it fully before refrigerating, because warm base in an ice cream maker gives you soft, slushy churned ice cream that never quite firms up right. Two hours in the fridge is the minimum, but colder is better if you have the time.
Add the strawberry puree at the end
Churn the custard until it looks like soft serve, then add the strawberry puree during the last few minutes. If you add it too early, the fruit gets overworked and the color turns dull. The last-minute addition keeps visible berry streaks and pieces throughout the ice cream.
Freeze until firm
Transfer the churned ice cream to a container and freeze until it firms up. Press a piece of parchment or plastic wrap directly onto the surface if you want to reduce ice crystals. The hardest part is waiting, but the texture gets much better after that final freeze.
How to Adapt This for a Different Freezer or a Different Crowd
Seedless strawberry ice cream
Blend the macerated berries until smooth, then push the puree through a fine mesh strainer before adding it to the churned custard. You lose the little fruit bits, but the ice cream gets a silkier finish and a cleaner pink color.
Dairy-free version
Swap in full-fat canned coconut milk for the cream and milk, then use a custard-style dairy-free base if you already have one you trust. The result will be a little less neutral and a little more coconut-forward, which works well with strawberries but changes the finish.
Extra-fruity batch
Add a handful of finely chopped berries during the last minute of churning along with the puree. That gives you more obvious fruit in the final scoop, but it also softens faster in the freezer, so serve it a little sooner after churning.
Storage and Reheating
- Refrigerator: The base can sit chilled for up to 2 days before churning, and the flavor actually improves once it has fully rested.
- Freezer: The finished ice cream keeps well for about 2 weeks in a tightly sealed container. After that, ice crystals start to creep in and the strawberry flavor fades.
- Reheating: Let it sit at room temperature for 5 to 10 minutes before scooping. Don’t microwave it, or the edges will melt while the center stays hard.
Answers to the Questions Worth Asking
Homemade Strawberry Ice Cream
Ingredients
Equipment
Method
- Toss the sliced fresh strawberries with 1/4 cup sugar and lemon juice, then let them sit for 30 minutes at room temperature to macerate and release juices with visible syrupy bits forming around the berries.
- Mash or blend the macerated strawberries to a chunky puree, then refrigerate until needed so the fruit stays cold and thick.
- Whisk the egg yolks with the remaining 1/2 cup sugar until pale and thick, about 2–3 minutes, looking lighter and slightly ribboning.
- Heat the heavy cream and whole milk in a saucepan over medium heat until steaming, then slowly whisk the hot dairy into the egg yolks to temper without scrambling.
- Return the mixture to the saucepan and cook over medium-low heat, stirring constantly, until it thickens enough to coat the back of a spoon and reaches 170–175F, about 5–8 minutes with a clear visual thickening.
- Strain the custard to remove any solids, then stir in vanilla and salt, cooling it until smooth and creamy-looking.
- Refrigerate the custard until completely cool, at least 2 hours, so it chills through before churning.
- Churn the custard in an ice cream maker according to the manufacturer’s instructions, adding the strawberry puree in the last 5 minutes so fruit pieces are distributed throughout.
- Transfer the churned ice cream to a container and freeze at least 2 hours until firm, so scoops hold their shape with a dense, scoopable texture.


