Ice Cream Cone Cake turns a birthday dessert into a full-on party piece, and the best part is that it tastes as fun as it looks. The crushed sugar cone crust brings a sweet, toasty crunch that plays against the soft, frozen filling, while the whipped topping keeps everything light enough to slice cleanly after a long freeze. Those little cones standing on top aren’t just decoration. They give the whole cake that unmistakable ice cream shop feel the second it hits the table.
The trick here is starting with softened ice cream or sherbet that spreads without turning soupy. If it’s too hard, you’ll tear up the crust. If it’s too soft, the layers can slide and freeze unevenly. Pressing the cone crust firmly into the springform pan matters too, because that’s what gives the cake enough structure to hold all the frozen layers once it’s time to unmold.
Below you’ll find the little details that make this cake easier to assemble, plus a few swaps if you want to change the flavor or make it work for a different crowd.
The cone crust stayed crisp enough to slice cleanly, and the rainbow sprinkles on top made it look like something from an ice cream shop. My daughter asked for it again before the candles were even blown out.
Save this ice cream cone cake for birthdays when you want a frozen dessert with a crunchy cone crust and a party-topper finish.
The Freezing Step That Keeps the Cone Crust from Going Soft
The crust in this cake needs a firm set before the ice cream goes in. If you rush that first freeze, the melted butter never has time to bind the crushed cones, and the bottom layer can crumble when you try to slice it later. Pressing the mixture into the springform pan and chilling it for 15 minutes gives you a base that behaves more like a dessert shell than a loose crumb.
The other place people run into trouble is the ice cream layer. Spread it in softened, not melted, so it settles into an even blanket instead of soaking into the crust. A long freeze after that first layer is what keeps the whipped topping from sinking and helps the whole cake release cleanly from the pan.
What Each Layer Is Doing in This Ice Cream Cone Cake
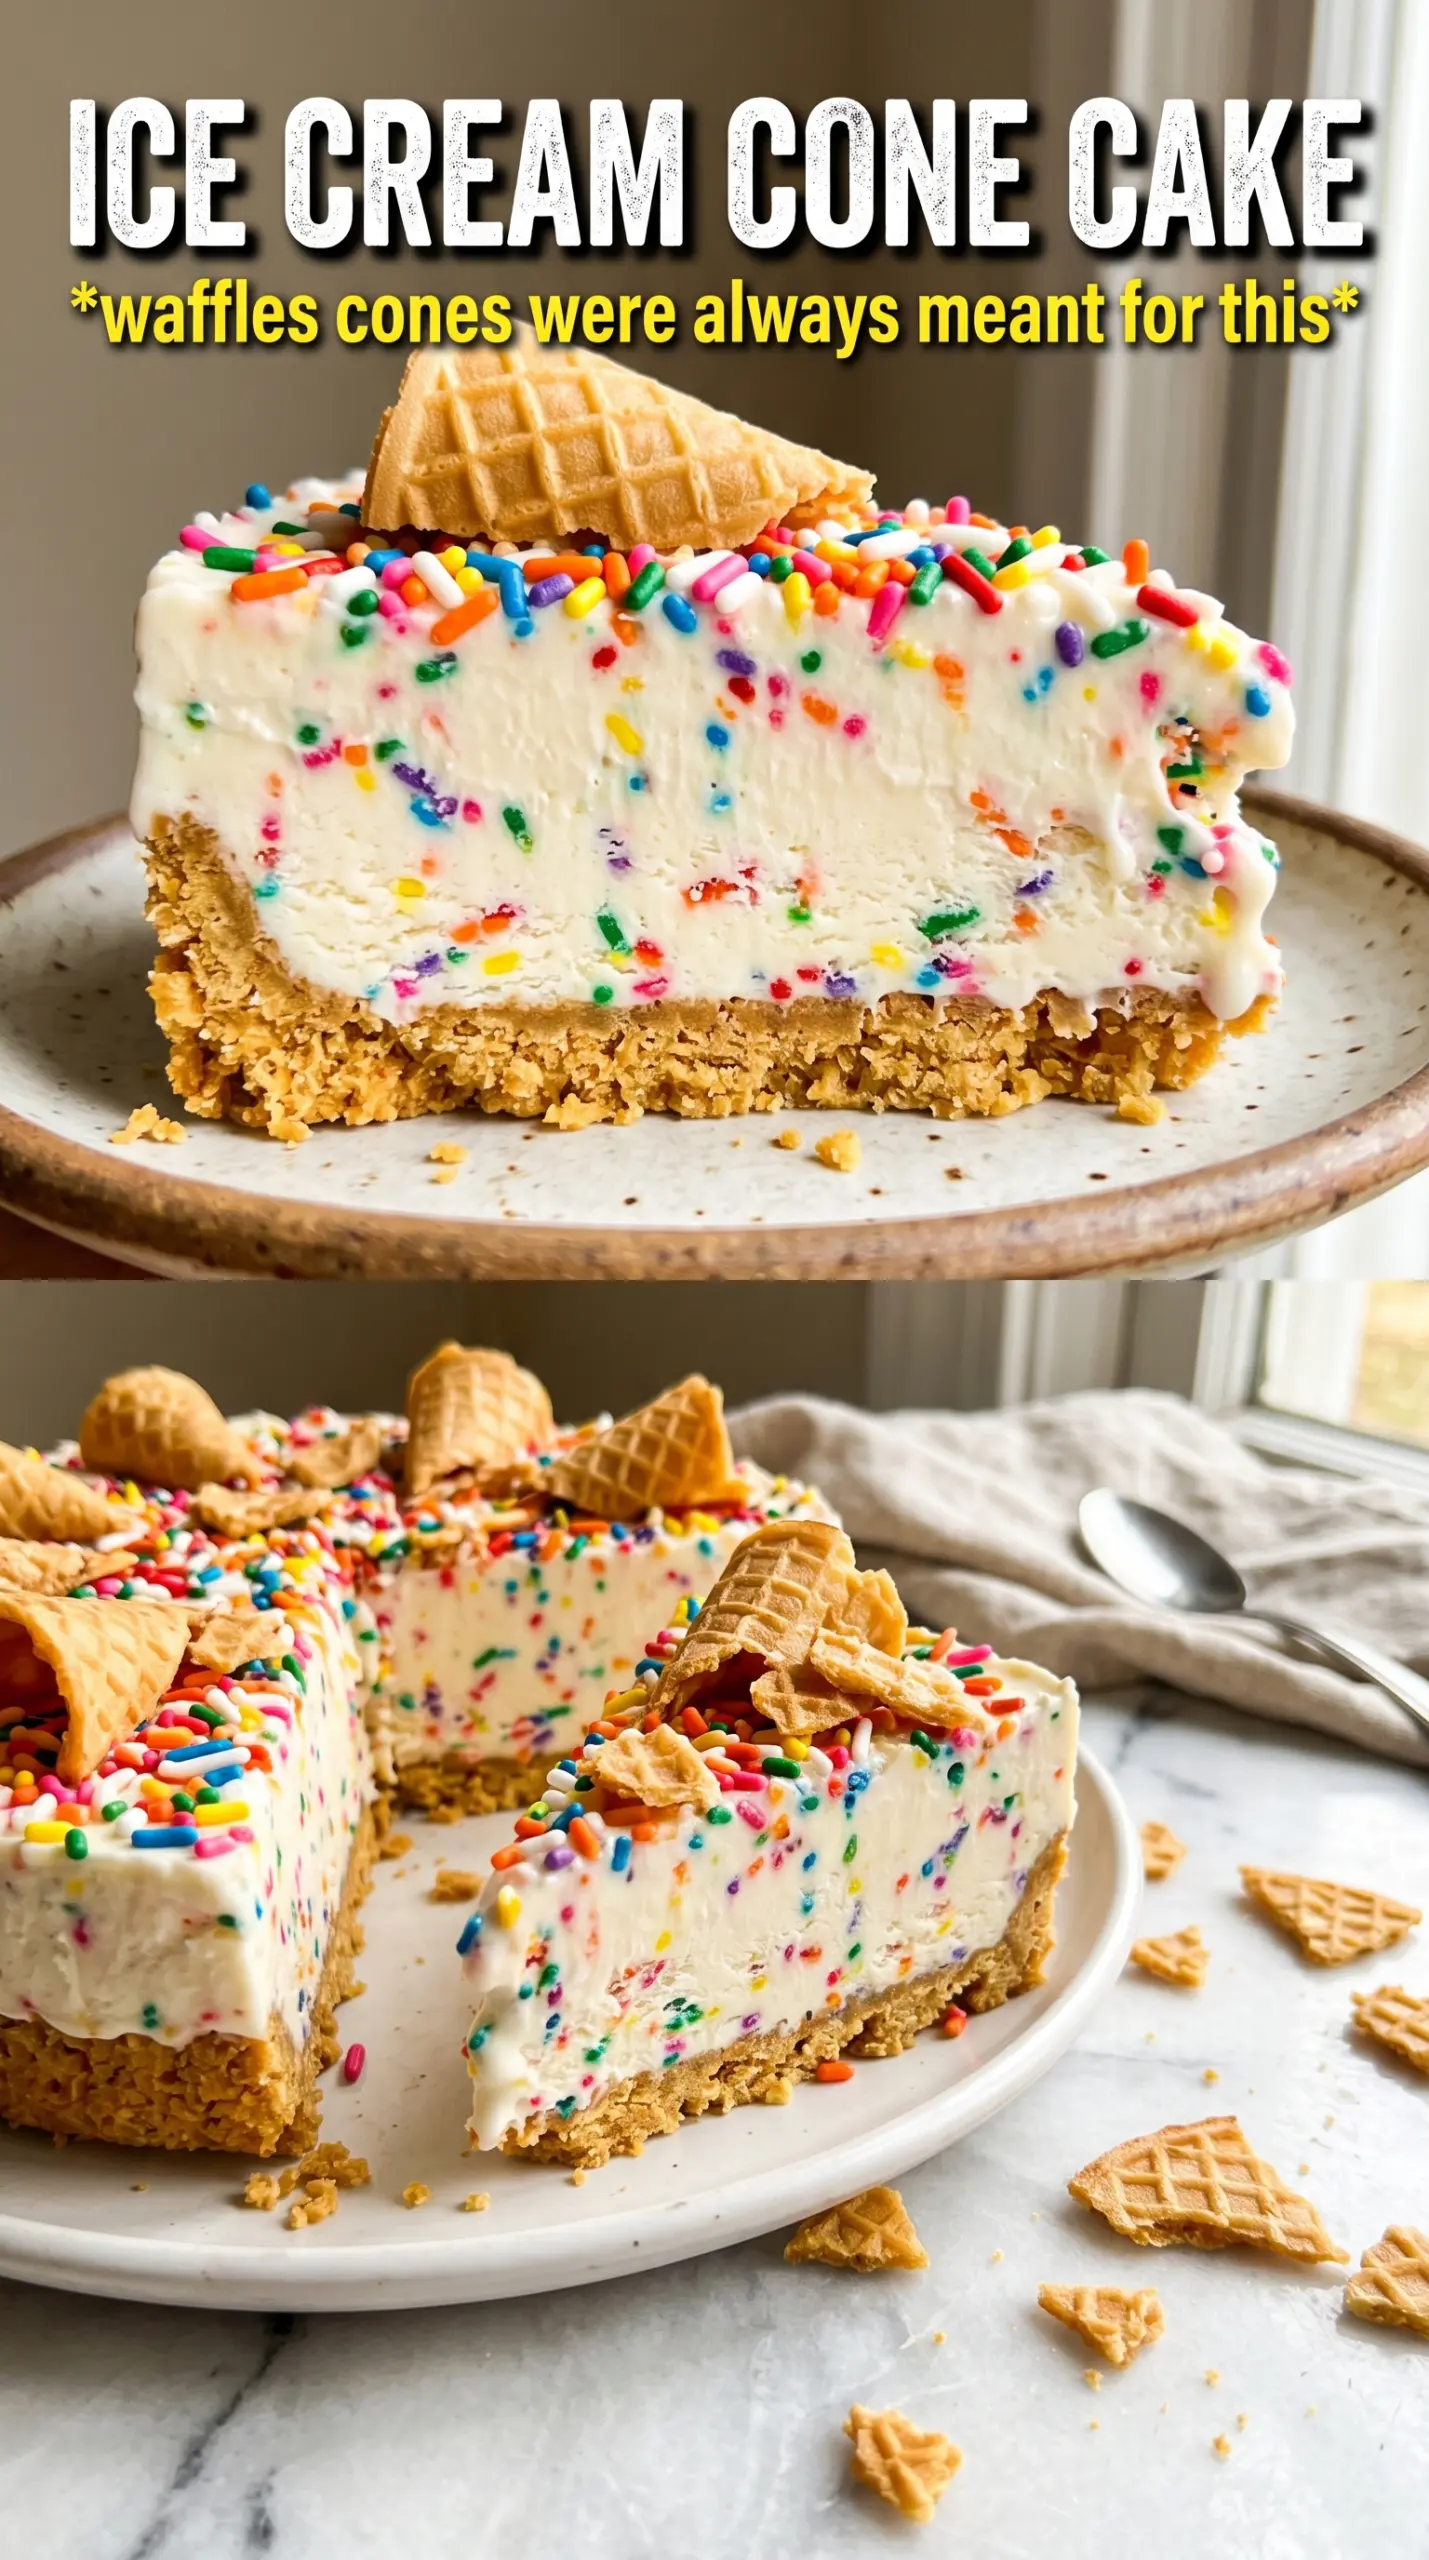
- Sugar cones — These bring the signature cone flavor and the crisp, sandy texture you can’t get from graham crackers. You want plain sugar cones, not wafer cones, because they crush into a sturdier crust that holds up under freezing.
- Unsalted butter — Butter turns the crushed cones into a sliceable base. Melt it fully, then mix until every crumb looks evenly damp; dry patches will fall apart when you cut the cake.
- Vanilla or rainbow sherbet ice cream — This is the body of the cake, so choose a flavor that’s soft enough to spread once it sits out for a few minutes. Sherbet gives a brighter, more colorful finish, while vanilla keeps the cake creamy and classic.
- Whipped topping — This acts like a soft frosting that stays stable in the freezer. Real whipped cream can work for a shorter hold, but whipped topping keeps its shape better if the cake sits before serving.
- Mini ice cream cones — These are the visual payoff. Press them in after the whipped topping is on so they hold upright and don’t crack the frozen filling underneath.
- Rainbow sprinkles — Add them last, right before the final freeze or just before serving if you want them brightest. On whipped topping, they stick best when you scatter them generously instead of trying to place them one by one.
Building the Frozen Layers Without Losing the Shape
Forming the Cone Crust
Mix the crushed sugar cones with the melted butter until the crumbs look evenly moistened, then press them firmly into a 9-inch springform pan. Use the bottom of a measuring cup to pack the crust into the corners and up the sides a bit if you want a more finished edge. If the crust feels loose, it will break apart when the cake unmolds. A 15-minute freeze sets the butter enough to lock everything in place.
Spreading the Ice Cream
Let the ice cream or sherbet soften just until it spreads without resistance. Scoop it over the crust and smooth it into an even layer, working from the center outward so you don’t drag crumbs into the filling. If it gets too soft, park the pan in the freezer for a few minutes before smoothing the top. That keeps the layer thick and clean instead of streaky and melted.
Adding the Frosted Finish
Once the ice cream layer is firm, cover the top and sides with whipped topping. Spread it in a generous layer so the cones and sprinkles have something to cling to. If the cake is too soft at this point, the topping will slide instead of staying smooth, so don’t skip the long freeze before decorating. Finish with sprinkles and stand the mini cones upright in a ring pattern for the full ice-cream-parlor look.
How to Adapt the Cake for Different Tastes and Occasions
Use chocolate cones for a deeper crust
Chocolate sugar cones make the bottom layer taste more like a sundae bar dessert. The crust will be a little darker and richer, which works especially well if you’re using vanilla ice cream and want more contrast in every bite.
Make it dairy-free with non-dairy ice cream and whipped topping
Use a dairy-free ice cream that softens smoothly and a frozen whipped topping labeled dairy-free. The texture will be slightly lighter and may soften faster on the table, so keep the cake frozen until right before serving.
Turn it into a birthday rainbow cake
Use rainbow sherbet and pile on the sprinkles so the inside and outside both lean playful. This version slices into bright layers and looks especially good when you want the cake itself to carry the party theme.
Storage and Reheating
- Refrigerator: Not recommended. This is a frozen cake, and the whipped topping and ice cream will collapse quickly in the fridge.
- Freezer: Wrap the cake well and freeze up to 1 week for the best texture. After that, the cone crust can pick up freezer odors and start to soften.
- Reheating: There isn’t a reheating step here. Let the cake sit at room temperature for 8 to 12 minutes before slicing so the crust cuts cleanly without cracking the filling.
Answers to the Questions Worth Asking
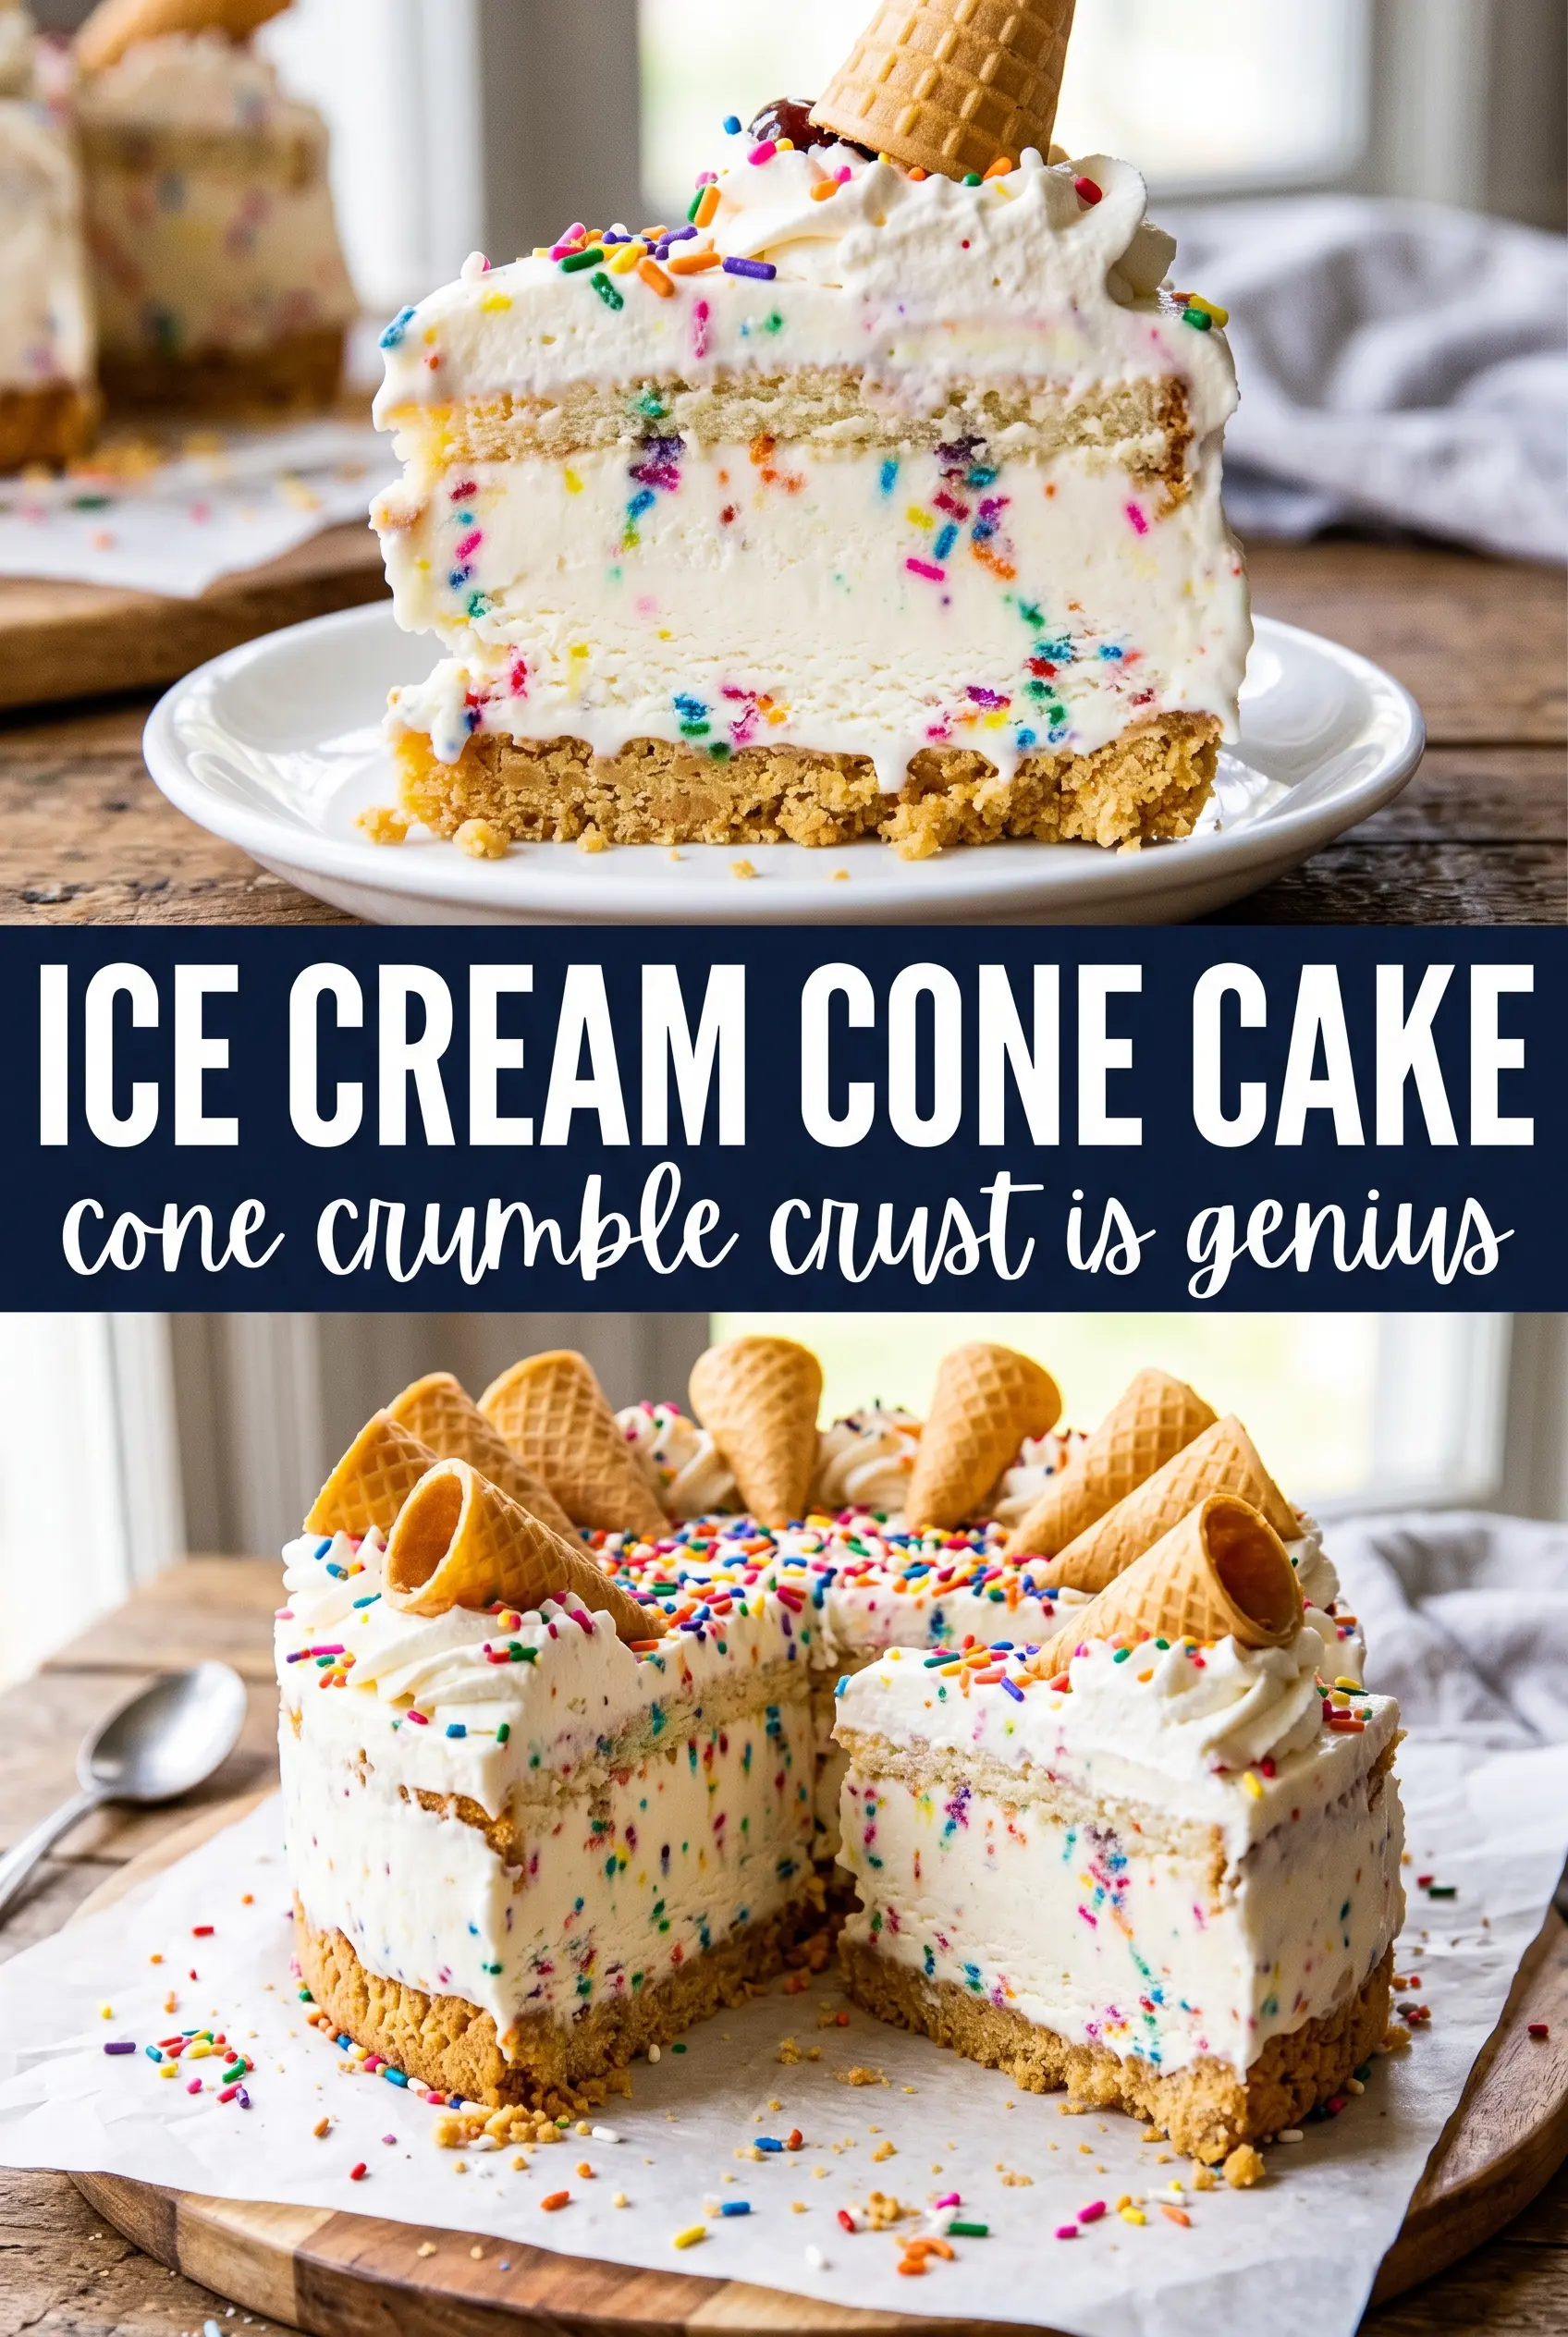
Ice Cream Cone Cake
Ingredients
Equipment
Method
- Crush the sugar cones until you have about 3 cups of crumbs, then combine with the melted unsalted butter and mix until evenly coated. Press the mixture firmly into a 9-inch springform pan to form a solid crust.
- Freeze the crust for 15 minutes to set before adding the ice cream.
- Spread the softened vanilla or rainbow sherbet ice cream over the cone crust and smooth the top for an even surface. Swirl lightly as you spread to create a marbled look.
- Freeze for 4 hours until firm.
- Cover the top and sides with whipped topping, spreading to fully coat the surface for a clean, white finish.
- Decorate generously with rainbow sprinkles, pressing lightly so they adhere to the whipped topping.
- Press the mini ice cream cones upright into the whipped topping in a ring pattern around the top to create the party centerpiece look.
- Freeze for 2 more hours, then release the springform and serve.


