Ice cream sheet cake disappears fast at parties because it gives you all the good parts of a celebration dessert without the stress of building a layered cake that has to stand at room temperature. The Oreo crust stays sturdy, the ice cream layers slice cleanly once they’ve had time to freeze, and the whipped topping on top gives you a smooth canvas for whatever decoration you want. It feels playful and generous, which is exactly what a crowd-sized frozen dessert should do.
The trick is in the order. The crust needs a short freeze before the ice cream goes on, or it turns muddy and hard to spread. Softened ice cream matters too, but softened doesn’t mean soupy — if it’s too loose, the layers blend together instead of sitting in distinct bands. A hot fudge layer in the middle adds richness, but it has to go on after the ice cream has settled or it can drag through the top.
Below, I’ve included the little details that keep this cake neat when you slice it, plus a few variations if you want to change the flavors or make it ahead for a party.
The Oreo crust held together perfectly and the two ice cream layers sliced into clean squares after an overnight freeze. I used rainbow sprinkles on top for my daughter’s birthday and it looked like a bakery cake.
Pin this Oreo-crusted ice cream sheet cake for birthdays, potlucks, and the kind of crowd that always wants a second square.
The Part That Keeps the Crust from Turning to Mush
Frozen sheet cakes fail when the base and filling are rushed together. The crust needs a quick set before any ice cream touches it, or the melted butter and softened crumbs smear into a soft paste that never really turns into a clean sliceable layer. That short freezer window is what gives the dessert its structure.
Another common mistake is spreading the ice cream while it’s either too hard or too melted. Hard ice cream tears the crust and leaves gaps; melted ice cream loses its shape and runs into the fudge. You want it pliable enough to spread with a spatula, but still cold enough to hold its own once it hits the pan.
- Oreo cookies — The cream filling helps the crust hold together without needing extra sugar. Generic chocolate sandwich cookies work too, but Oreos give the deepest chocolate flavor and the best crunch after freezing.
- Butter — Melted butter is what binds the crumbs into a pressable crust. Salted butter works in a pinch, but unsalted keeps the flavor cleaner since the ice cream and fudge already bring plenty of richness.
- Vanilla and chocolate ice cream — Use a good supermarket ice cream with enough fat to freeze smoothly. Low-fat versions ice over faster and can turn crumbly when sliced.
- Hot fudge sauce — Thick fudge gives you a distinct layer that doesn’t disappear into the ice cream. Warm it just enough to drizzle, not pour like soup, or it will sink too far into the filling.
- Whipped topping — This is the easiest way to get a smooth, spreadable top that freezes well. Homemade whipped cream tastes great fresh, but it softens faster and isn’t as forgiving for decorating.
What Each Ingredient Is Actually Doing in This Ice Cream Cake
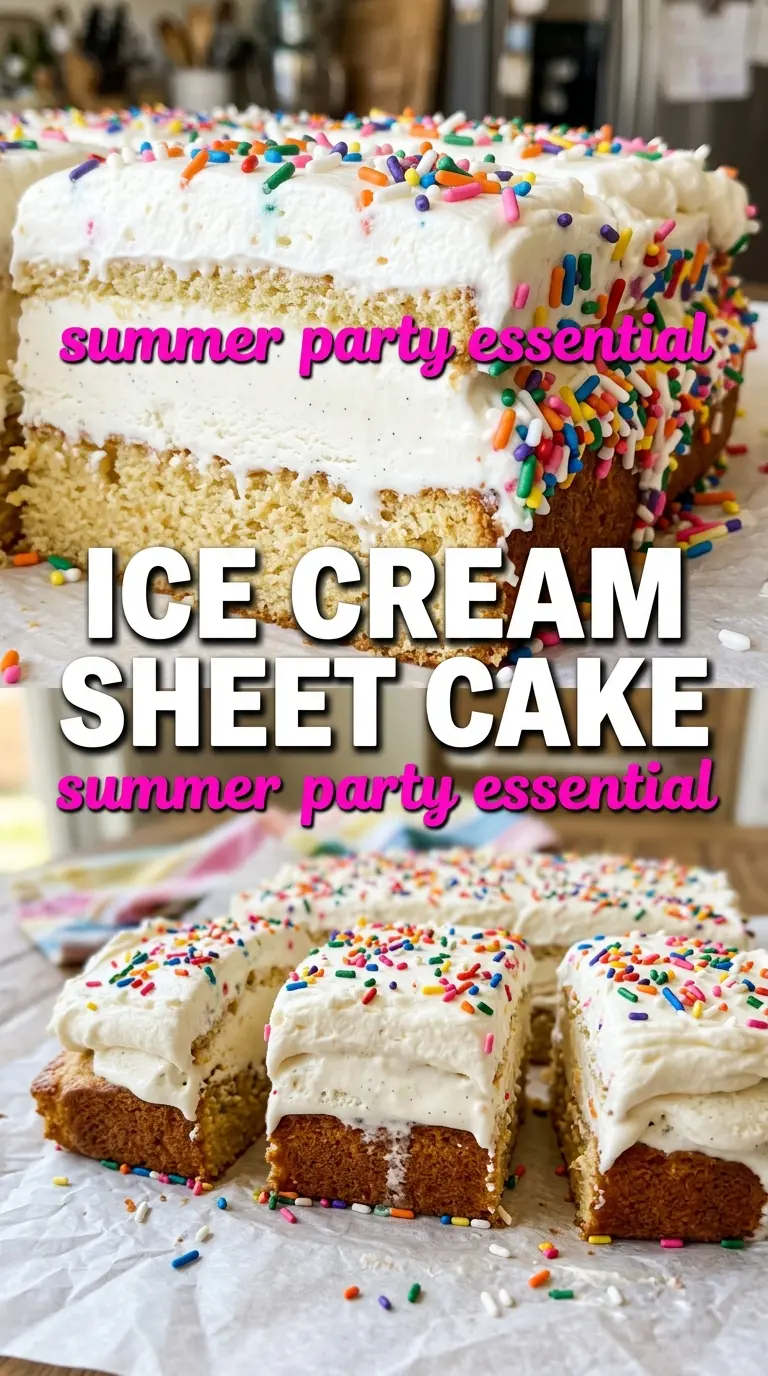
- Base layer (cookies, cake, or graham cracker) — This provides structure and stability. Crushed and mixed with butter creates a firm foundation.
- Ice cream (the main star) — Use quality ice cream or make homemade. Softness matters for layering.
- Sauce or topping between layers (fudge, caramel, or fruit) — This adds moisture, flavor, and prevents dryness. Don’t skip this layer.
- Frosting or whipped cream (optional outer layer) — This prevents freezer burn and adds creaminess. Stabilized whipped cream works best.
- Freezing time (at least 4-6 hours) — This sets the layers so cake slices cleanly. Longer freezing prevents melting during serving.
- Room temperature before serving (5-10 minutes) — This softens the cake slightly for better texture. Serve immediately after thawing.
- Toppings (chocolate, nuts, cookies, or sprinkles) — These add visual appeal and texture. Add right before serving.
- Storage (in freezer at 0°F or below) — This prevents ice crystal formation and maintains quality. Cover with plastic wrap.
Assembling the Layers Without Losing the Edges
Pressing the Crust
Mix the crushed Oreos with the melted butter until every crumb looks damp, then press the mixture firmly into the sheet pan. Use the bottom of a measuring cup or flat glass to compact it into an even layer, especially around the corners where crumbs tend to stay loose. Freeze it for 20 minutes so the base can firm up before the ice cream goes on.
Spreading the Ice Cream
Let the ice cream soften on the counter just until a spoon can glide through it. Spread the vanilla over one half of the crust and the chocolate over the other half, nudging them together in the middle for that neat split look. If the ice cream starts to smear into the crust, stop and let it sit for a few more minutes; forcing it now only makes the slices messy later.
Adding the Fudge Layer
Drizzle the hot fudge over the ice cream in loose ribbons, then spread it gently if needed. The goal is a rich middle layer, not a fully blended topping, so keep the fudge thick enough that it sits on the surface instead of disappearing into the ice cream. Freeze the pan for 4 hours after this layer goes on so everything can lock into place.
Finishing and Freezing
Spread the whipped topping all the way to the edges, then decorate with sprinkles and frosting piping. Once the top is finished, freeze the cake for at least 2 more hours before slicing; longer is even better if you want sharp squares. Use a long knife dipped in hot water and wiped dry between cuts so the layers stay clean instead of dragging.
How to Change the Flavors Without Changing the Structure
Make it gluten-free
Use certified gluten-free sandwich cookies for the crust. The texture stays almost identical, and because the base is pressed and frozen instead of baked, you don’t lose anything important by swapping the cookie.
Make it dairy-free
Use dairy-free ice cream, plant-based whipped topping, and a dairy-free fudge sauce. The cake still freezes into neat layers, though the filling may be a little softer, so give it extra time in the freezer before slicing.
Swap the flavor combination
Use strawberry and vanilla for a lighter birthday-cake look, or coffee and chocolate if you want a deeper dessert flavor. Keep one half of the pan a lighter flavor and the other half a darker one if you want that neat two-tone presentation when you slice.
Storage and Reheating
- Refrigerator: Not recommended; this cake softens fast and loses its shape.
- Freezer: Keeps well for up to 1 week if tightly covered. After that, the whipped topping can pick up freezer flavor and the crust can get icy at the edges.
- Reheating: No reheating needed. Slice straight from the freezer after letting the pan sit for 5 to 10 minutes at room temperature so the knife glides through without cracking the top.
Answers to the Questions Worth Asking
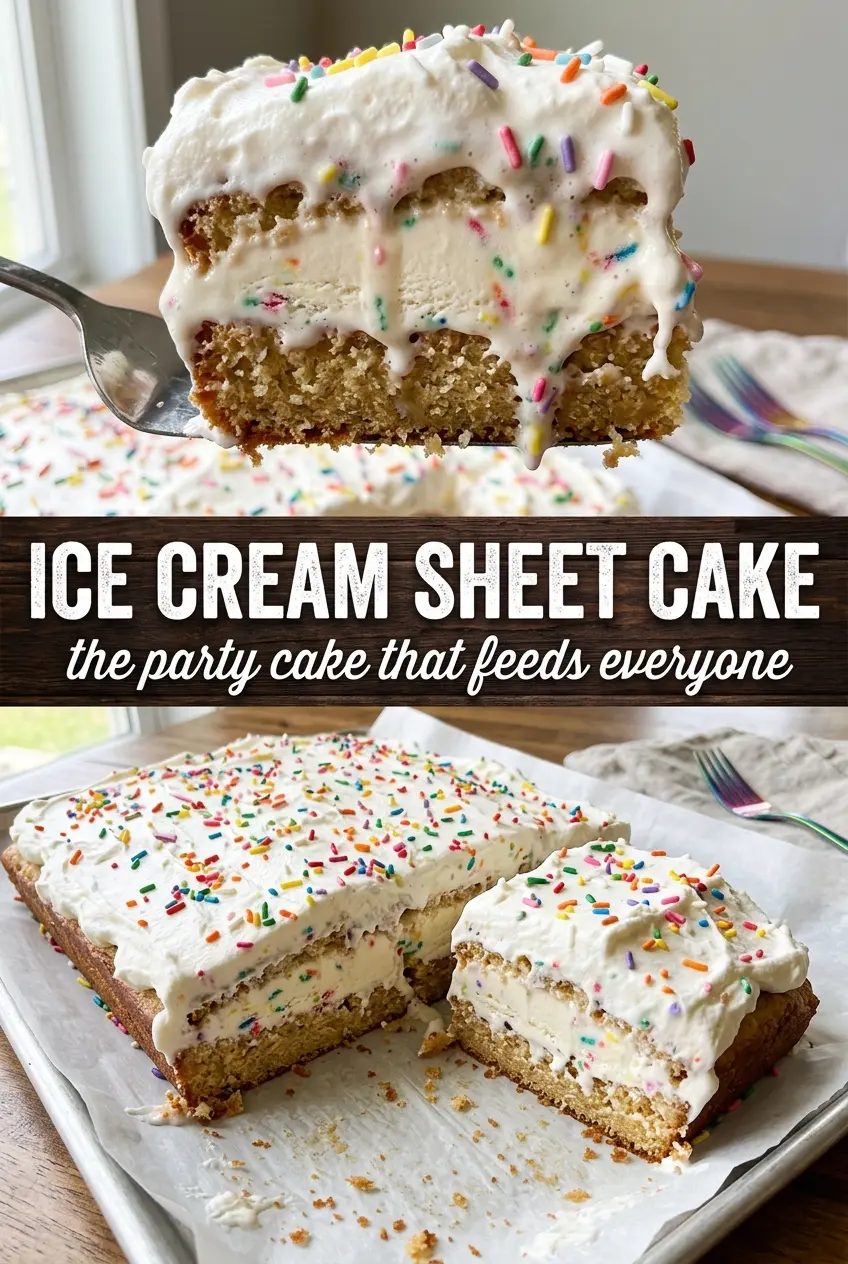
Ice Cream Sheet Cake
Ingredients
Equipment
Method
- Combine crushed Oreos with melted unsalted butter and mix until evenly moistened, then press the mixture into a 12x18 sheet pan in an even layer. Freeze for 20 minutes until firm.
- Spread softened vanilla ice cream over half the crust and soften-spread softened chocolate ice cream over the other half, meeting in the middle for a neapolitan effect. Smooth the tops lightly so the layers meet cleanly.
- Drizzle hot fudge sauce over the ice cream in an even pattern, letting it sink slightly into the surface. Freeze for 4 hours to set.
- Cover the entire top completely with whipped topping, spreading to the edges for a flat canvas.
- Decorate with colorful sprinkles and gel frosting piping to mimic a decorated birthday cake, adding detail while the topping is set enough to hold shapes. Freeze at least 2 more hours before slicing into squares so the layers cut cleanly.


