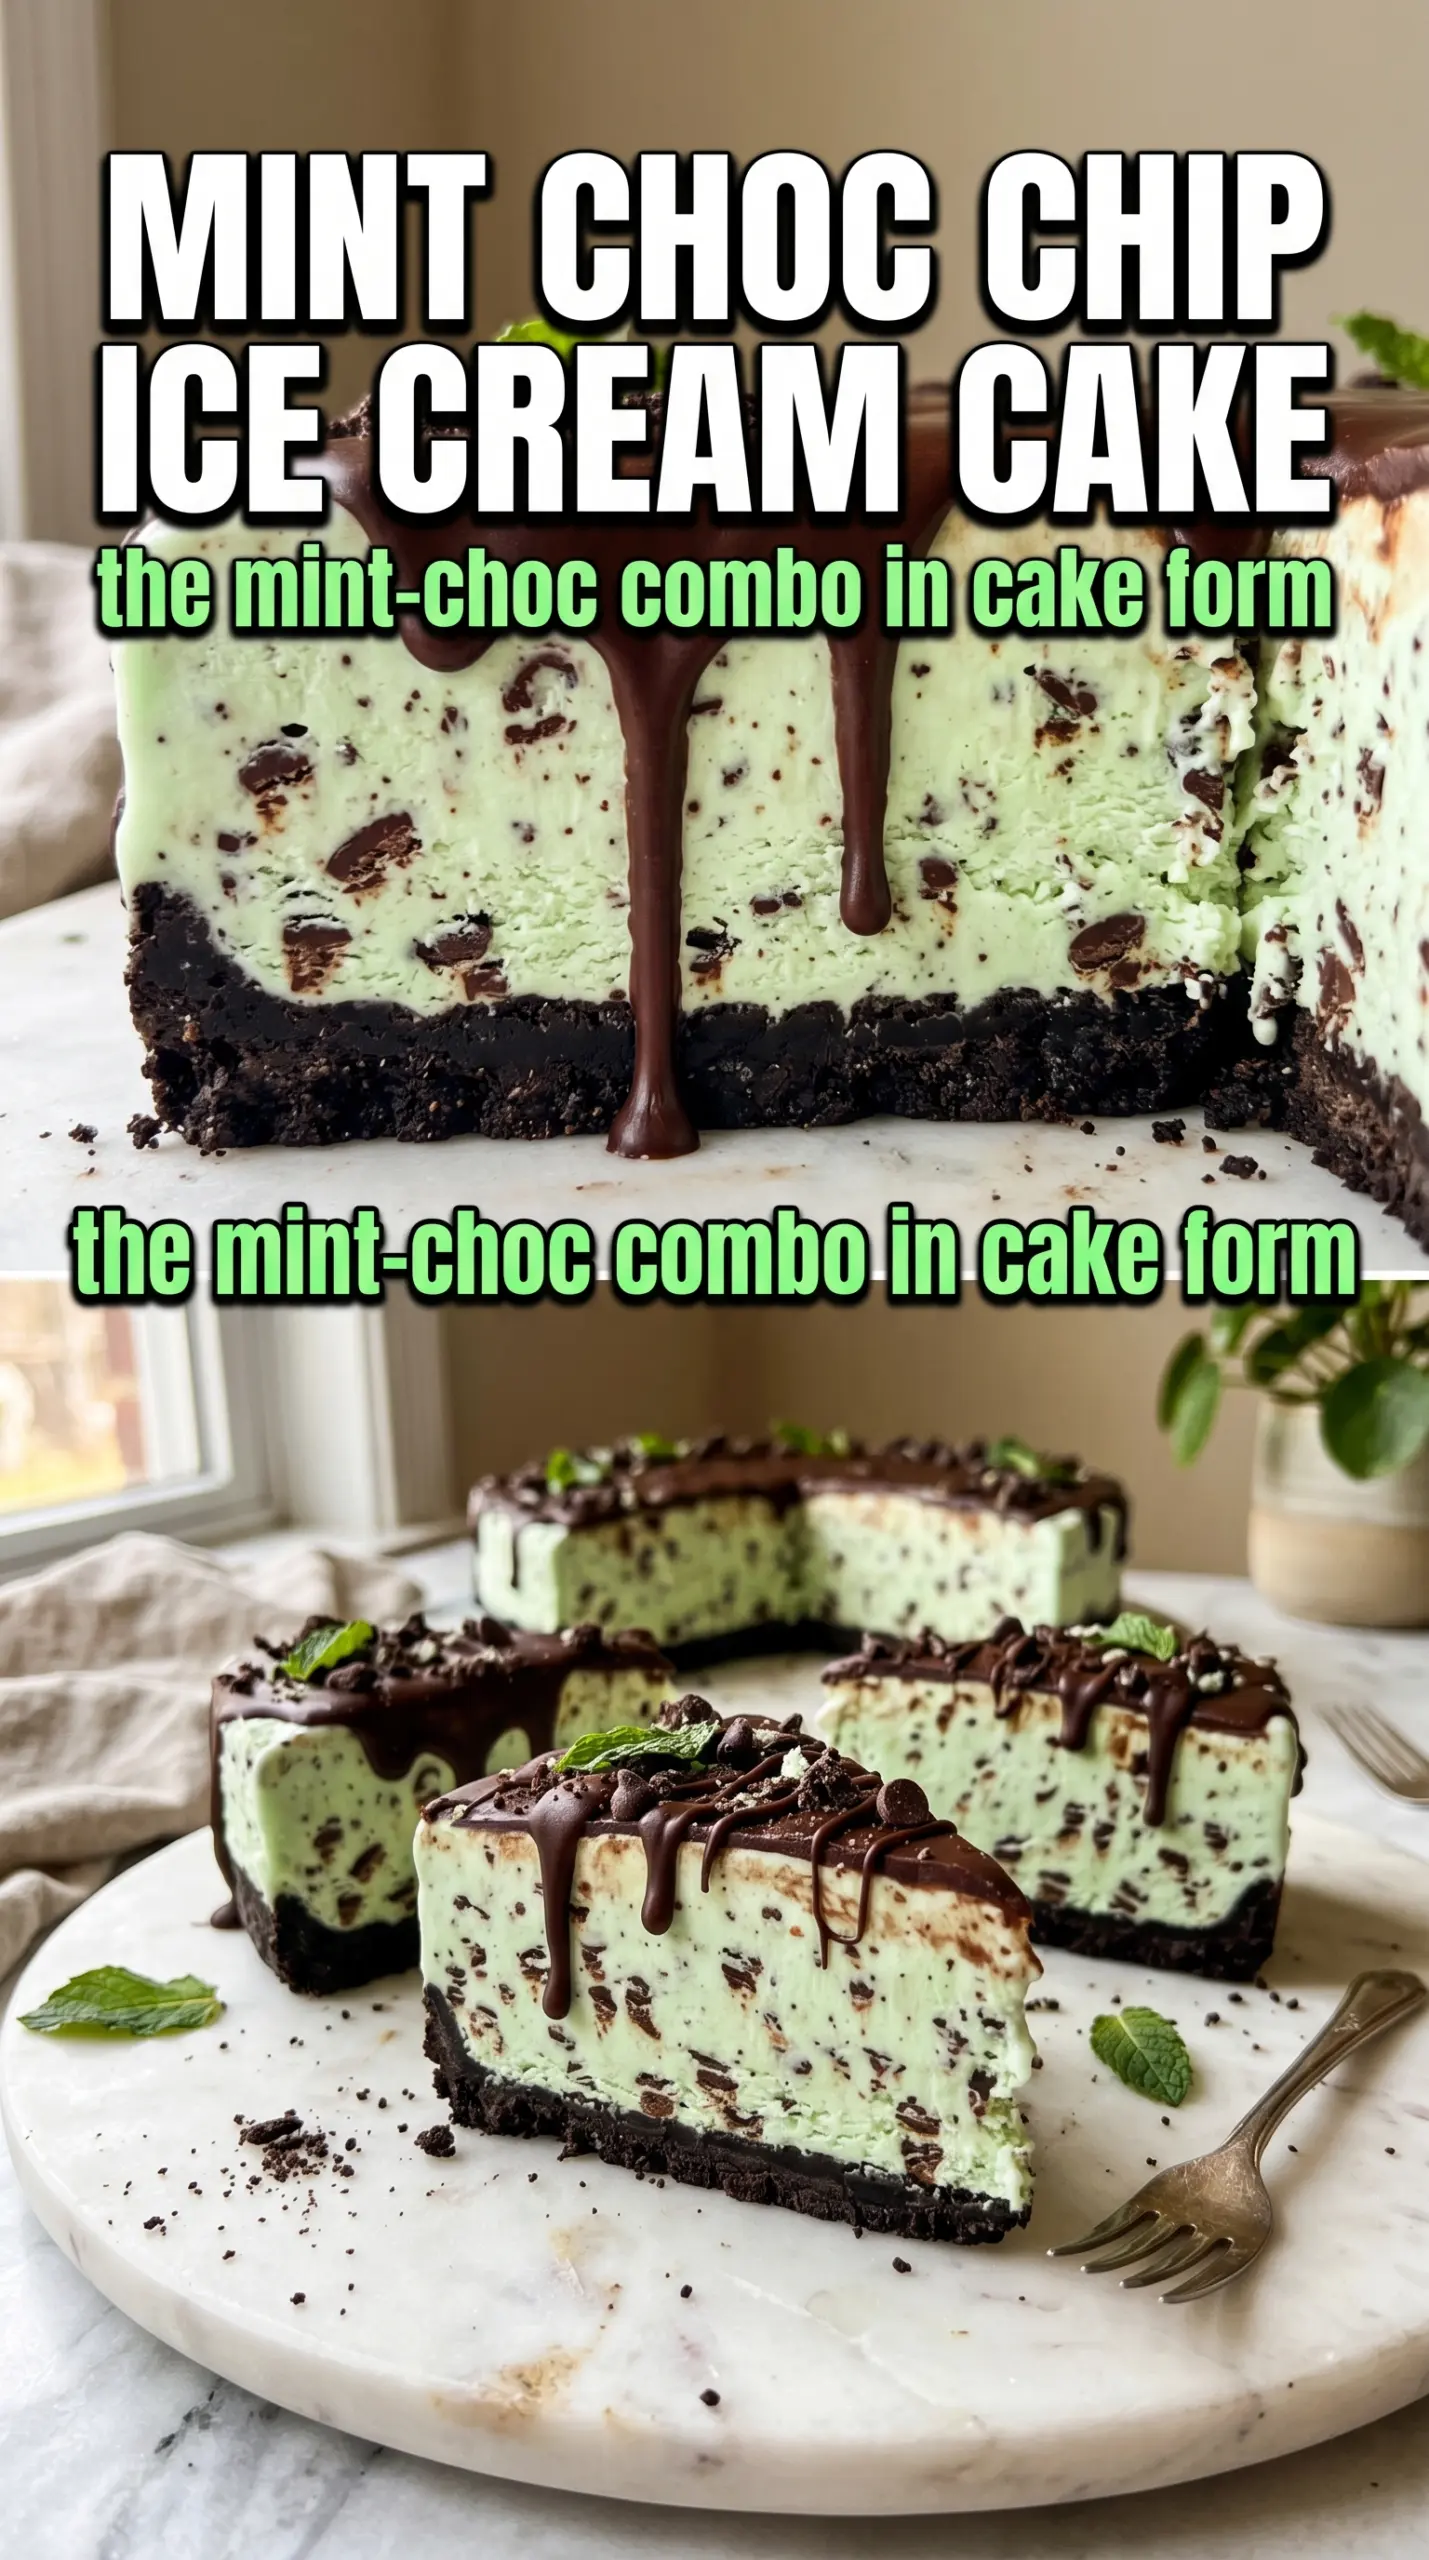
Mint chocolate chip ice cream cake lands with that clean mint-and-chocolate contrast people expect from a birthday dessert, but the texture is what keeps it in the rotation. The crust stays firm enough to slice cleanly, the ice cream layer cuts like a frozen mousse after it rests, and the ganache gives the whole cake a polished finish without making it heavy.
The trick here is handling every layer at the right temperature. The cookie crust needs enough butter to hold together, but not so much that it turns greasy once frozen. The ice cream has to be softened just enough to spread without dragging the crust up into the filling, and the ganache should be cool but still pourable so it settles into glossy drips instead of melting the top layer.
Below, I’ve included the timing that keeps the layers distinct, plus a few smart swaps if you want to change the topping or make the dessert a little easier to serve from the freezer.
The crust held together perfectly and the ganache set up with those pretty drips instead of running all over the plate. I made it the night before and it sliced like a dream after the last freeze.
Love the dramatic layers and mint-chocolate finish? Save this mint chocolate chip ice cream cake for birthdays, summer parties, or any time you want a frozen dessert that slices beautifully.
The Freeze Time That Keeps the Layers Clean
The biggest mistake with an ice cream cake is rushing the freeze between layers. If the crust isn’t firm before the ice cream goes in, the filling presses crumbs up the sides and muddies the edges. If the ice cream layer isn’t frozen solid before the ganache goes on, the topping sinks in instead of setting into a smooth cap with a few dramatic drips.
That’s why this cake works best with short, specific pauses rather than one long wait at the end. The first 15-minute freeze locks down the crust. The 4-hour freeze gives the ice cream enough structure to handle the ganache. The last hour after the topping goes on is what turns it from a soft freezer dessert into a cake you can slice with a warm knife and clean plates.
What the Crust, Ice Cream, and Topping Are Each Doing
- Chocolate sandwich cookies — These give you the classic Oreo-style crunch and a deep cocoa base that keeps the mint from tasting flat. Regular sandwich cookies work best here; cheap store brands are fine as long as they crush into fine crumbs.
- Butter — Melted butter is what turns loose crumbs into a crust that slices instead of scattering. If you skimp, the base will crumble when you cut the cake. If you use too much, it turns dense and greasy after freezing.
- Mint chocolate chip ice cream — The flavor starts and ends here, so use a brand you actually like eating straight from the carton. Let it soften on the counter until it’s spreadable but not soupy; that’s the difference between a smooth layer and a lumpy one.
- Chocolate ganache — This adds the clean, glossy top that makes the cake look bakery-made. It should be cool enough that it doesn’t melt the ice cream, but still fluid enough to drift over the edges in soft lines.
- Whipped cream, Andes mints, and fresh mint — These are the finishing details that give the cake its height and contrast. Pipe the whipped cream after the ganache is fully set, or it can slide around and lose its shape.
Building the Frozen Layers Without Melting the Cake
Pressing the Crust
Mix the crushed cookies with the melted butter until every crumb looks evenly damp, then press the mixture firmly into the bottom of a 9-inch springform pan. Use the bottom of a measuring cup to pack it down; a loose crust falls apart when you slice the cake. Freeze it for 15 minutes so it sets before the ice cream goes on.
Spreading the Ice Cream
Soften the ice cream until it’s spreadable but still holds its shape on a spoon. If it gets too soft, it melts into the crust and makes the cake hard to cut cleanly later. Spread it over the chilled crust in an even layer, smoothing the top with an offset spatula or the back of a spoon, then freeze for 4 hours until it feels firm all the way through.
Adding the Ganache Finish
Pour the ganache over the frozen cake slowly, starting in the center and nudging it toward the edges so it can drip naturally. If the ganache is too hot, it will melt a track into the ice cream. If it’s too cold, it won’t spread before it sets. Once it’s on, return the cake to the freezer for an hour so the topping firms up before decoration.
Decorating and Slicing
Pipe the whipped cream around the edge after the ganache is set, then finish with Andes mint pieces and fresh mint. Freeze the decorated cake for one more hour so the toppings stay in place. When it’s time to serve, run a knife under hot water, dry it, and cut straight down. A warm blade is the difference between clean wedges and a cracked top.
Ways to Change the Cake Without Losing the Frozen Structure
Oreo Mint Ice Cream Cake
Use mint Oreo cookies in the crust or on top if you want a deeper chocolate-mint hit. It pushes the cake a little more toward cookies-and-cream territory, and the texture stays the same as long as the crumbs are packed firmly.
Dairy-Free Version
Swap in a dairy-free mint chocolate chip ice cream, plant-based butter for the crust, and a dairy-free ganache. The texture will still slice well, but the topping may set a little softer depending on the chocolate you use.
Make It More Chocolate-Forward
Add a thin layer of crushed Oreos between the crust and ice cream, or use extra ganache for a thicker top. That gives each slice a stronger chocolate bite and balances sweeter mint ice creams especially well.
Storage and Serving Timing
- Refrigerator: This cake doesn’t belong in the fridge for long; it softens fast and loses its clean slices. Hold leftovers in the freezer instead.
- Freezer: Store covered for up to 1 week for the best texture. After that, the ice cream can pick up freezer flavor and the crust gets less crisp.
- Serving: Let the cake sit at room temperature for 5 to 10 minutes before slicing. If it’s rock hard, the knife will crack the top and drag the crust.
Answers to the Questions Worth Asking
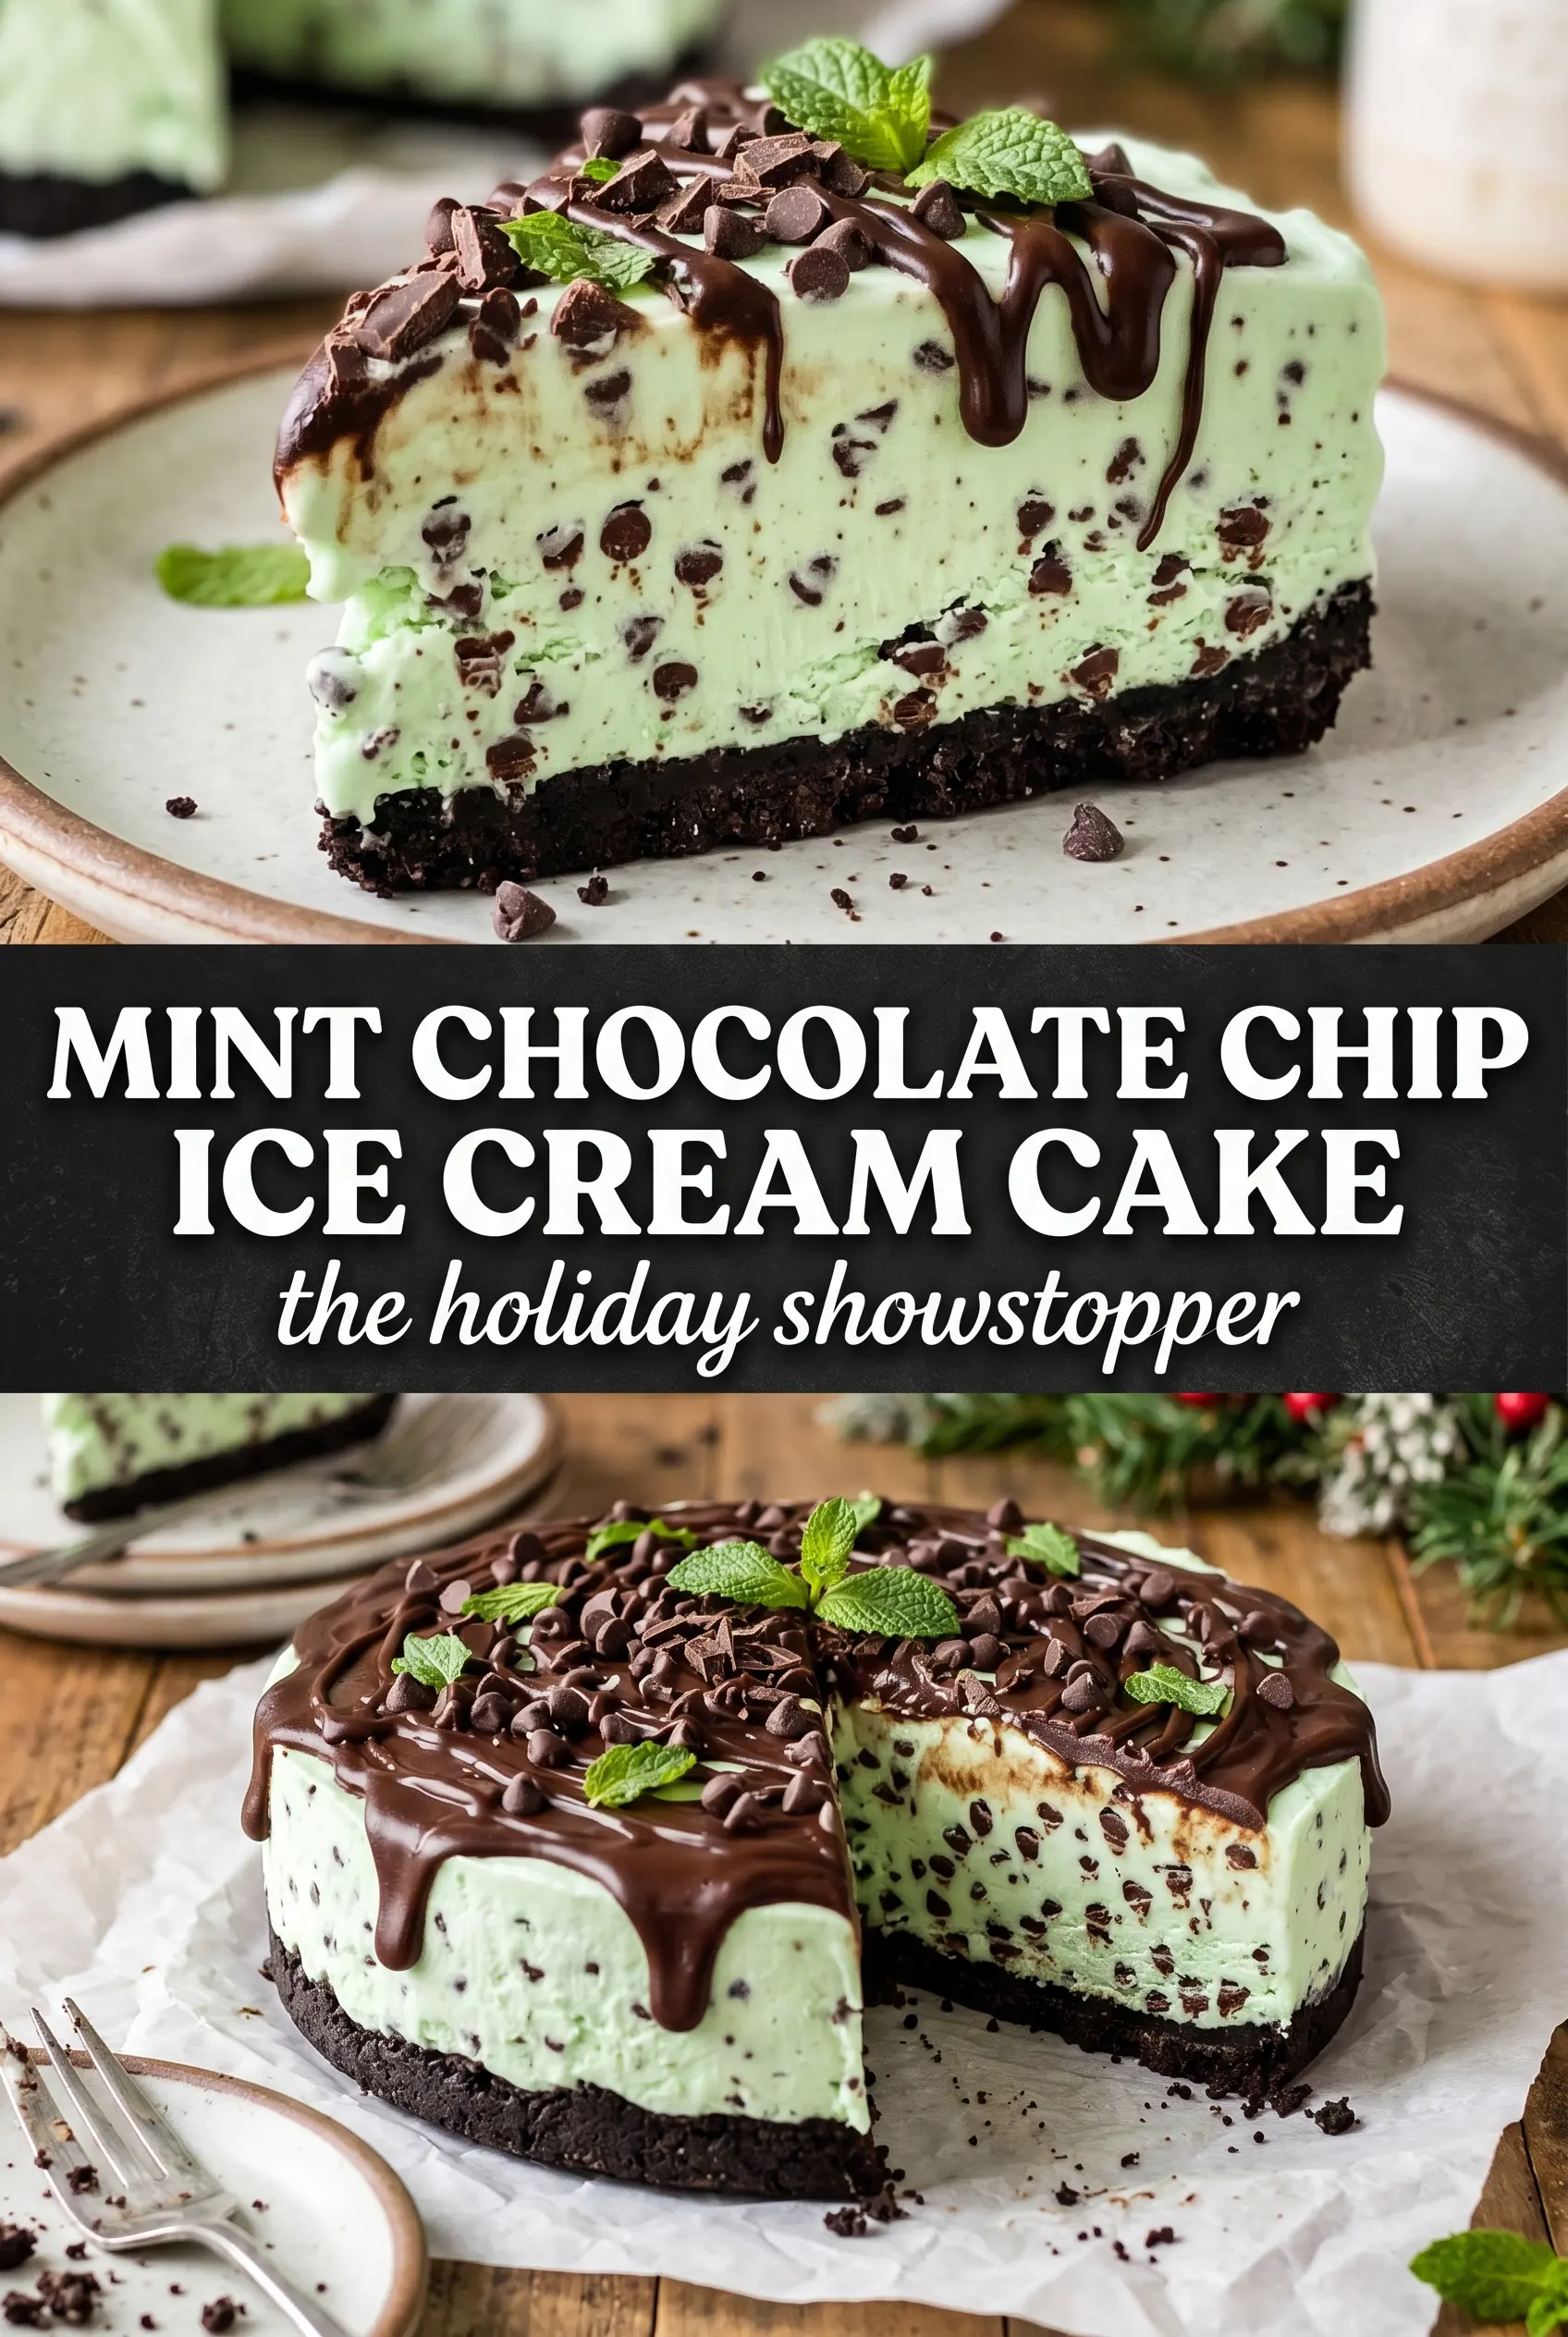
Mint Chocolate Chip Ice Cream Cake
Ingredients
Equipment
Method
- Combine crushed chocolate sandwich cookies and melted butter, then press the mixture firmly into a 9-inch springform pan. Add pressure until the crust is evenly packed.
- Freeze the crust for 15 minutes to firm it up before adding ice cream. Keep it flat so the next layer spreads evenly.
- Spread the softened mint chocolate chip ice cream over the crust and smooth the top with an even layer. Ensure the surface is level for clean slices.
- Freeze for 4 hours until the ice cream layer is solid. The cake should feel firm when gently touched through the pan rim.
- Pour chocolate ganache over the frozen cake, letting it naturally drip down the sides for a dramatic finish. Use a steady pour so it covers the top and forms glossy drips.
- Freeze for 1 hour until the ganache sets. The surface should look matte-to-satin and hold its shape.
- Pipe whipped cream around the edge to create a border. Cover the rim evenly so it frames the ganache.
- Decorate with Andes mint candies and fresh mint leaves on top. Place the mint pieces where you want the color and crunch to show.
- Freeze for 1 more hour before serving to ensure the cake slices cleanly. Let sit at room temperature for 5 minutes after slicing if you want softer edges.


