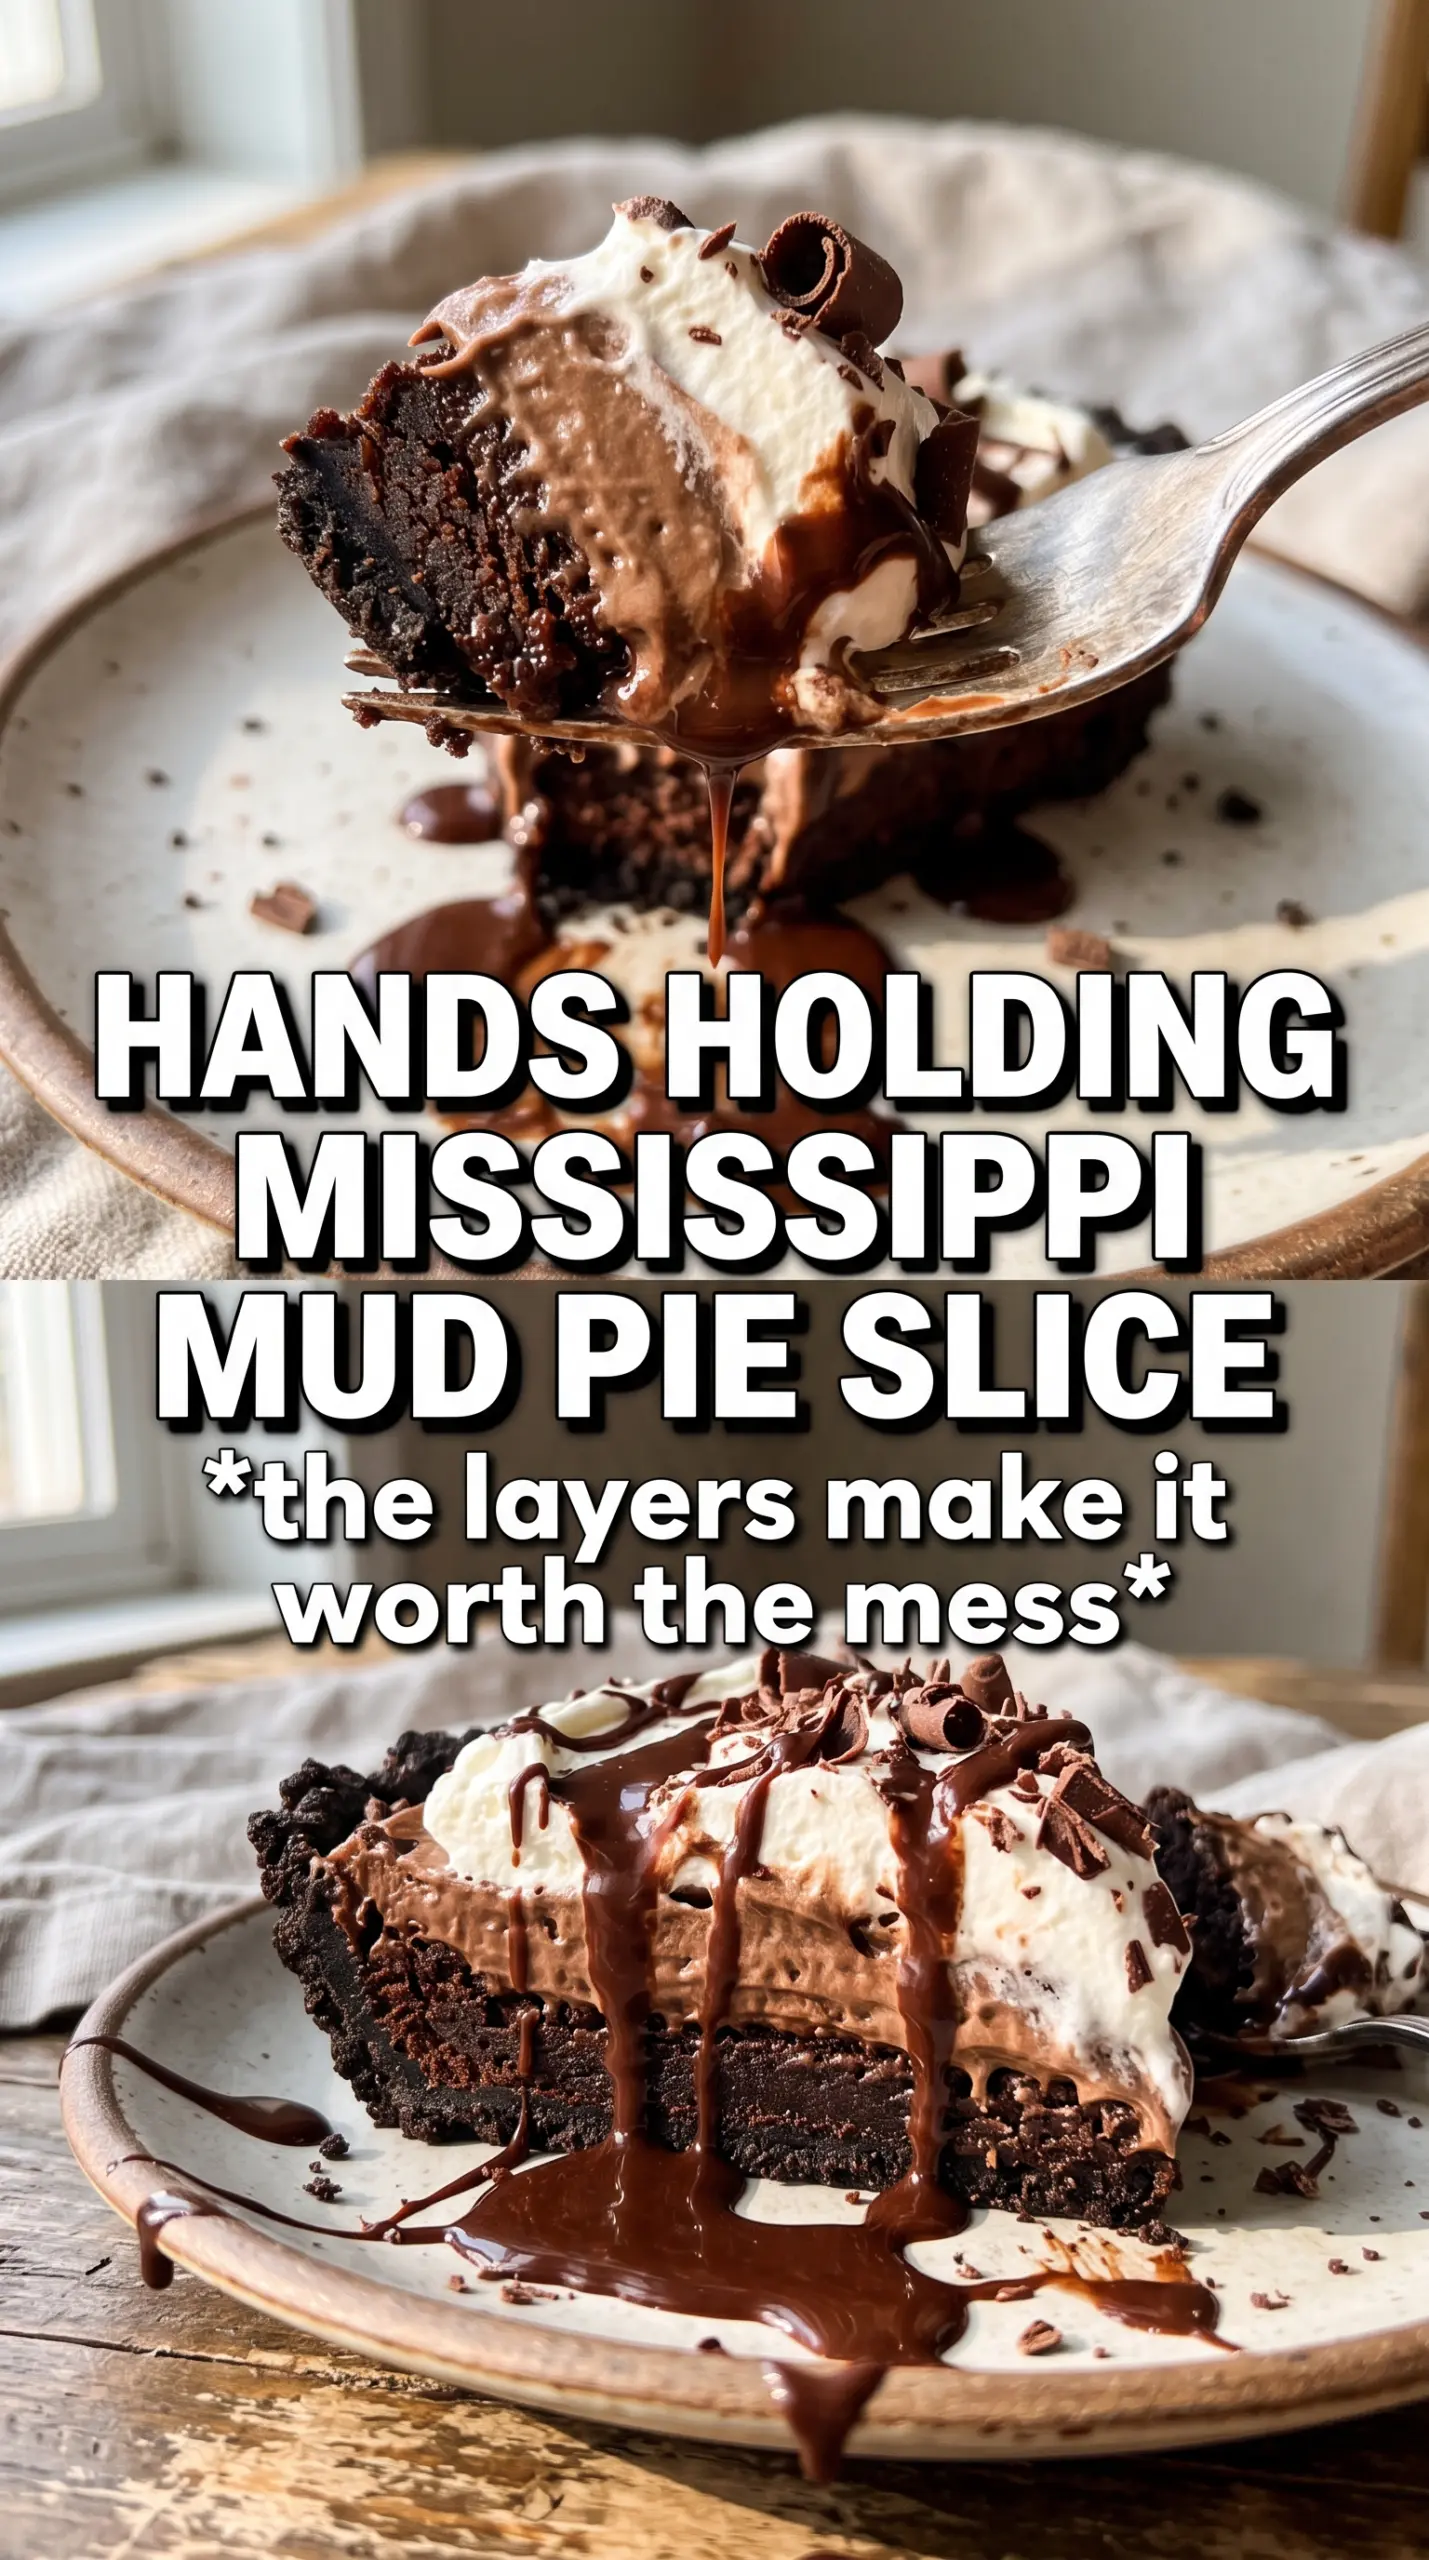
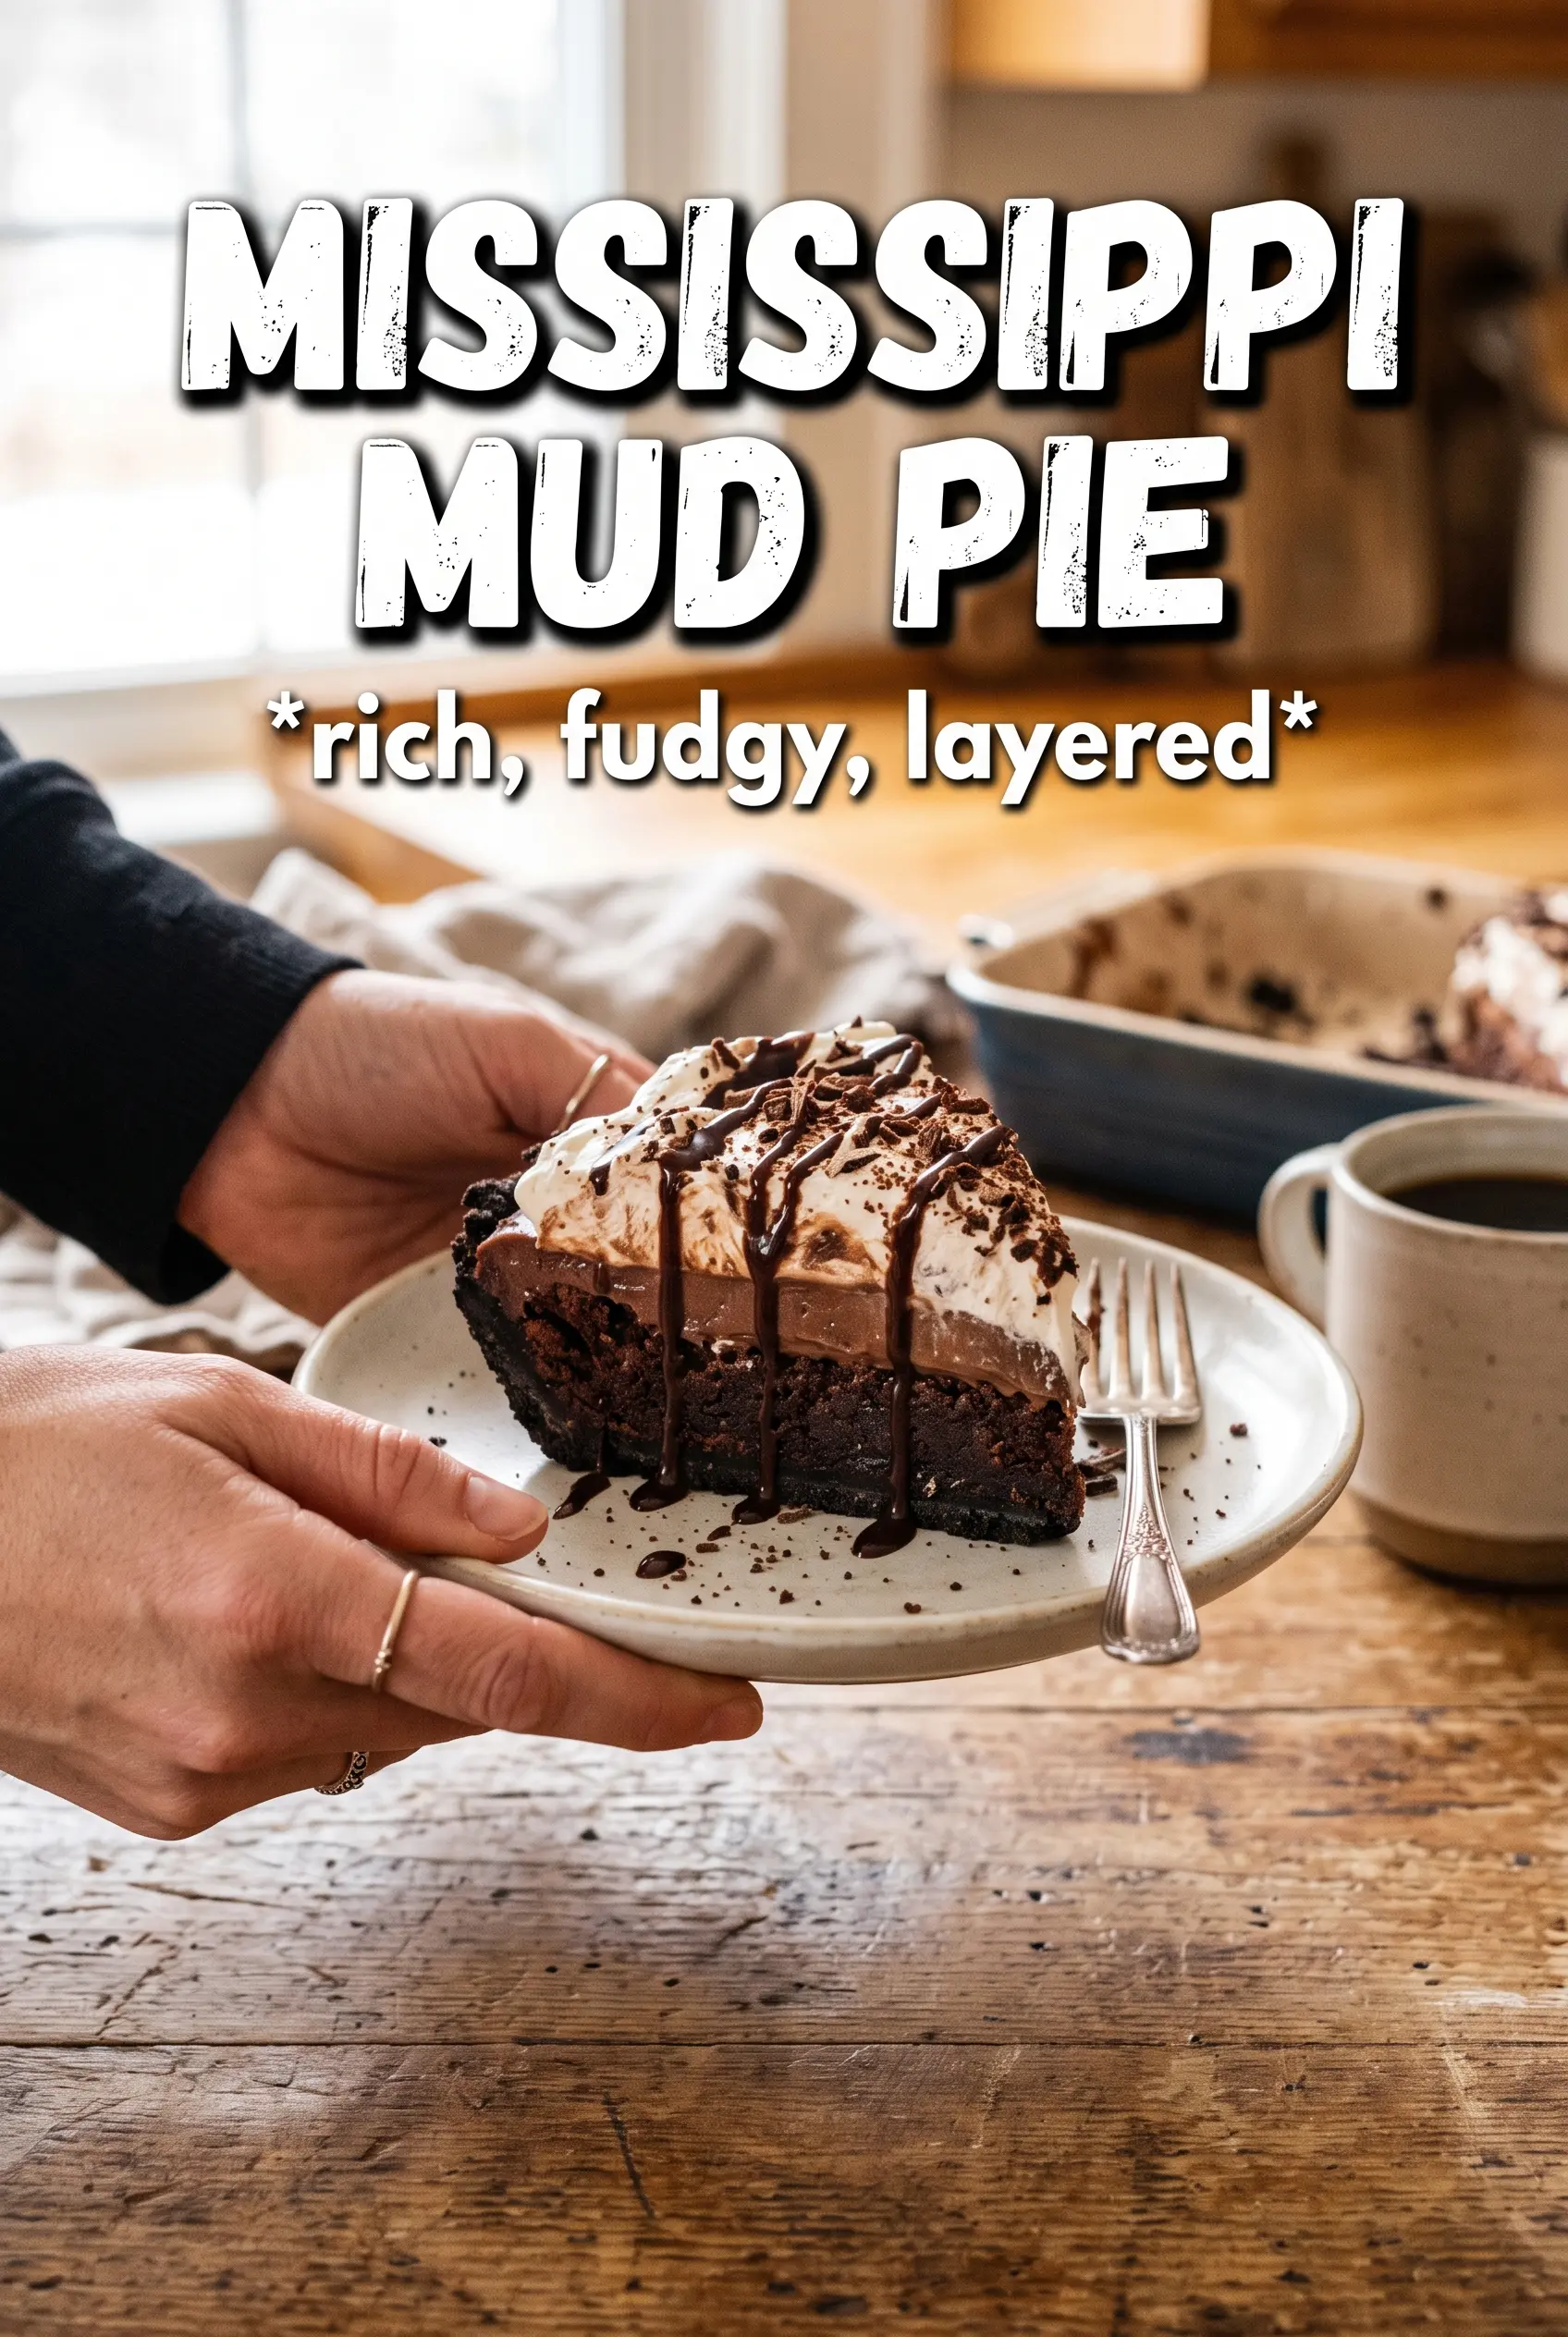
Mississippi Mud Pie lands in that perfect space between brownie, candy bar, and celebration dessert. You get a fudgy base with a dense, almost truffle-like bite, a soft marshmallow layer that turns gooey instead of sticky, and a glossy chocolate frosting that sets just enough to slice cleanly without losing its shine. The walnuts on top bring the whole thing back into balance with a little crunch and bitterness.
What makes this version work is the timing. The marshmallows go on while the brownies are still hot, so they melt and puff instead of sitting in dry little lumps. The frosting gets poured on warm, which helps it spread into an even layer and settle around the marshmallow. Chill time matters here too. If you cut it too early, the layers slide; if you wait the full two hours, the squares hold and the brownie base tastes even richer.
Below, I’ll walk through the part that trips people up most: keeping the brownie base fudgy while still giving the pie enough structure to slice. I’ve also included a few swaps and storage notes that make this dessert easier to plan for ahead.
The marshmallow layer puffed up exactly like you said, and the ganache-style frosting spread right over the top without sinking. I chilled it overnight and the slices came out clean with that fudgy center still intact.
Save this Mississippi Mud Pie for the nights when you want a fudgy brownie base, a gooey marshmallow middle, and a shiny chocolate finish all in one slice.
The Part That Makes the Layers Slice Clean Instead of Collapsing
The biggest mistake with Mississippi Mud Pie is treating it like an ordinary brownie. It needs to be baked just until the center is set, not until every trace of softness disappears. If you overbake the base, the whole dessert turns dry once it chills, and the marshmallow layer has nothing plush to cling to.
The other detail that matters is the hot brownie surface. Those marshmallows need residual heat to melt and puff into a unified layer. If you let the pan sit too long before adding them, they stay intact and the final texture turns uneven. The frosting also works best warm, because it flows across the top instead of sitting in thick streaks.
- Underbake slightly, don’t overbake. Pull the brownies when the center looks set and a toothpick comes out with a few moist crumbs. They’ll firm up as they cool and chill.
- Add marshmallows immediately. Scatter them over the hot surface as soon as the pan comes out of the oven so they soften into a single gooey layer.
- Chill before slicing. Two hours in the refrigerator gives the frosting time to set and keeps the layers from sliding apart.
What Each Ingredient Is Doing in the Pan
- Butter builds the dense, rich base and keeps the frosting glossy. Use unsalted so you control the salt level across the whole dessert.
- Cocoa powder gives you deep chocolate flavor in both the brownie and the topping. A good unsweetened cocoa matters here because there isn’t much else to hide behind.
- Mini marshmallows melt faster and more evenly than large ones. They’re the ingredient that gives you that classic sticky-soft layer without a lot of fuss.
- Powdered sugar thickens the frosting into a pourable but sliceable finish. If you use less, it won’t set with enough body.
- Walnuts or pecans add crunch and keep the dessert from tasting one-note sweet. Walnuts bring a slightly bitter edge; pecans taste a little rounder and softer.
Building the Layers Without Losing the Fudge Factor
Mixing the Brownie Batter
Melt the butter, then whisk in the sugar, eggs, and vanilla until the mixture looks glossy and thick. That sheen tells you the base is emulsified enough to bake into a dense brownie layer. Fold in the flour, cocoa, and salt only until no dry streaks remain. Overmixing at this point can make the base tougher than it should be.
Baking Until Just Set
Spread the batter evenly into the greased 9×13 pan and bake at 350°F for 25 to 28 minutes. The edges should look firm and the center should lose its raw shine, but it should still have a little give when you nudge the pan. If a toothpick comes out completely clean, the brownies are already headed toward dry once chilled.
Melting the Marshmallow Layer
The second the pan comes out of the oven, scatter the mini marshmallows over the top and return it to the oven for 3 to 4 minutes. You’re looking for puffed, slightly glossy marshmallows that have just started to melt together. If they brown too deeply, they turn chewy instead of soft, so stay close during this part.
Finishing With Warm Frosting
For the frosting, melt the butter, whisk in the cocoa and milk, then take the pan off the heat before adding the powdered sugar and vanilla. That keeps the topping smooth instead of grainy. Pour it over the marshmallows while it’s still warm so it spreads into the gaps, then scatter the nuts over the surface before the frosting sets.
Ways to Tweak It Without Losing the Classic Structure
Pecan Version
Swap the walnuts for pecans if you want a sweeter, more buttery crunch. Pecans stay a little softer and pair especially well with the marshmallow layer, while walnuts give a sharper contrast. Toasting either one first adds a deeper nutty flavor if you’ve got a few extra minutes.
Gluten-Free Version
Use a cup-for-cup gluten-free flour blend in place of the all-purpose flour. The texture stays close to the original as long as the blend already includes xanthan gum. Don’t use almond flour here; it changes the structure too much and the base won’t slice as cleanly.
Dairy-Free Version
This can be adapted with plant-based butter and an unsweetened non-dairy milk, but the frosting won’t have quite the same richness. Choose a neutral butter substitute so the chocolate stays front and center. The marshmallow layer still works the same way, so the overall dessert keeps its signature texture.
Storage and Reheating
- Refrigerator: Store covered for up to 5 days. The marshmallow layer stays soft, but the frosting firms up in the fridge.
- Freezer: It freezes well if you cut it into squares first and wrap them tightly. Thaw in the refrigerator so the topping doesn’t sweat and turn sticky.
- Reheating: This dessert is best served chilled or just slightly cool. If you want a softer bite, let a slice sit at room temperature for 15 to 20 minutes instead of microwaving it, which can make the marshmallow layer collapse.
Answers to the Questions Worth Asking
Mississippi Mud Pie
Ingredients
Equipment
Method
- Preheat oven to 350F and grease a 9x13 pan. Set the pan aside for immediate batter baking.
- Melt the unsalted butter and whisk in the sugar, eggs, and vanilla until smooth and glossy. Scrape the sides so the mixture is evenly combined.
- Fold in the flour, cocoa, and salt just until no dry streaks remain. The batter should look thick and chocolate-colored.
- Spread the batter in the prepared 9x13 pan and bake for 25-28 minutes until set. Look for a firm surface with a fudgy center that holds its shape.
- Immediately scatter the mini marshmallows over the hot brownies in an even layer. The marshmallows should begin melting at the edges right away.
- Return to the oven for 3-4 minutes until the marshmallows puff and turn golden. Watch closely so they don’t brown too far.
- Melt the unsalted butter and whisk in the cocoa powder and whole milk until smooth. Keep whisking until the mixture looks uniformly dark.
- Remove from heat and whisk in powdered sugar and vanilla until thick and pourable. It should coat the whisk with a ribbon-like texture.
- Pour the warm frosting over the marshmallow layer, covering the surface completely. Let it fall in an even sheet so it levels out.
- Scatter walnuts or pecans over the frosting while it’s still warm and slightly soft. Press very gently so pieces adhere.
- Refrigerate for 2 hours before cutting. The frosting should set firmly so slices come out clean.


