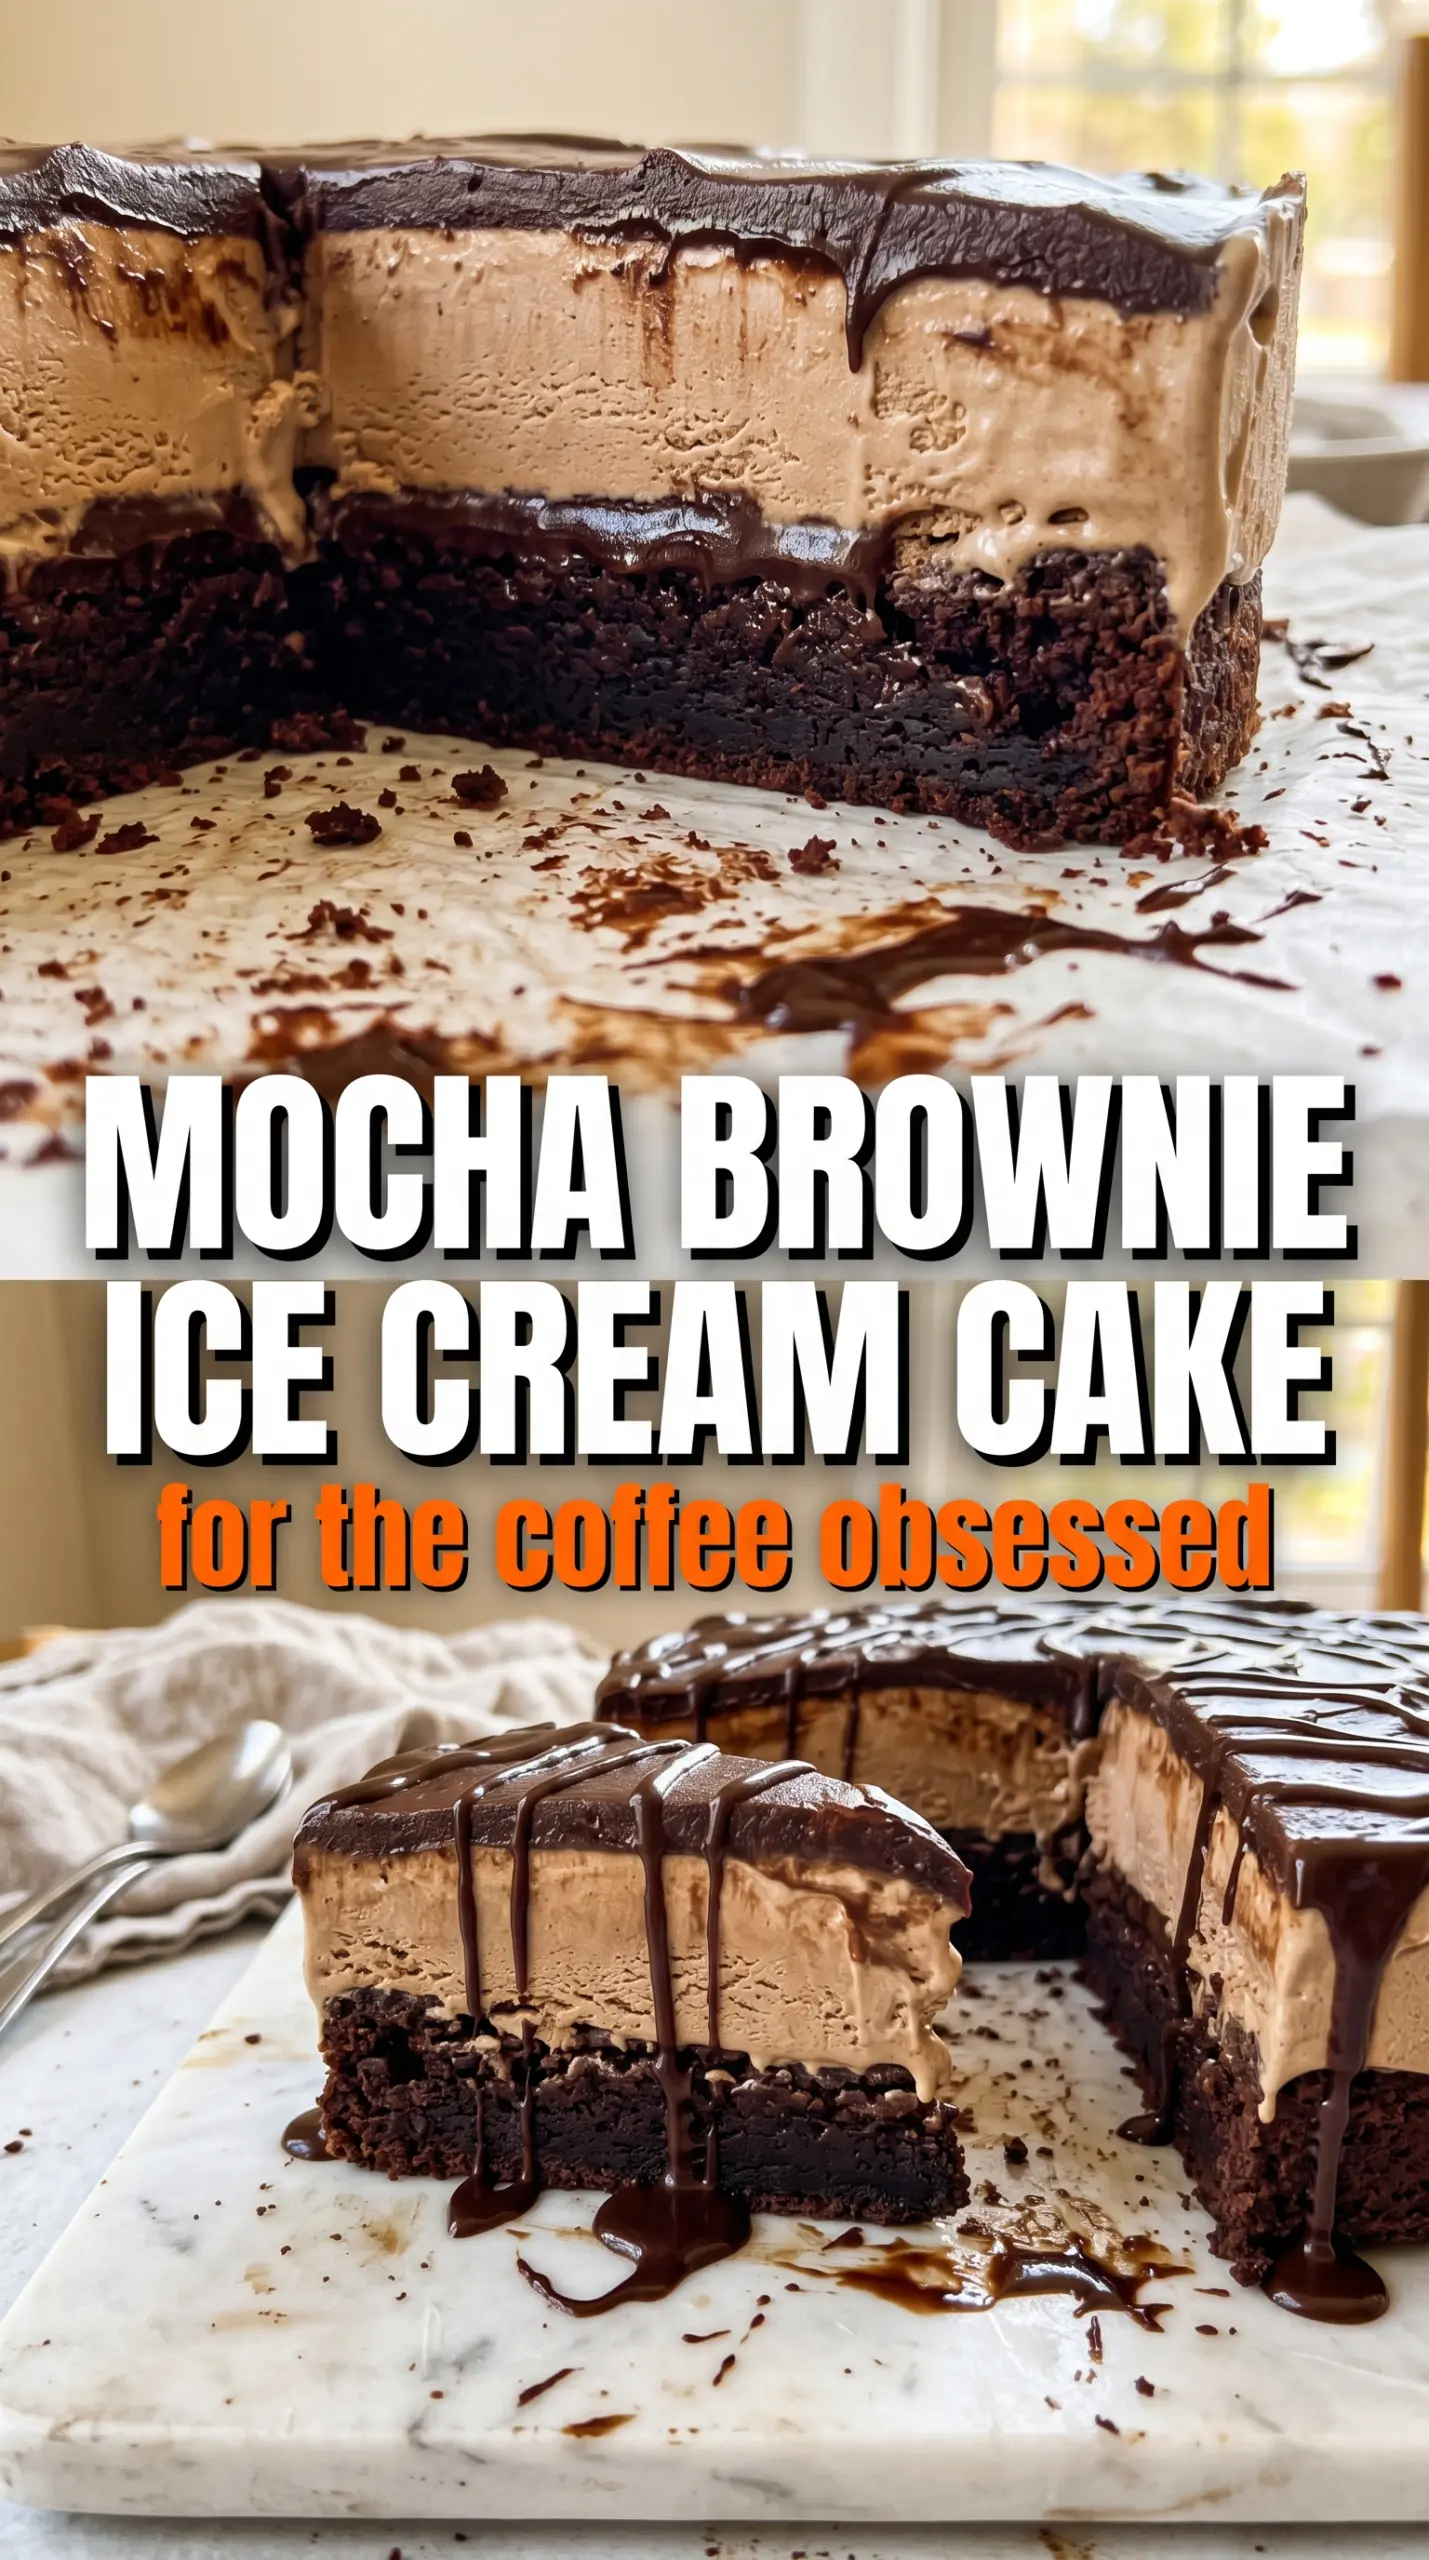
Mocha brownie ice cream cake lands with that perfect cold-and-creamy bite: fudgy espresso brownie at the bottom, a thick band of coffee ice cream in the middle, and a dark chocolate ganache cap that cracks just enough when the knife goes in. It tastes like the best part of an ice cream shop cake, only deeper, less sweet, and far more grown-up.
The espresso powder in the brownie mix pulls the chocolate flavor forward instead of making the cake taste like coffee first. Brushing the cooled brownie with strong coffee keeps the base from eating dry once it’s frozen, and using softened ice cream makes the layer spread evenly instead of tearing the brownie underneath. The ganache goes on the frozen cake so it sets into a glossy shell instead of sliding off the sides.
Below, I’ll walk through the small details that keep the layers clean, plus the storage notes that matter when you’re making a frozen dessert ahead of time. The method is simple, but the order matters, and that’s what gives you neat slices instead of a leaning mess.
The brownie stayed fudgy even after freezing, and the coffee ice cream layer sliced cleanly once I let the cake sit for 10 minutes. The espresso plus chocolate combo tasted just like a fancy bakery cake.
Save this mocha brownie ice cream cake for the chocolate-coffee dessert nights when you want clean layers, a fudgy base, and a glossy ganache finish.
The Freezer Is Doing the Heavy Lifting, So the Layers Have to Be Built Cleanly
The biggest mistake with an ice cream cake is rushing the middle layer. If the brownie is even a little warm, the ice cream melts into it and you lose that clean stripe when you cut the cake. Let the brownie cool all the way down, then freeze it briefly before adding the ice cream so the base firms up and stays level.
The other place people run into trouble is the ganache. Pouring it onto a cake that isn’t fully frozen makes the top sink and smear. A properly chilled cake gives you a smooth shell on contact, which is exactly what you want here.
- Brownie mix — A boxed mix keeps the structure reliable, which matters because this dessert gets frozen and sliced. The instant espresso powder is the part that makes it taste like mocha instead of plain chocolate.
- Instant espresso powder — This sharpens the chocolate and brings a deeper, more grown-up coffee note. Regular brewed coffee won’t give you the same intensity in the batter.
- Coffee ice cream — Use a brand you like on its own, because it’s the center of the cake and there’s nowhere for a bland ice cream to hide. Soften it just enough to spread; if it turns soupy, it will freeze with ice crystals.
- Dark chocolate ganache — Ganache sets into that glossy top layer that makes the cake look finished and bakery-made. A thinner chocolate sauce won’t give you the same clean slice.
- Strong coffee for brushing — This keeps the brownie from tasting firm or dry after freezing and adds another layer of mocha flavor. Cool coffee works best so it doesn’t start melting the ice cream.
- Whipped cream and espresso beans — These are the finish, not decoration for decoration’s sake. The cream softens the look of the ganache edge, and the beans make the mocha flavor obvious before the first bite.
What Each Ingredient Is Actually Doing in This Ice Cream Cake
- Base layer (cookies, cake, or graham cracker) — This provides structure and stability. Crushed and mixed with butter creates a firm foundation.
- Ice cream (the main star) — Use quality ice cream or make homemade. Softness matters for layering.
- Sauce or topping between layers (fudge, caramel, or fruit) — This adds moisture, flavor, and prevents dryness. Don’t skip this layer.
- Frosting or whipped cream (optional outer layer) — This prevents freezer burn and adds creaminess. Stabilized whipped cream works best.
- Freezing time (at least 4-6 hours) — This sets the layers so cake slices cleanly. Longer freezing prevents melting during serving.
- Room temperature before serving (5-10 minutes) — This softens the cake slightly for better texture. Serve immediately after thawing.
- Toppings (chocolate, nuts, cookies, or sprinkles) — These add visual appeal and texture. Add right before serving.
- Storage (in freezer at 0°F or below) — This prevents ice crystal formation and maintains quality. Cover with plastic wrap.
Building the Cake So the Layers Stay Sharp in the Freezer
Bake the Brownie Base First
Mix the brownie batter with the instant espresso powder and bake it in a 9-inch springform pan, because that shape makes the finished cake easy to release without digging it out in pieces. Pull it when the center is just set and a toothpick comes out with moist crumbs, not wet batter. Let it cool completely before you brush on the coffee; if you rush this part, the heat turns the liquid into steam and softens the base too much.
Brush, Freeze, and Add the Ice Cream
Once the brownie is cool, brush the top with espresso or strong coffee in an even layer. You want it moist, not soaked. Spread the softened coffee ice cream over the brownie in a thick, level layer, pushing it all the way to the edges, then freeze until firm. If the ice cream starts sliding while you spread it, it’s too soft and needs a few minutes back in the freezer before you continue.
Set the Ganache on a Frozen Surface
Pour the ganache over the fully frozen cake and tilt the pan gently so it reaches the edges. The cold surface helps it set almost immediately, which gives you that neat top layer instead of a runny glaze. Freeze again until the ganache firms up. If you add whipped cream before the ganache has set, the swirls can sink into the chocolate and lose their shape.
Finish and Slice Cleanly
Pipe the whipped cream around the edge and top with chocolate-covered espresso beans, then freeze until serving time. For the cleanest slices, let the cake sit at room temperature for 8 to 10 minutes before cutting and wipe the knife between slices. A hot knife can help, but don’t overdo it or the ganache will melt instead of break cleanly.
How to Adapt This Mocha Ice Cream Cake Without Losing the Good Parts
Make it even more coffee-forward
Swap a little of the brewed coffee brushing liquid for strongly brewed espresso, and use an intense coffee ice cream instead of a mild one. The result is less sweet and more assertive, which works well if you want the mocha flavor to read first.
Gluten-free version
Use a gluten-free brownie mix that bakes up fudgy, not cakey. The rest of the cake stays the same, but check that your ganache and espresso beans are certified gluten-free if cross-contamination matters to you.
Dairy-free version
Use a dairy-free brownie mix or your favorite from-scratch brownie, then swap in dairy-free coffee ice cream and coconut-based ganache. The texture will still slice well, though the ganache sets a little softer and the flavor leans slightly coconut if your chocolate isn’t very dark.
Make it ahead for a party
Build the cake a day in advance and leave the whipped cream and espresso bean garnish for the final hour if you want the top to look freshest. The cake holds beautifully frozen, and that extra time makes slicing easier because every layer firms up completely.
Storage and Reheating
- Refrigerator: Not ideal for holding. The ice cream layer softens fast, so this cake should stay frozen until serving.
- Freezer: Wrap tightly and keep for up to 1 week for the best texture. After that, the brownie can start to taste icy around the edges.
- Reheating: No reheating needed. Set the cake out for 8 to 10 minutes before slicing so the knife goes through the ganache and ice cream cleanly instead of cracking the top in jagged pieces.
Questions I Get Asked About This Recipe
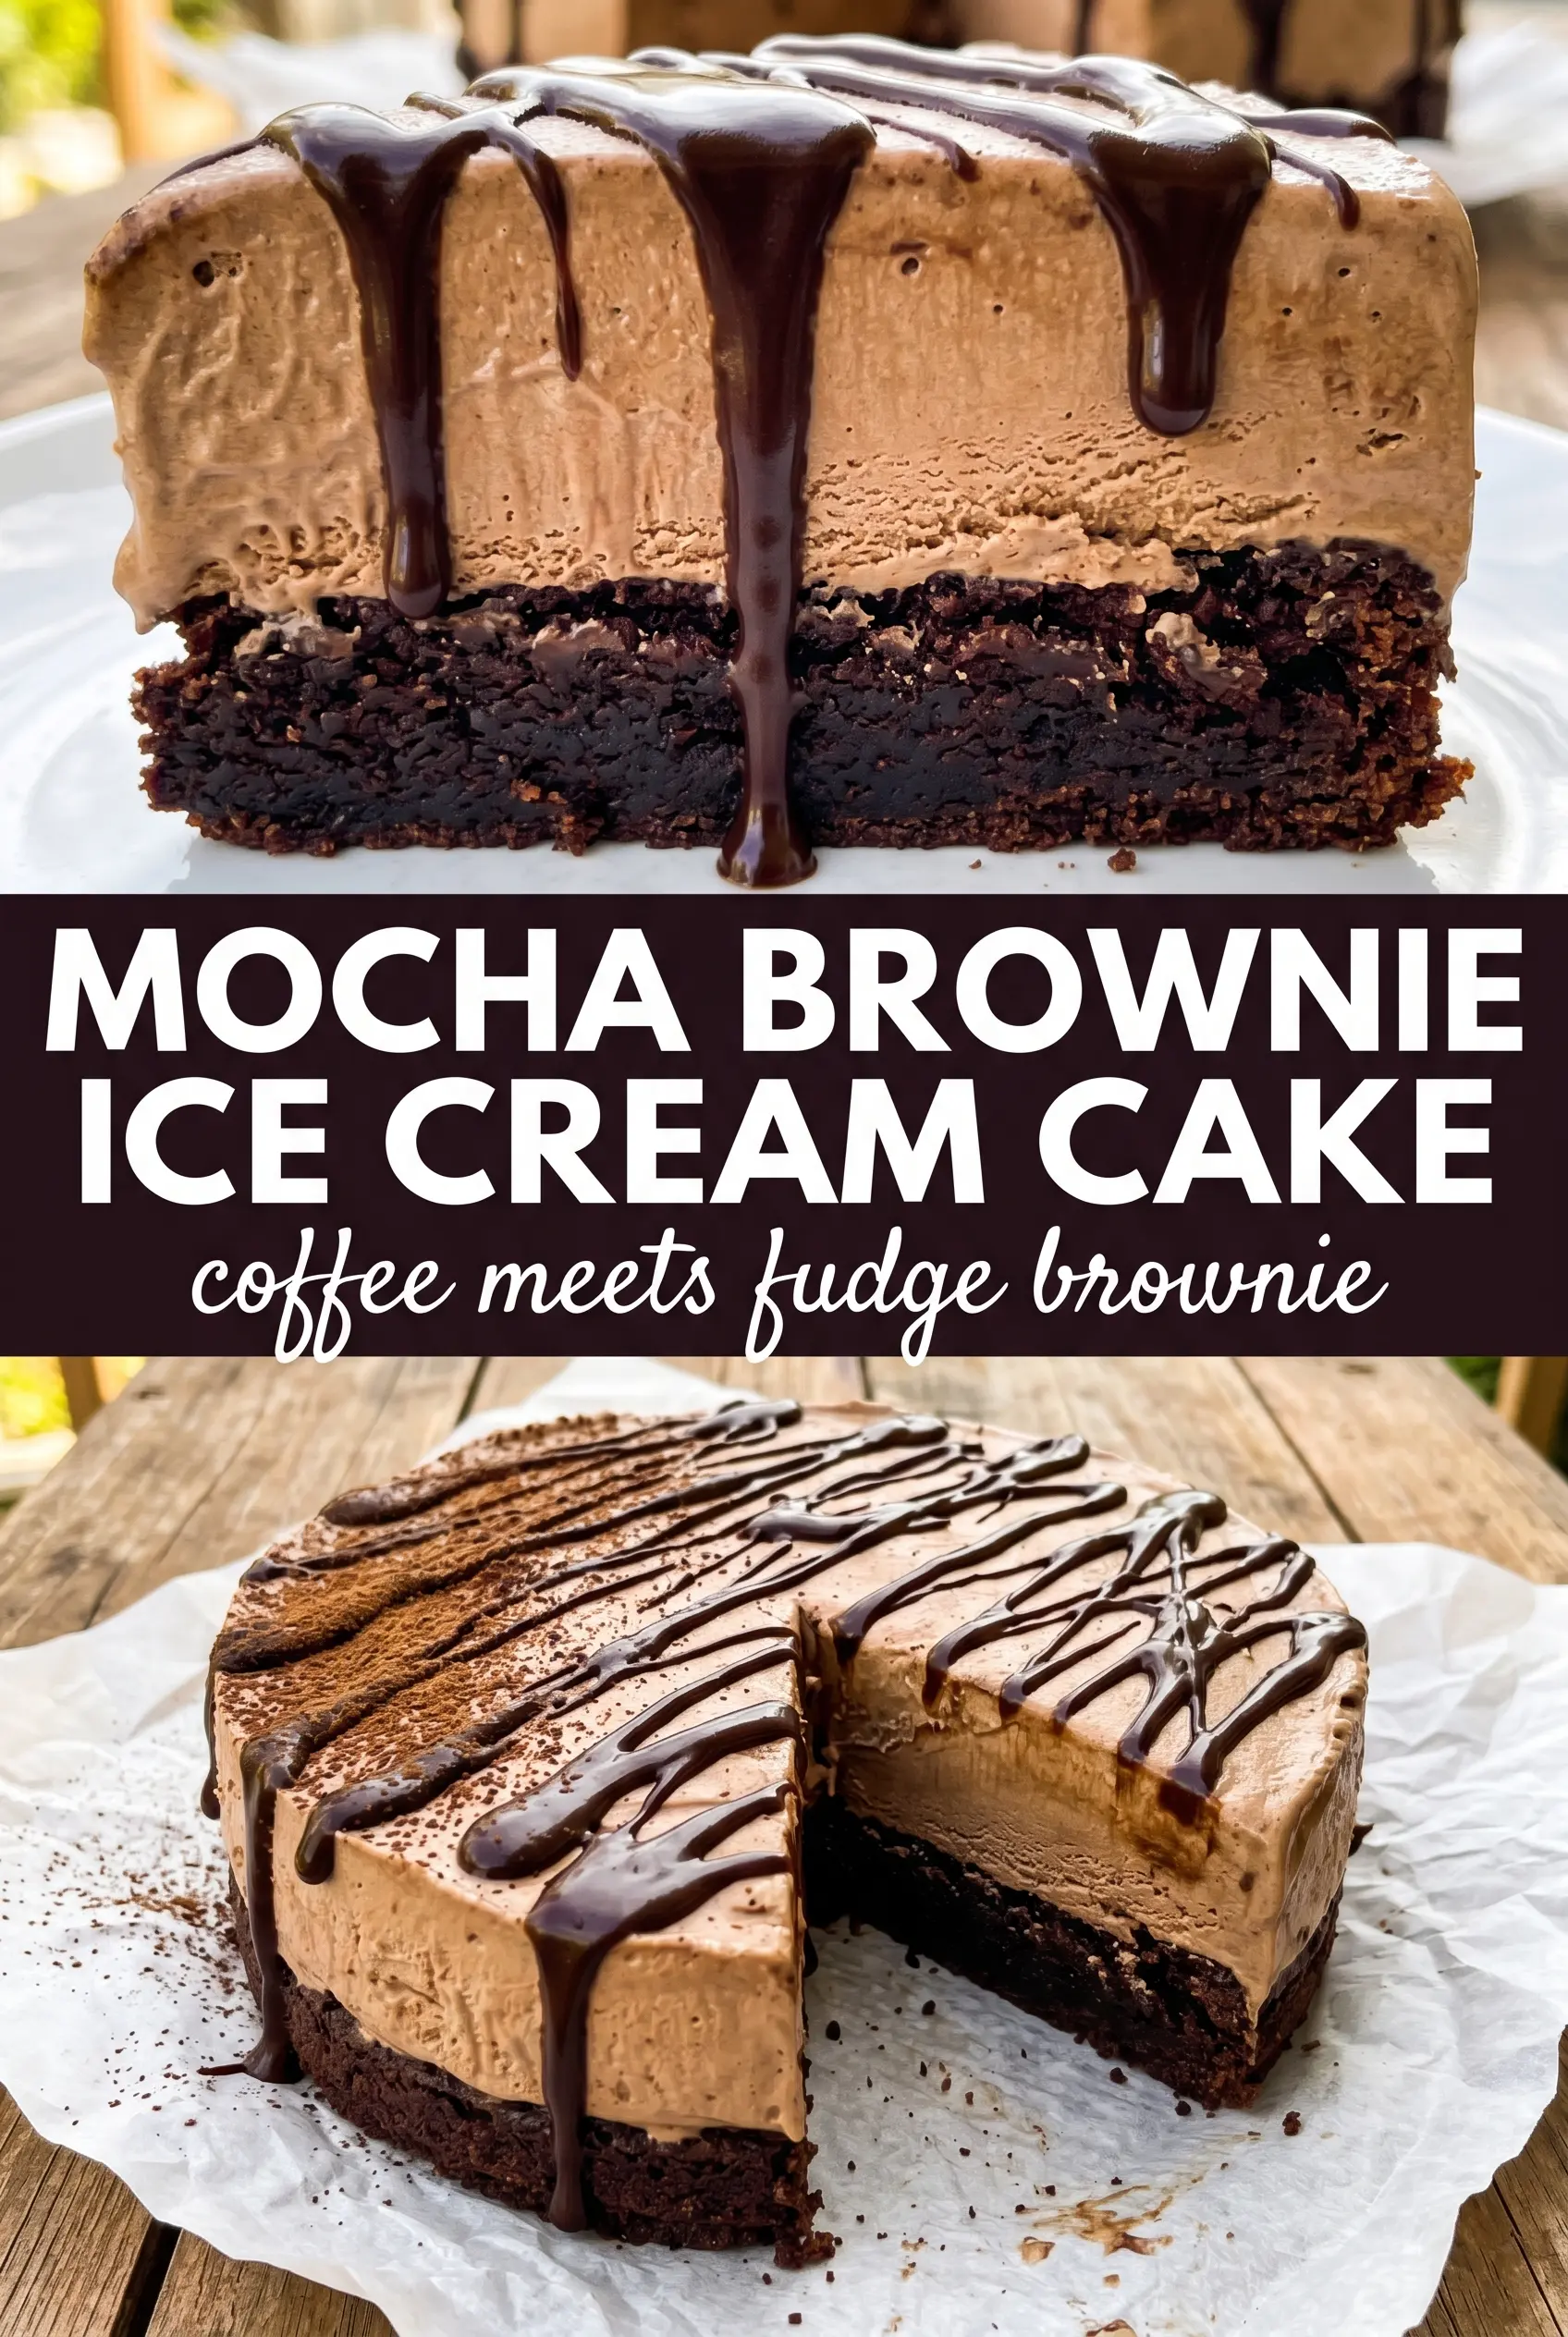
Mocha Brownie Ice Cream Cake
Ingredients
Equipment
Method
- Heat oven to 350°F and bake brownies in a 9-inch springform pan, using the brownie mix with the instant espresso powder mixed in per package directions. Bake until set, about 30 minutes, then remove and cool completely.
- Brush the completely cooled brownies with the espresso or strong coffee to soak the surface lightly. Let it sit while you prepare the ice cream layer.
- Spread the softened coffee ice cream over the espresso brownie and smooth the top so it reaches the edges. Freeze at 0°F for 4 hours, until firm.
- Pour the dark chocolate ganache over the frozen cake and tilt the pan to cover the top evenly. Freeze at 0°F for 2 more hours.
- Pipe whipped cream around the edge and onto the top, then top with chocolate-covered espresso beans. Freeze at 0°F until serving.


