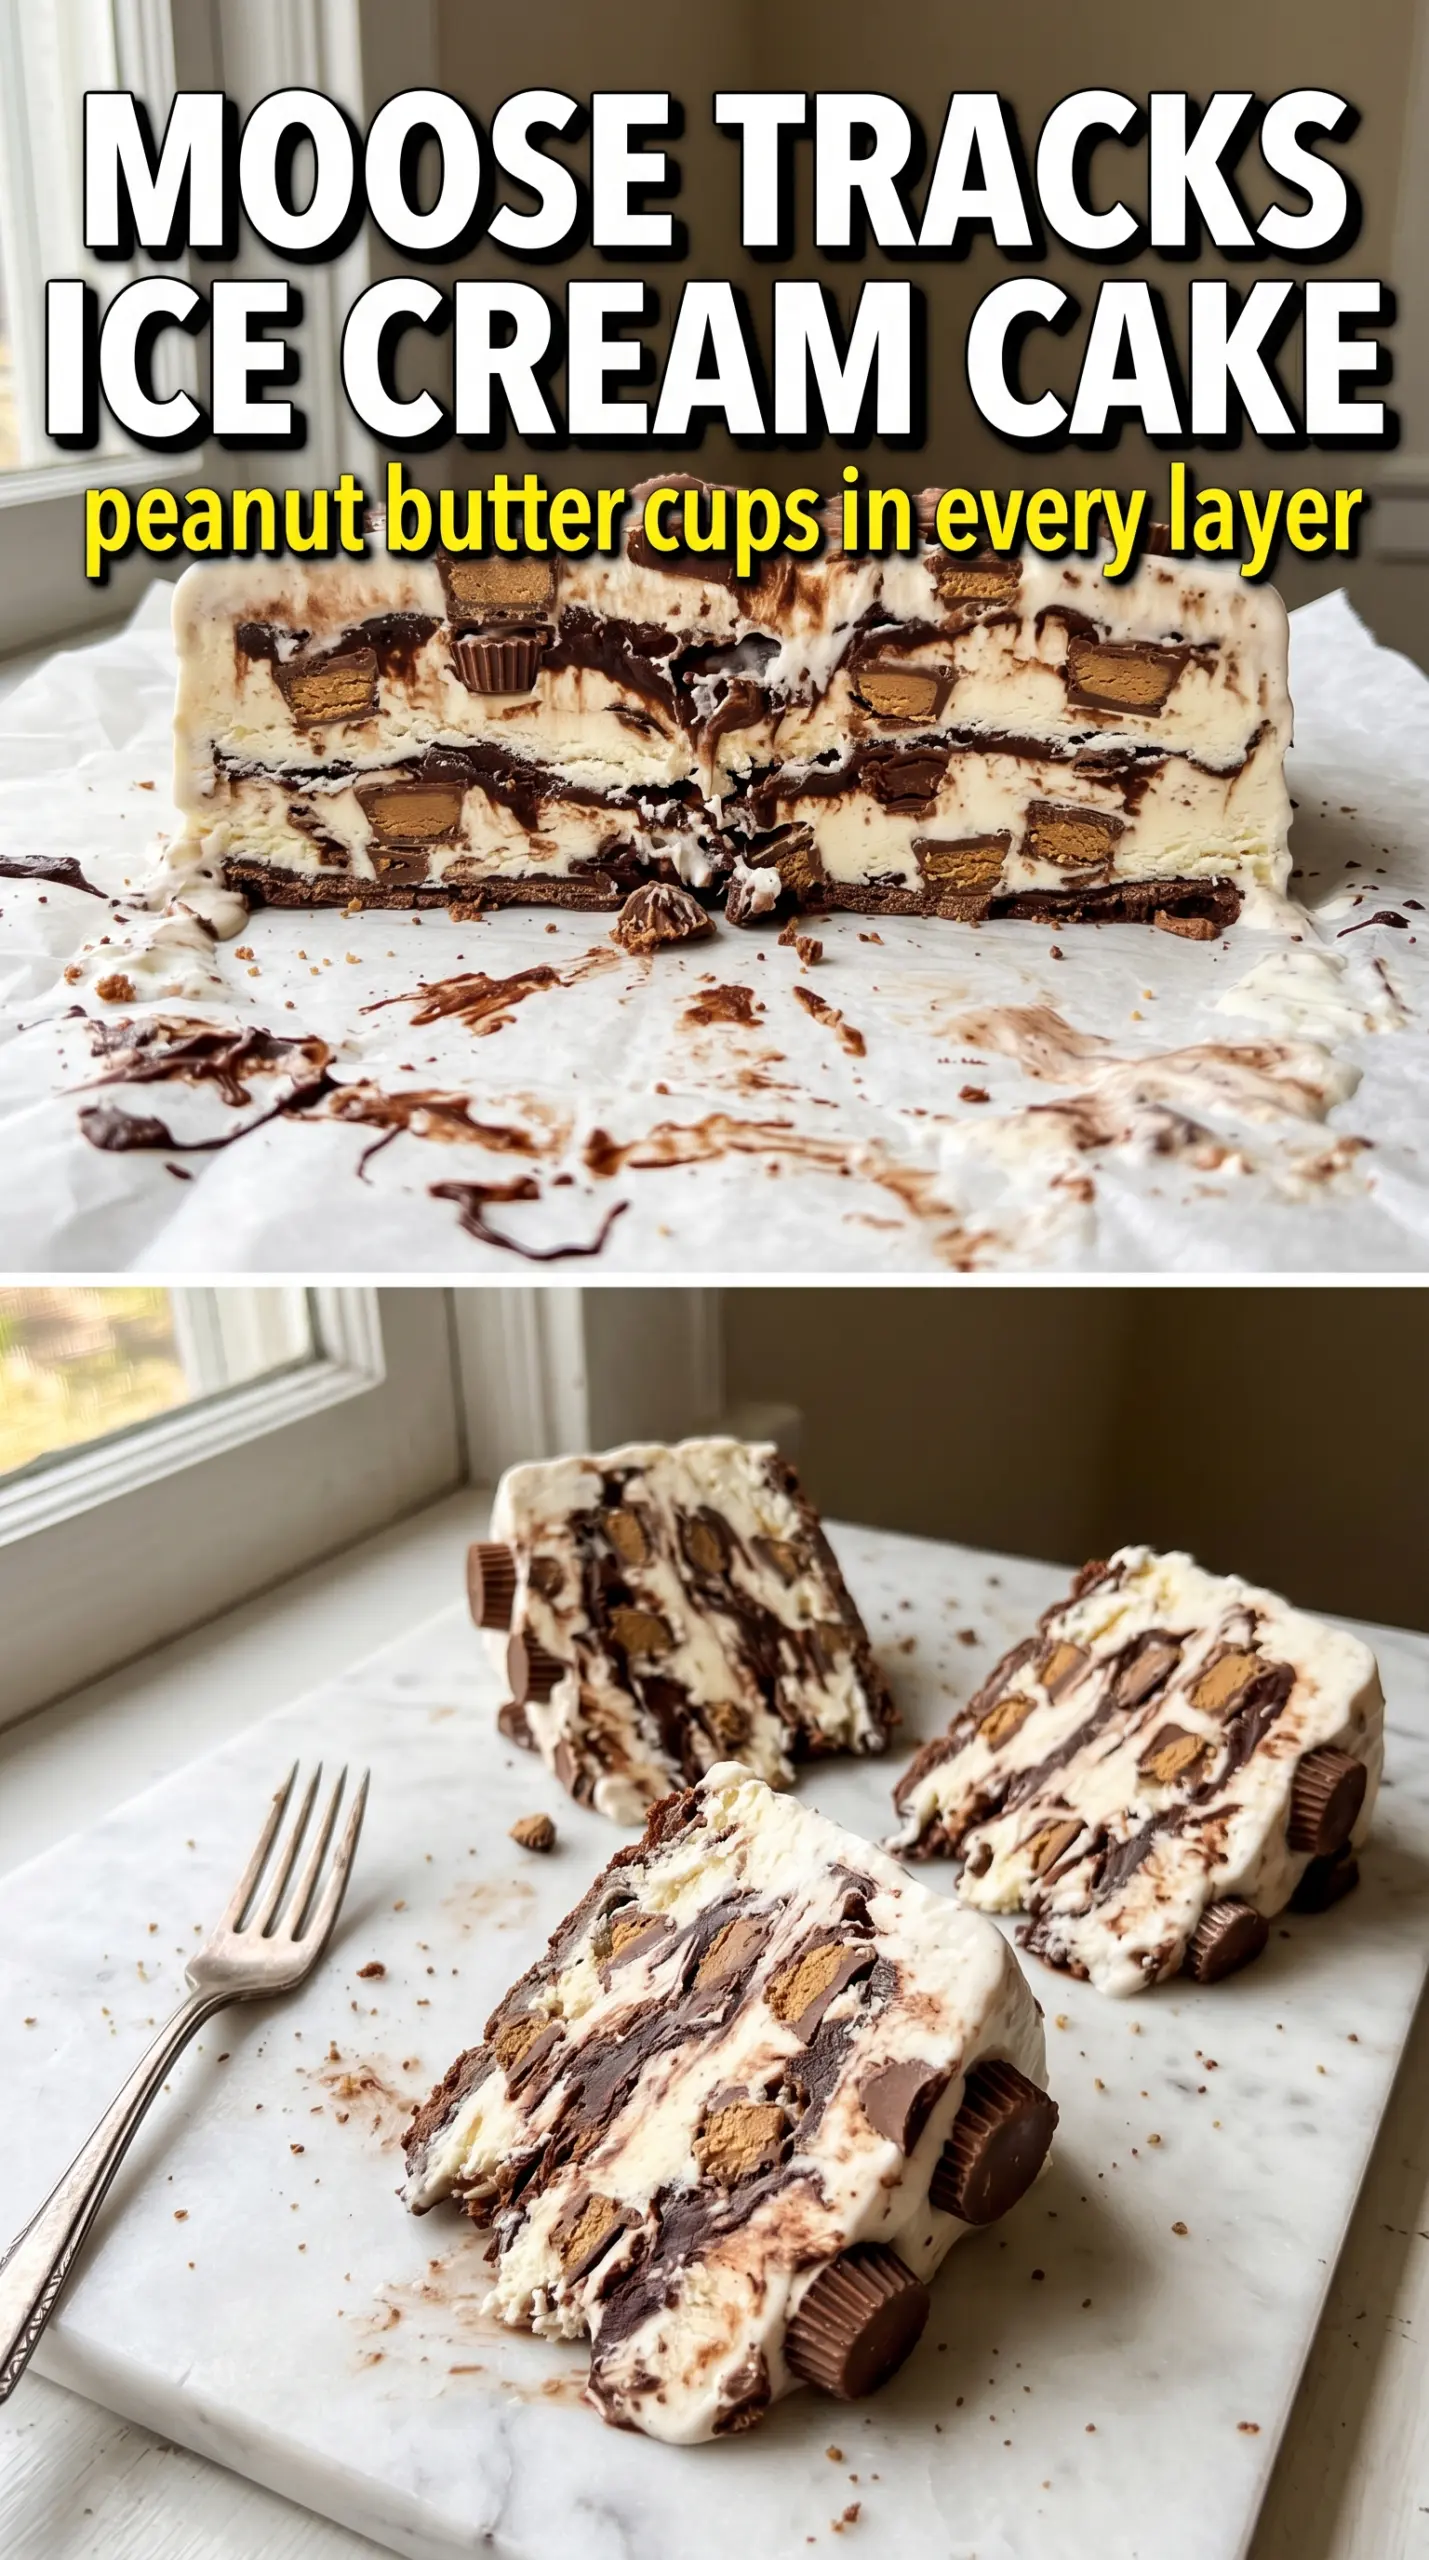
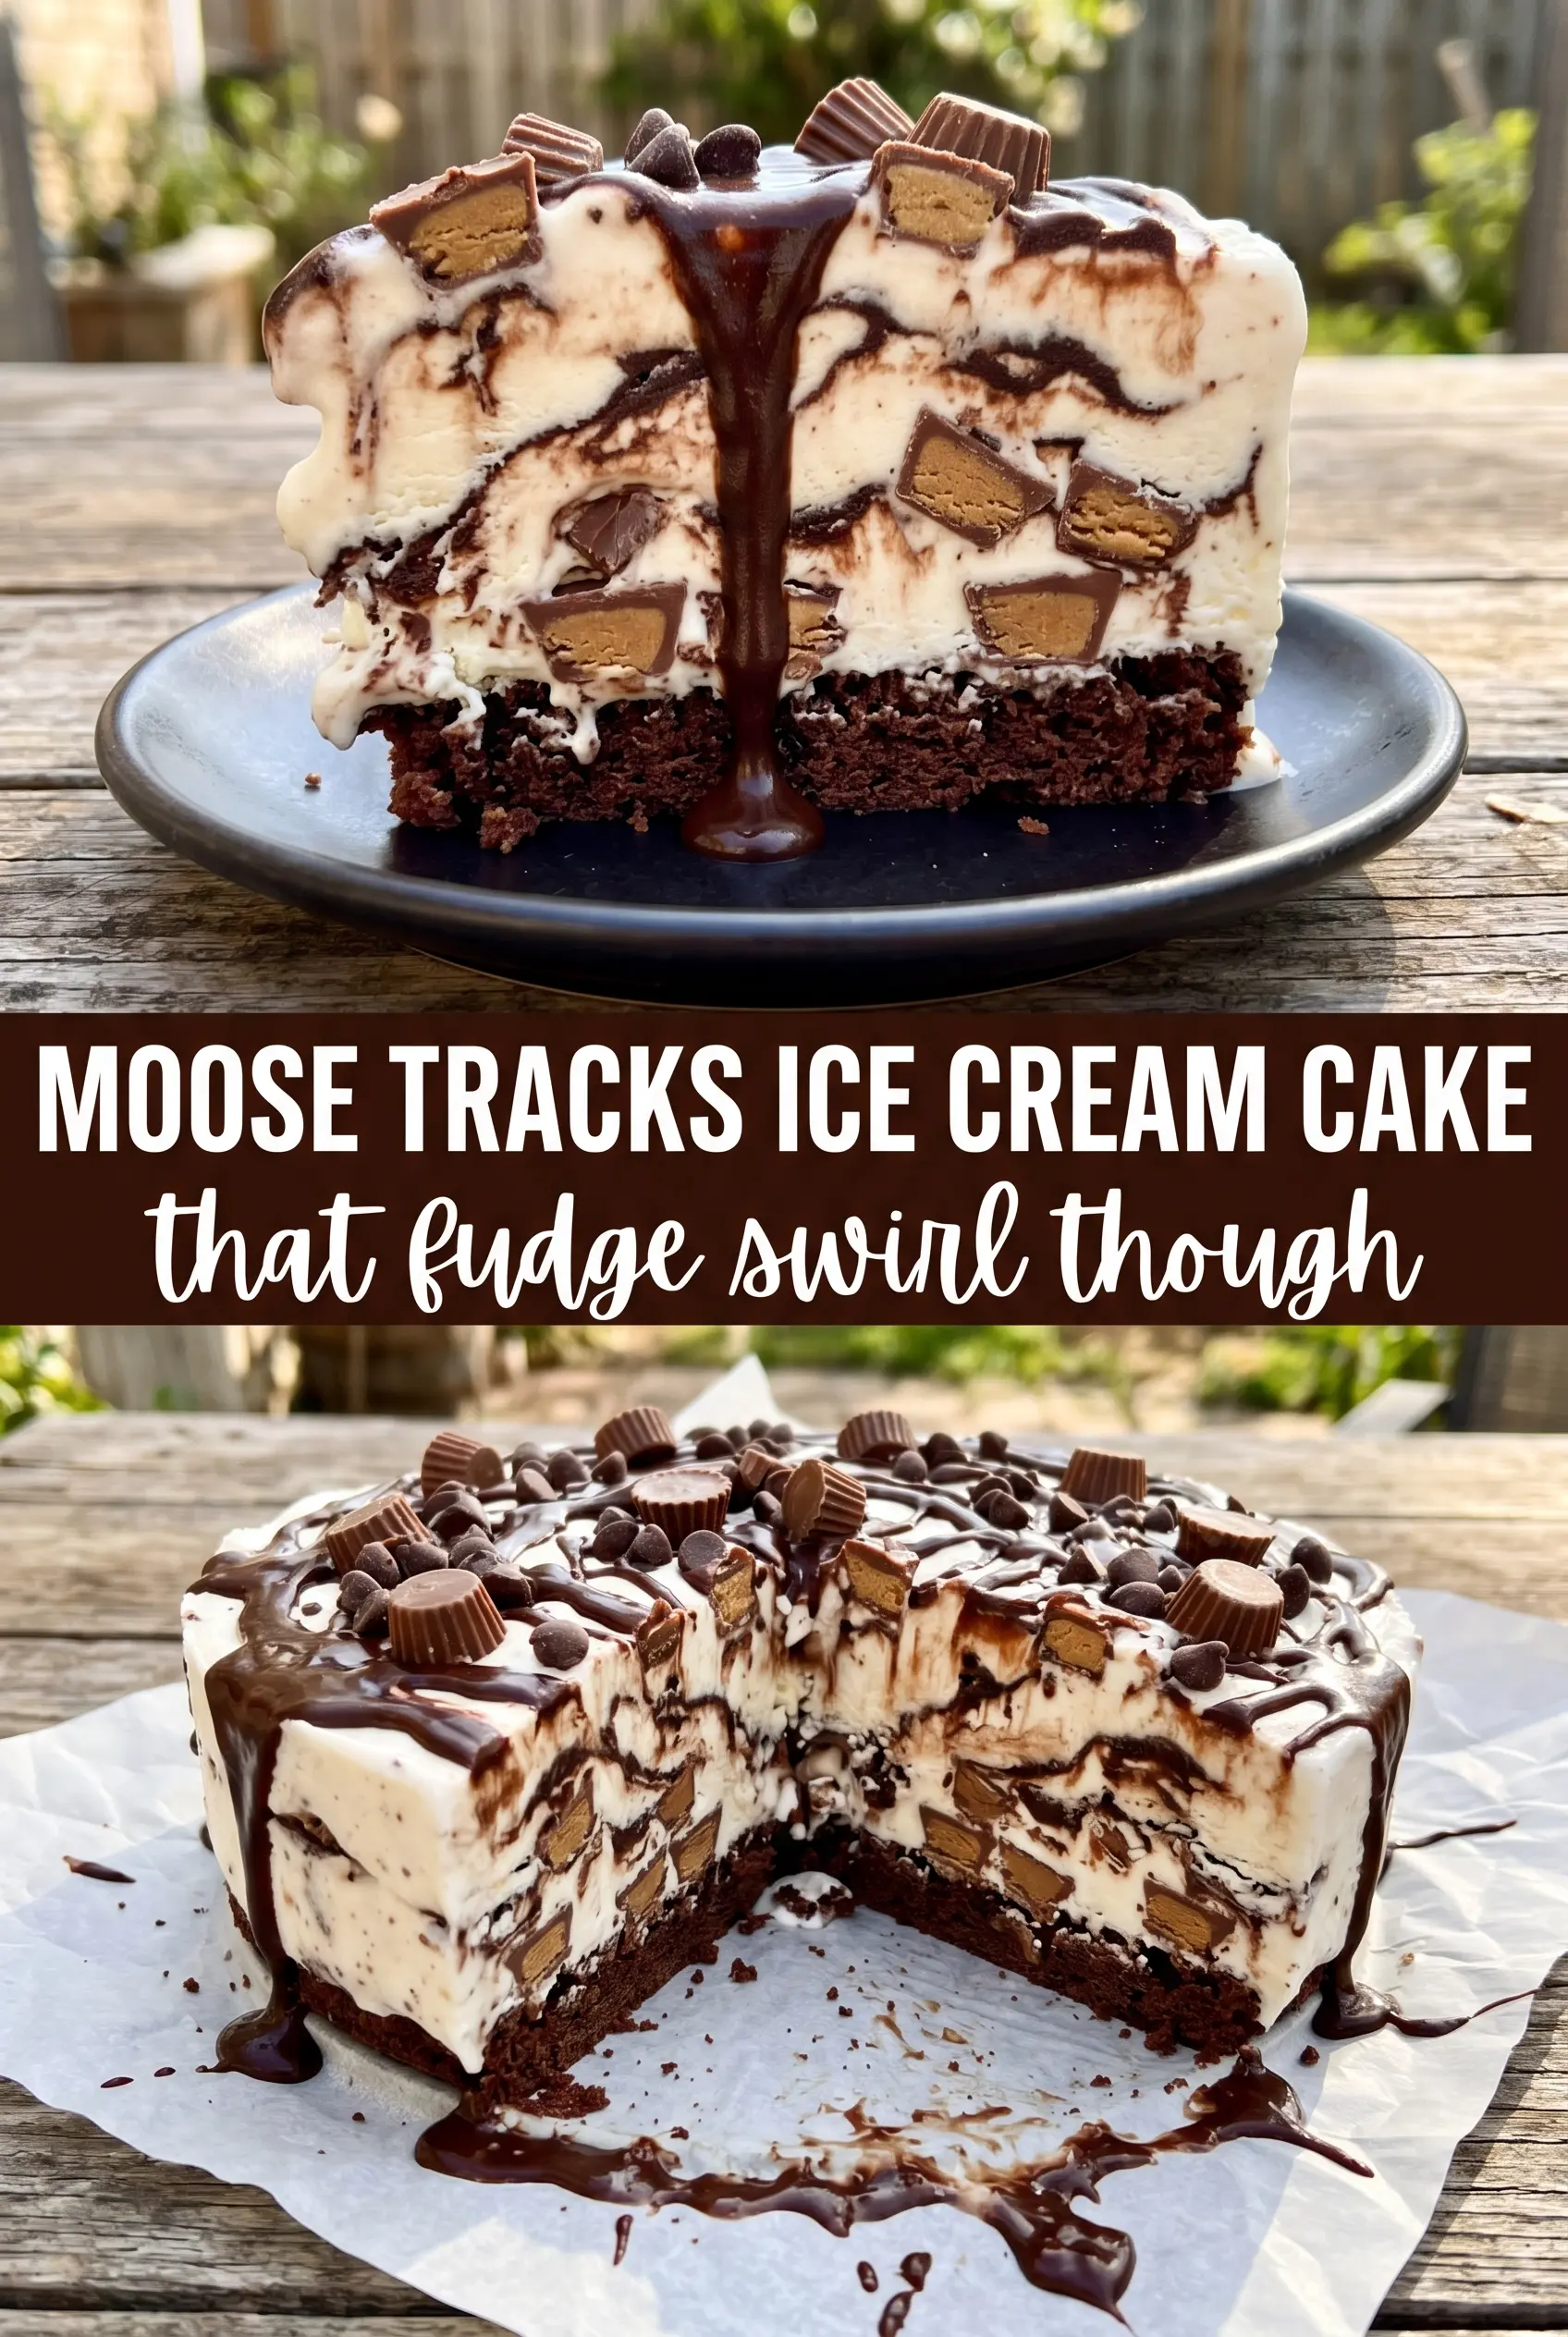
Moose Tracks ice cream cake lands with that first cold bite: a crunchy Oreo crust, vanilla ice cream ribboned with fudge, and peanut butter cup pieces tucked through every slice. It looks bakery-level when you cut into it, but the build is simple enough to pull off on a weeknight if you plan around the freezer.
The trick is keeping each layer distinct. A firm crust gives the cake structure, softened ice cream spreads without tearing the base, and the fudge goes in at the end so you get swirls instead of a muddy mixture. Letting the assembled cake freeze until it’s truly solid matters here; if you rush that part, the slices slump and the topping slides.
Below, I’ve included the exact texture cues I watch for, the best way to soften the ice cream without melting it, and a few smart swaps if you want to change the cookie base or the topping.
The crust set up beautifully and the fudge swirled through the ice cream instead of disappearing. I made it the day before a birthday party, and the slices held their shape even after sitting out a few minutes.
Save this Moose Tracks ice cream cake for the birthday party dessert that slices cleanly and tastes like a giant peanut butter cup sundae.
The Freezer Timing That Keeps the Layers Clean
What ruins most ice cream cakes isn’t the flavor. It’s rushing the freeze time between layers. The crust needs a quick set before the ice cream goes in, or the buttery crumbs smear into the filling and you lose that crisp base. The finished cake also needs a long final freeze so the topping sits on top instead of sinking or dragging through soft ice cream when you slice it.
- Crushed Oreos — Use the cookies whole, cream and all. That filling helps bind the crust once it mixes with the butter, and it gives the base a deeper chocolate flavor than plain chocolate wafers.
- Vanilla ice cream — Let it soften on the counter until it’s spreadable but still cold. If it melts into a puddle, it refreezes dense and icy instead of creamy.
- Moose Tracks fudge sauce — Hot fudge gives you the best ribboning because it stays thick enough to marble through the ice cream. If yours is very stiff, warm it just until it loosens; if it’s too hot, it can melt the ice cream on contact.
- Mini peanut butter cups — Halving them keeps the bites distributed through the cake instead of leaving big frozen chunks that are hard to cut. Full-size chopped pieces work too, but the slices won’t look as tidy.
- Whipped topping — This gives the top a smooth, stable finish that freezes cleanly. Fresh whipped cream can work, but it tends to weep a little more after a long freeze unless it’s stabilized.
What Each Ingredient Is Actually Doing in This Ice Cream Cake
- Base layer (cookies, cake, or graham cracker) — This provides structure and stability. Crushed and mixed with butter creates a firm foundation.
- Ice cream (the main star) — Use quality ice cream or make homemade. Softness matters for layering.
- Sauce or topping between layers (fudge, caramel, or fruit) — This adds moisture, flavor, and prevents dryness. Don’t skip this layer.
- Frosting or whipped cream (optional outer layer) — This prevents freezer burn and adds creaminess. Stabilized whipped cream works best.
- Freezing time (at least 4-6 hours) — This sets the layers so cake slices cleanly. Longer freezing prevents melting during serving.
- Room temperature before serving (5-10 minutes) — This softens the cake slightly for better texture. Serve immediately after thawing.
- Toppings (chocolate, nuts, cookies, or sprinkles) — These add visual appeal and texture. Add right before serving.
- Storage (in freezer at 0°F or below) — This prevents ice crystal formation and maintains quality. Cover with plastic wrap.
Building the Layers Without Melting the Cake
Pressing the Crust
Mix the crushed Oreos with melted butter until every crumb looks evenly moistened, then press the mixture into a 9-inch springform pan in a firm, even layer. Use the bottom of a measuring cup to pack it tight, especially around the edges, so the crust doesn’t crumble when you slice the cake later. Freeze it for 15 minutes; that short chill is enough to lock the butter in place before the filling goes on.
Folding the Fillings into the Ice Cream
Soften the vanilla ice cream until it spreads easily but still holds its shape on a spoon. Fold in the halved peanut butter cups and about half of the fudge sauce, working gently so you keep some streaks instead of turning everything one color. If the ice cream gets too loose while you stir, stop and put it back in the freezer for 5 to 10 minutes before spreading it over the crust.
Swirling in the Fudge
Spread the ice cream mixture over the chilled crust, then drizzle the remaining fudge sauce over the top. Run a knife through it in wide figure-eight motions, just enough to create ribbons. Overmixing here is the main mistake; once the fudge disappears into the ice cream, you lose the signature Moose Tracks look and end up with a uniform filling.
Freezing for a Clean Slice
Freeze the cake until it feels completely firm in the center, about 4 hours, then add the whipped topping and decorations. Return it to the freezer for another 2 hours so the top sets before serving. If you cut it too early, the slices lean and the fudge seeps; a cold knife helps, but the real answer is giving the cake enough time to fully firm up.
How to Change the Cake Without Losing the Moose Tracks Feel
Swap the Oreo crust for chocolate wafer crumbs
Chocolate wafer cookies give you a slightly lighter, more delicate crust with a cleaner chocolate flavor. Use the same amount of butter and press it the same way; the only difference is that the base won’t have quite as much of the Oreo filling sweetness.
Use dairy-free ice cream and whipped topping
A good coconut- or oat-based vanilla ice cream works here if it’s one that freezes firm, not icy. Keep the fudge sauce dairy-free too, and expect a slightly softer slice after thawing for 5 minutes at room temperature.
Make it peanut-free
Skip the peanut butter cups and use chopped chocolate caramel candies or plain chocolate chunks instead. You’ll lose the salty peanut contrast, but the cake still keeps the same frozen fudge-and-vanilla structure.
Storage and Reheating
- Refrigerator: This cake is best kept frozen, not refrigerated. If it sits in the fridge, it softens fast and the layers lose their shape.
- Freezer: Store tightly wrapped for up to 2 weeks. Press a layer of parchment against any cut edges so the ice cream doesn’t pick up freezer burn.
- Reheating: No reheating needed. For the cleanest slice, let the cake sit at room temperature for 5 to 10 minutes before cutting, then use a sharp knife dipped in hot water and wiped dry between slices.
Questions I Get Asked About This Recipe
Moose Tracks Ice Cream Cake
Ingredients
Equipment
Method
- Combine crushed Oreo cookies and melted unsalted butter, then press the mixture firmly into a 9-inch springform pan until evenly packed and level. Chill in the freezer for 15 minutes to set the crust.
- Fold halved miniature peanut butter cup halves and half of the Moose Tracks fudge sauce into softened vanilla ice cream until the cups are distributed. Spread the ice cream over the frozen Oreo crust in an even layer, leaving the surface smooth.
- Drizzle the remaining Moose Tracks fudge sauce over the ice cream, then swirl it through the top with a knife for visible fudge ribbons. The surface should show dark swirls streaking across the vanilla.
- Freeze the cake for 4 hours until completely firm. The center should feel solid when lightly pressed through the pan.
- Top with whipped topping and decorate with extra peanut butter cups plus additional fudge drizzle for a layered look. Use a gentle hand so the whipped layer stays intact.
- Freeze for 2 more hours before serving to fully set the whipped topping. Slice with a sharp knife for clean, visible layers of vanilla, fudge, and peanut butter cups.


