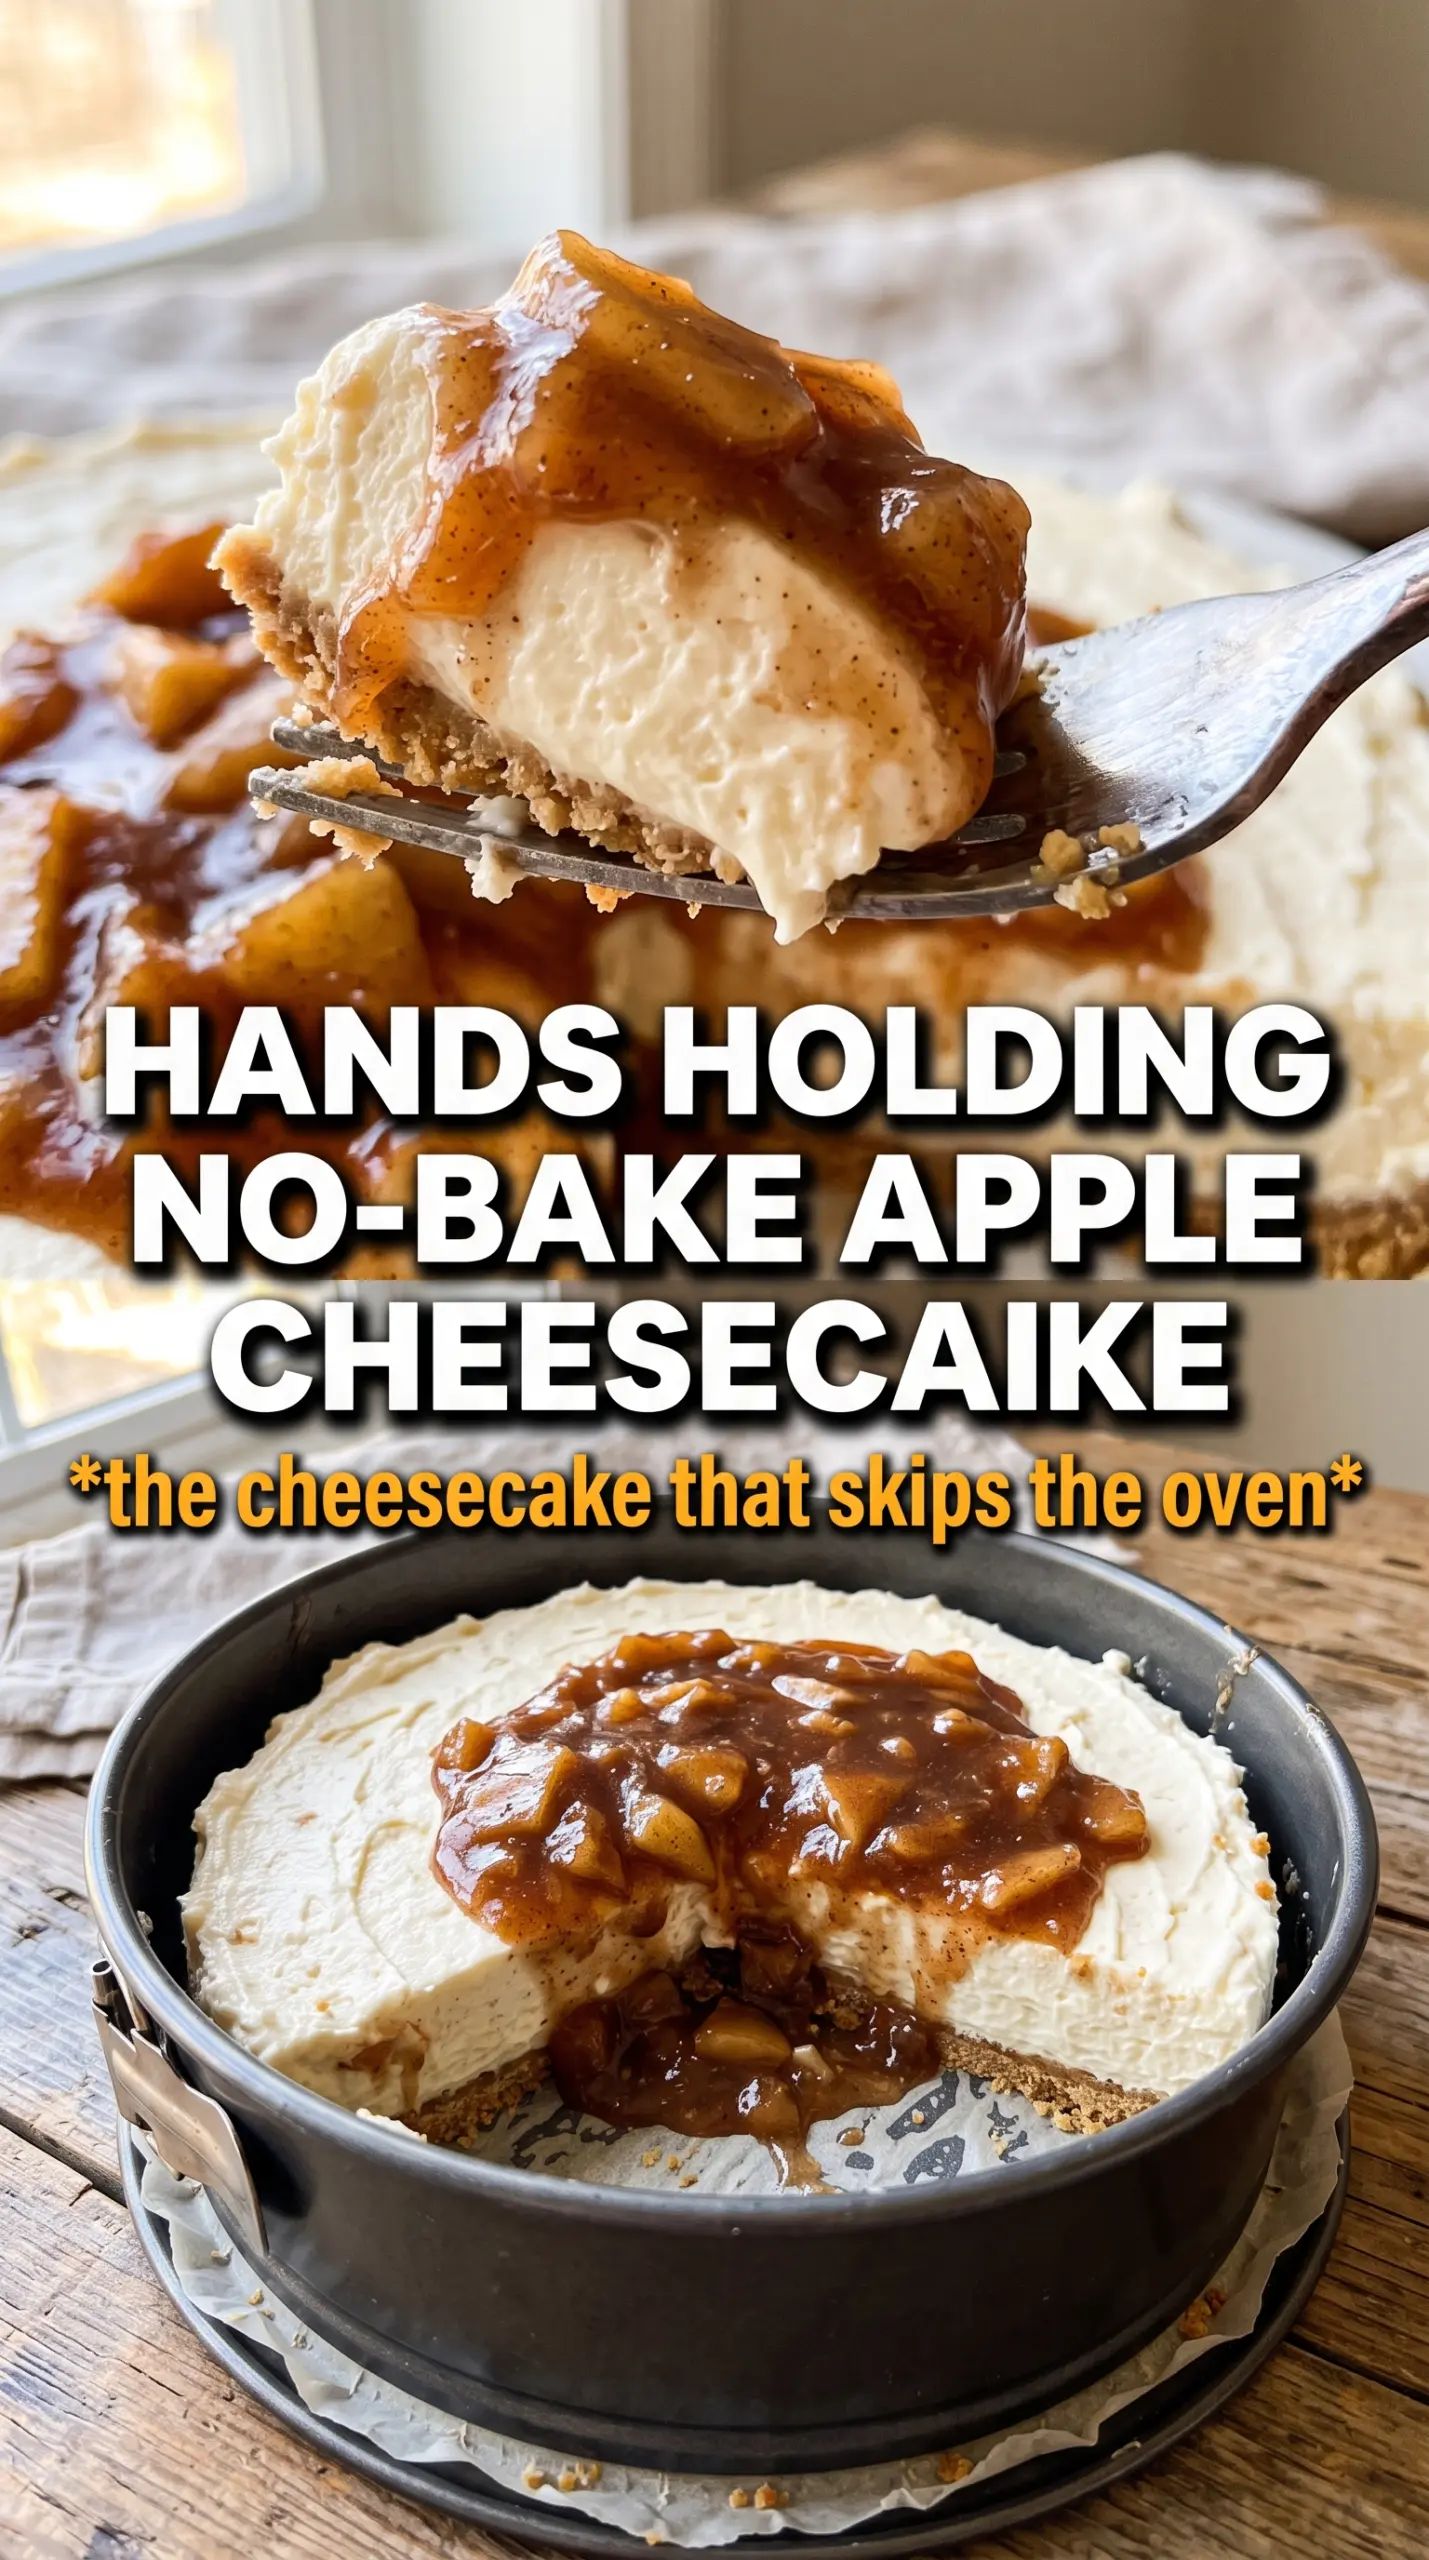
Cold, creamy cheesecake layered over a buttery graham crust and finished with spiced apple pie topping is the kind of dessert that disappears fast once it hits the table. The texture is the draw here: a firm slice that still tastes light, with a smooth filling that holds its shape and a glossy apple topping that gives each bite a little warmth and spice. It looks like a special-occasion dessert, but it doesn’t ask for oven space or any water bath drama.
The filling works because the cream cheese gets beaten until it is completely smooth before the whipped cream goes in. That step matters. If the base is even a little lumpy, those bits stay there. The other piece that makes this version dependable is the chilled crust; pressing it firmly and letting it set before the filling goes in keeps the slices clean instead of crumbly. The apple topping can be canned pie filling or homemade, but it needs that extra cinnamon and nutmeg to taste like it belongs on top of the cheesecake instead of just sitting there.
Below you’ll find the small details that keep the layers neat, the topping balanced, and the slices tall enough to serve without collapsing. If you’ve ever had a no-bake cheesecake that wouldn’t set, the timing notes here will help.
The filling came out silky and held its shape perfectly after chilling overnight, and the spiced apple topping made it taste like apple pie without turning the crust soggy.
Save this no-bake apple pie cheesecake for the dessert that slices cleanly and chills into a sturdy, creamy finish.
The Key to a Slice That Holds Its Shape
A no-bake cheesecake only behaves if the base is built for structure. The crust needs to be packed tightly enough that it acts like a stable foundation, not loose crumbs waiting to crumble the first time a knife goes through it. The filling needs enough whipped cream folded in gently to stay airy, but not so aggressively mixed that it collapses. Chill time is not optional here; it is what turns a soft filling into clean slices.
The other common failure is a filling that looks smooth in the bowl but turns grainy after chilling because the cream cheese was still cool in the center. Softened cream cheese should beat into a completely smooth base before anything else goes in. If you see little specks or streaks at that stage, keep mixing. Once the whipped cream is folded in, you won’t be able to fix lumps without deflating the filling.
What Each Layer Is Actually Doing Here
- Graham cracker crumbs — These give the crust its classic cheesecake flavor and a dry, sandy base that firms up when mixed with butter. Fresh crumbs from whole crackers work fine, but pre-crushed crumbs are convenient and completely acceptable here.
- Unsalted butter — Butter is what binds the crust so it slices instead of scattering. Melt it fully and mix until every crumb looks evenly coated; dry patches are what make a crust fall apart.
- Cream cheese — This is the backbone of the filling, and the quality matters more than it does in a baked dessert because there is no oven heat to smooth things out later. Use full-fat cream cheese and let it soften at room temperature so it beats smooth without lumps.
- Heavy cream — Whipping the cream to stiff peaks gives the cheesecake its lift and structure. There is no real substitute here if you want the same airy, sliceable texture.
- Apple pie filling — Canned filling keeps this dessert easy and gives you that soft apple texture without cooking anything. Homemade works too, but it should be fully cooled before it goes on top or it will melt the filling.
- Cinnamon and nutmeg — These are the bridge between the apple topping and the cheesecake layer. They deepen the flavor of the canned filling so it tastes intentional instead of straight from the can.
Building the Filling So It Stays Light, Not Loose
Pressing the Crust into a Real Base
Combine the crumbs, melted butter, and sugar until the mixture looks like wet sand, then press it firmly into the springform pan with the bottom of a measuring cup or flat glass. The crust should feel compact and even all the way across, with a slightly thicker edge if you want neater slices. After it chills, it should hold together when you run a spoon across it. If it still feels loose, it needed more pressure before chilling.
Beating Out Every Last Lump
Beat the cream cheese with both sugars, vanilla, and cinnamon until the mixture is completely smooth and fluffy. Scrape the bowl a few times; cream cheese likes to hide in the bottom and around the paddle or beaters. This is the stage that decides whether the final dessert tastes silky or slightly grainy. If the cream cheese is still cold, the mixture will never look fully smooth.
Folding in the Whipped Cream Without Losing the Air
Whip the heavy cream to stiff peaks before you start, then fold it into the cream cheese mixture in two additions. Use a spatula and cut through the center, then sweep around the bowl; stirring hard knocks out the air that gives this cheesecake its height. Stop as soon as the filling is uniform and no white streaks remain. Overmixing at this point makes the filling dense and softer after chilling.
Finishing with the Apple Layer
Spread the cheesecake filling over the chilled crust and smooth the top before adding the apple mixture. Stir the cinnamon and nutmeg into the pie filling, then spoon it gently over the surface so the filling underneath stays clean and bright. A cold cheesecake base helps the topping sit on top instead of sinking in. If the apples are warm, wait until they cool completely or the top layer can slacken.
Three Ways to Adjust It Without Losing the Dessert
Gluten-Free Crust Swap
Use certified gluten-free graham-style crumbs in the same amount. The texture stays close to the original, though some gluten-free crumbs need a touch more butter to bind cleanly, so the crust should feel damp and packable before you press it into the pan.
Dairy-Free Version
Swap in dairy-free cream cheese and a whipping topping or coconut cream that whips to stiff peaks. The flavor shifts a little, especially if you use coconut cream, but the dessert still sets well if both components are cold and the filling gets enough chill time.
Homemade Apple Topping
Cook peeled, sliced apples with sugar, butter, cinnamon, nutmeg, and a splash of water until just tender, then cool them completely before topping the cheesecake. You get a fresher apple bite and less syrupy sweetness than canned filling, but the topping takes more time and must be fully cooled so it doesn’t melt the filling.
Make Ahead for the Best Slices
This dessert is best made the day before you plan to serve it. The extra chill time helps the filling firm up fully, which means cleaner slices and a crust that stays intact when you release the springform pan.
Storage and Reheating
- Refrigerator: Store covered for up to 4 days. The crust softens a little over time, but the slices still hold well.
- Freezer: Freeze without the apple topping for the cleanest texture, wrapped tightly, for up to 1 month. Thaw in the refrigerator overnight, then add the topping before serving.
- Reheating: This dessert is served cold, not reheated. If you want neater slices, chill the cheesecake again for 20 to 30 minutes after cutting and before serving.
Answers to the Questions Worth Asking
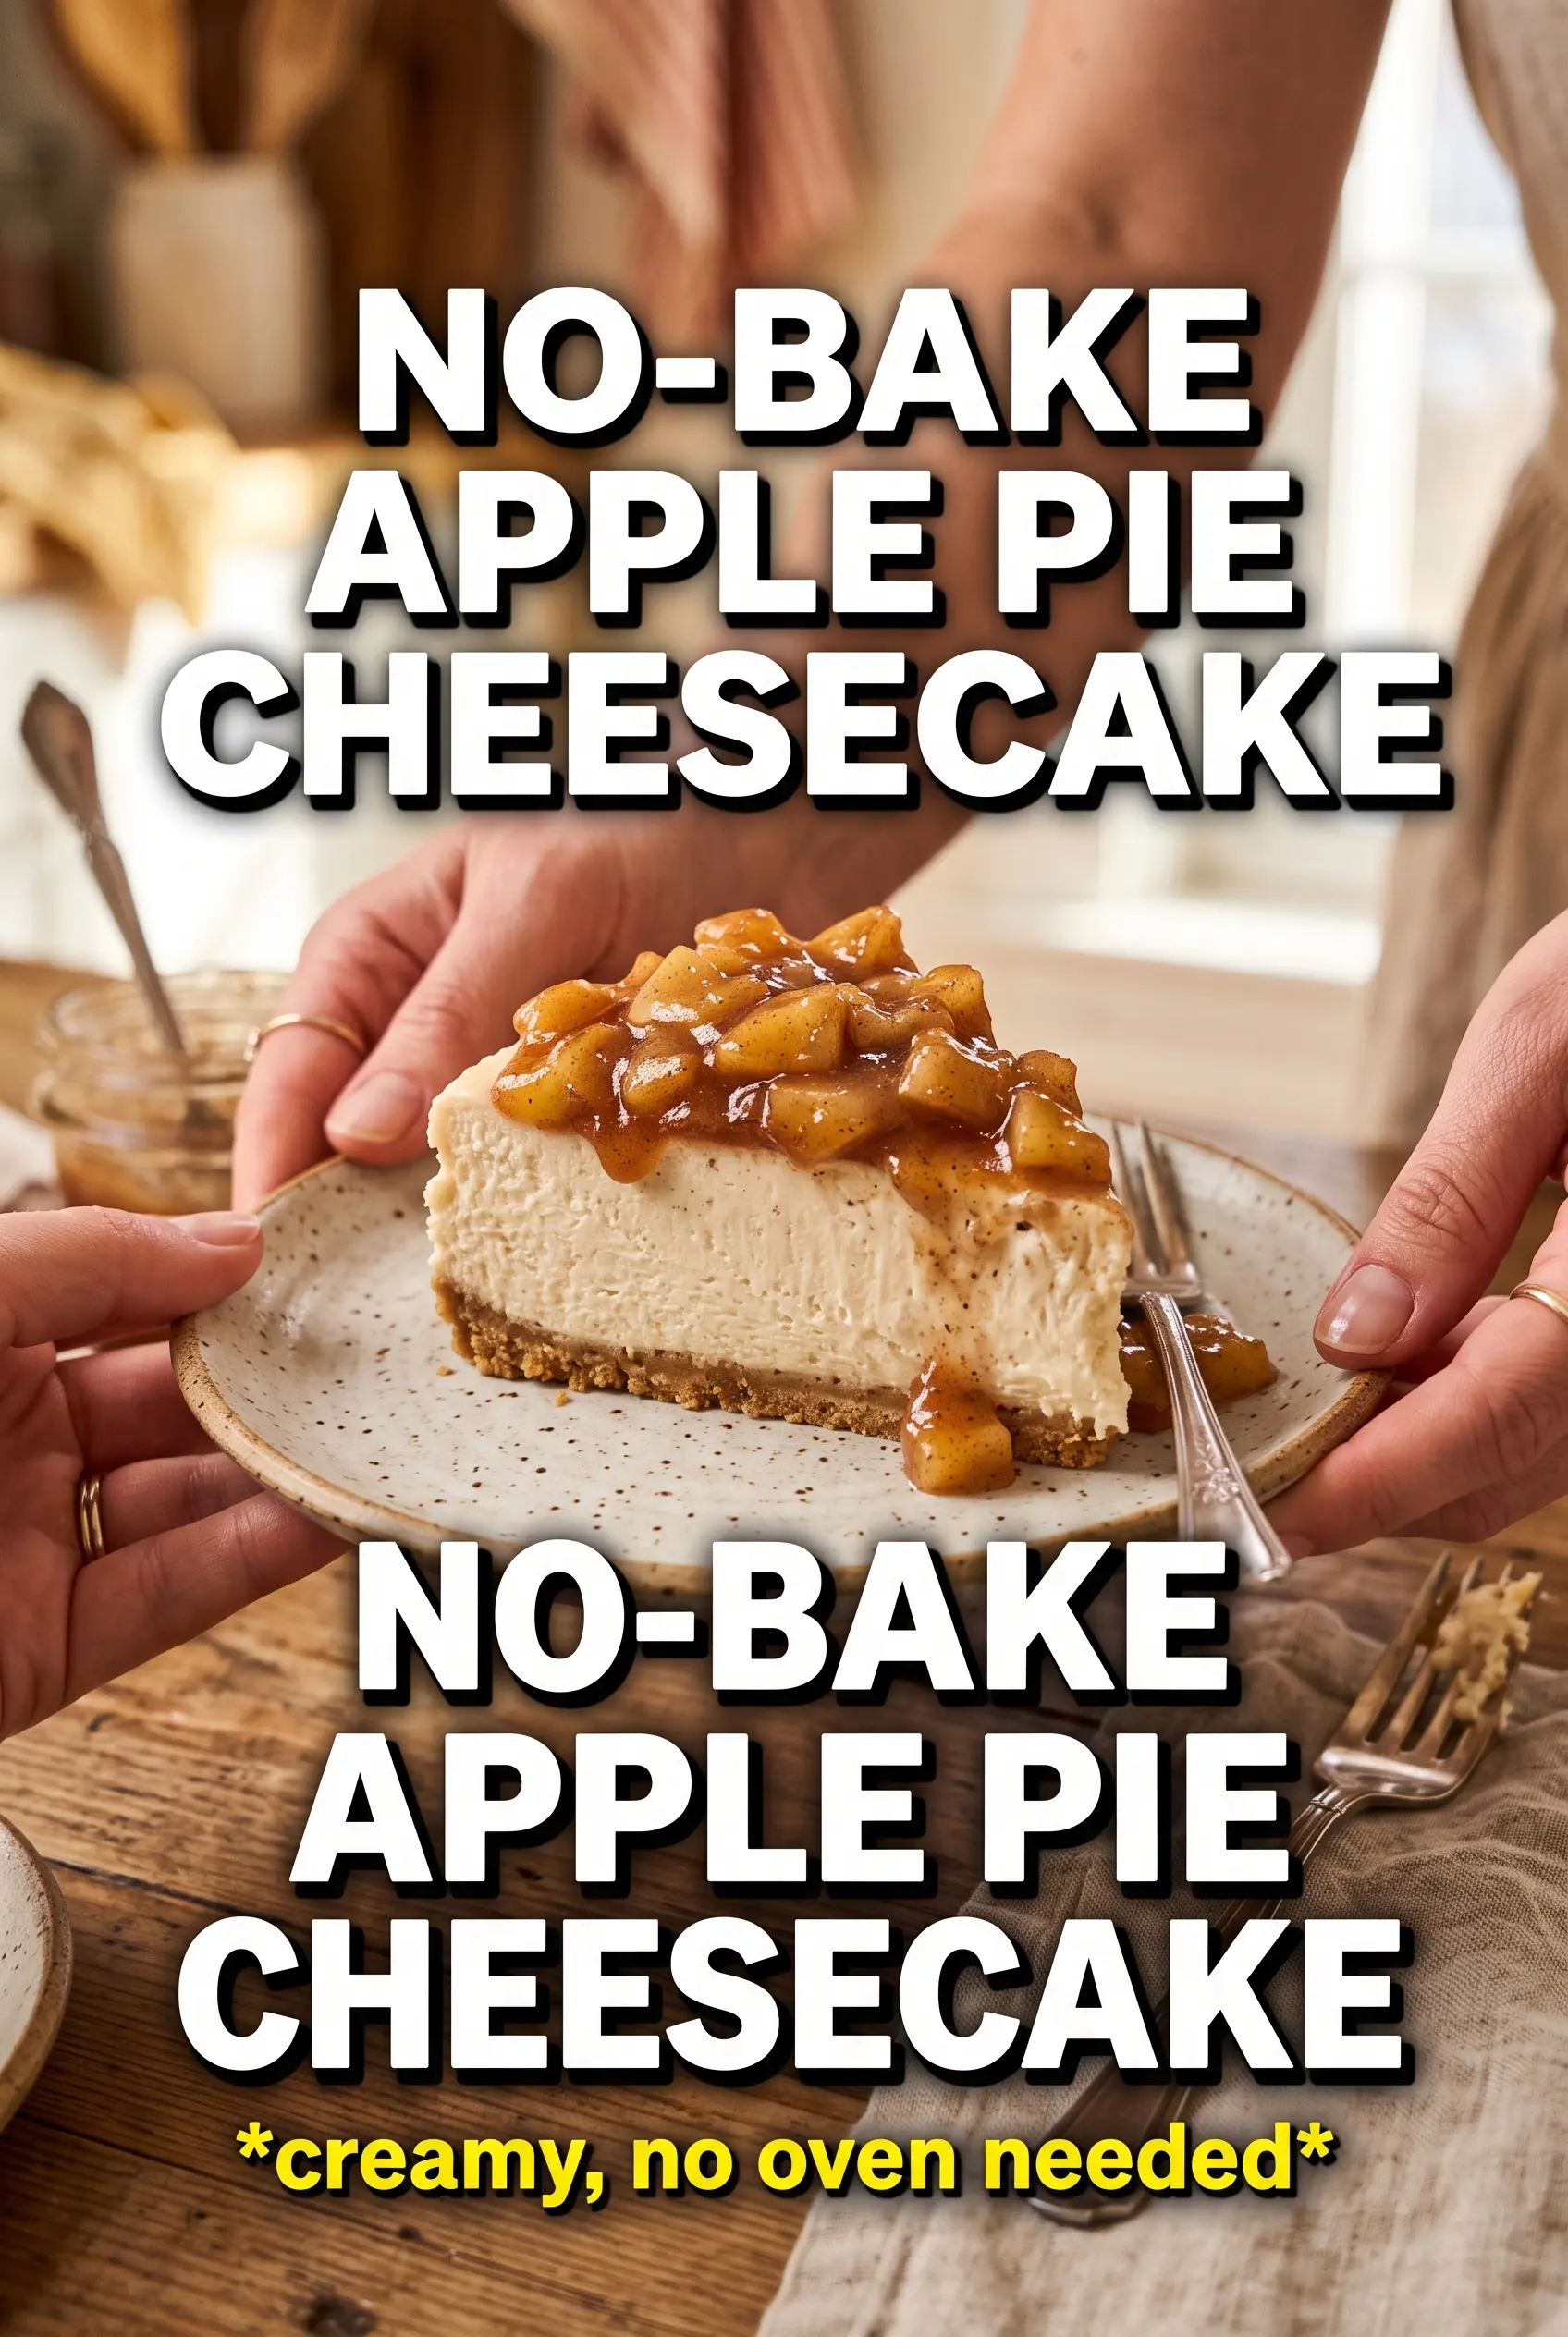
No-Bake Apple Pie Cheesecake
Ingredients
Equipment
Method
- Combine graham cracker crumbs, melted unsalted butter, and sugar, then press firmly into a 9-inch springform pan (use a flat-bottomed surface so it’s compact). Chill for 20 minutes until set to the touch. Visual cue: the crust should look dense and hold its shape.
- Set up the chilled pan aside while you prepare the filling. Visual cue: the crust remains firm, not crumbly, when you gently tap the edge.
- Beat cream cheese, powdered sugar, brown sugar, vanilla extract, and cinnamon until completely smooth and fluffy. Visual cue: no lumps remain and the mixture turns pale and airy.
- Fold whipped heavy cream into the cream cheese mixture until no streaks remain. Visual cue: the batter looks uniform and thick, with no white ribbons.
- Spread the filling over the chilled crust and smooth the top into an even layer. Visual cue: the surface should be level so the topping won’t pool.
- Mix cinnamon and nutmeg into the apple pie filling, then spoon it evenly over the cheesecake layer. Visual cue: the topping forms a glossy, spiced blanket across the surface.
- Refrigerate at least 6 hours or overnight before releasing from the springform. Visual cue: the center should jiggle slightly but feel set around the edges.


