Fudgy chocolate ice cream with thick peanut butter ribbons running through every scoop is the kind of dessert that disappears fast, even straight from the freezer. The base stays creamy without an ice cream maker, and the swirl gives each spoonful that salty-sweet bite that keeps pulling you back for one more taste.
The trick here is keeping the chocolate base light before it goes into the pan. Whipped cream gives the mixture its body, and the sweetened condensed milk keeps it scoopable instead of icy. The peanut butter gets warmed just enough to drizzle and swirl, so it stays distinct instead of sinking into the base or clumping in hard streaks.
Below, I’ve laid out the exact folding method that keeps the texture airy, plus a few ways to change the swirl or make the dessert ahead without losing that rich, fudgy finish.
The peanut butter swirled through cleanly and stayed soft enough to scoop, and the chocolate base was creamy all the way through after freezing overnight. My kids kept digging for the peanut butter ribbons.
Save this no-churn chocolate peanut butter ice cream for the nights when you want a fudgy freezer dessert with thick peanut butter swirls and no machine.
The One Folding Step That Keeps This Ice Cream Creamy
The difference between creamy no-churn ice cream and a dense frozen block comes down to how much air stays in the base. Whip the cream to stiff peaks, then fold the chocolate mixture in with a light hand. If you stir hard, you knock out the volume that gives this dessert its soft, scoopable texture.
The other place people go wrong is with the peanut butter. If it’s too thick, it drags through the base and leaves hard streaks instead of ribbons. Warm it just until it loosens and pours in a slow stream, then swirl once or twice with a knife. Stop there. Over-swirling turns the whole pan muddy instead of giving you those distinct peanut butter pockets.
What Each Ingredient Is Doing in the Pan
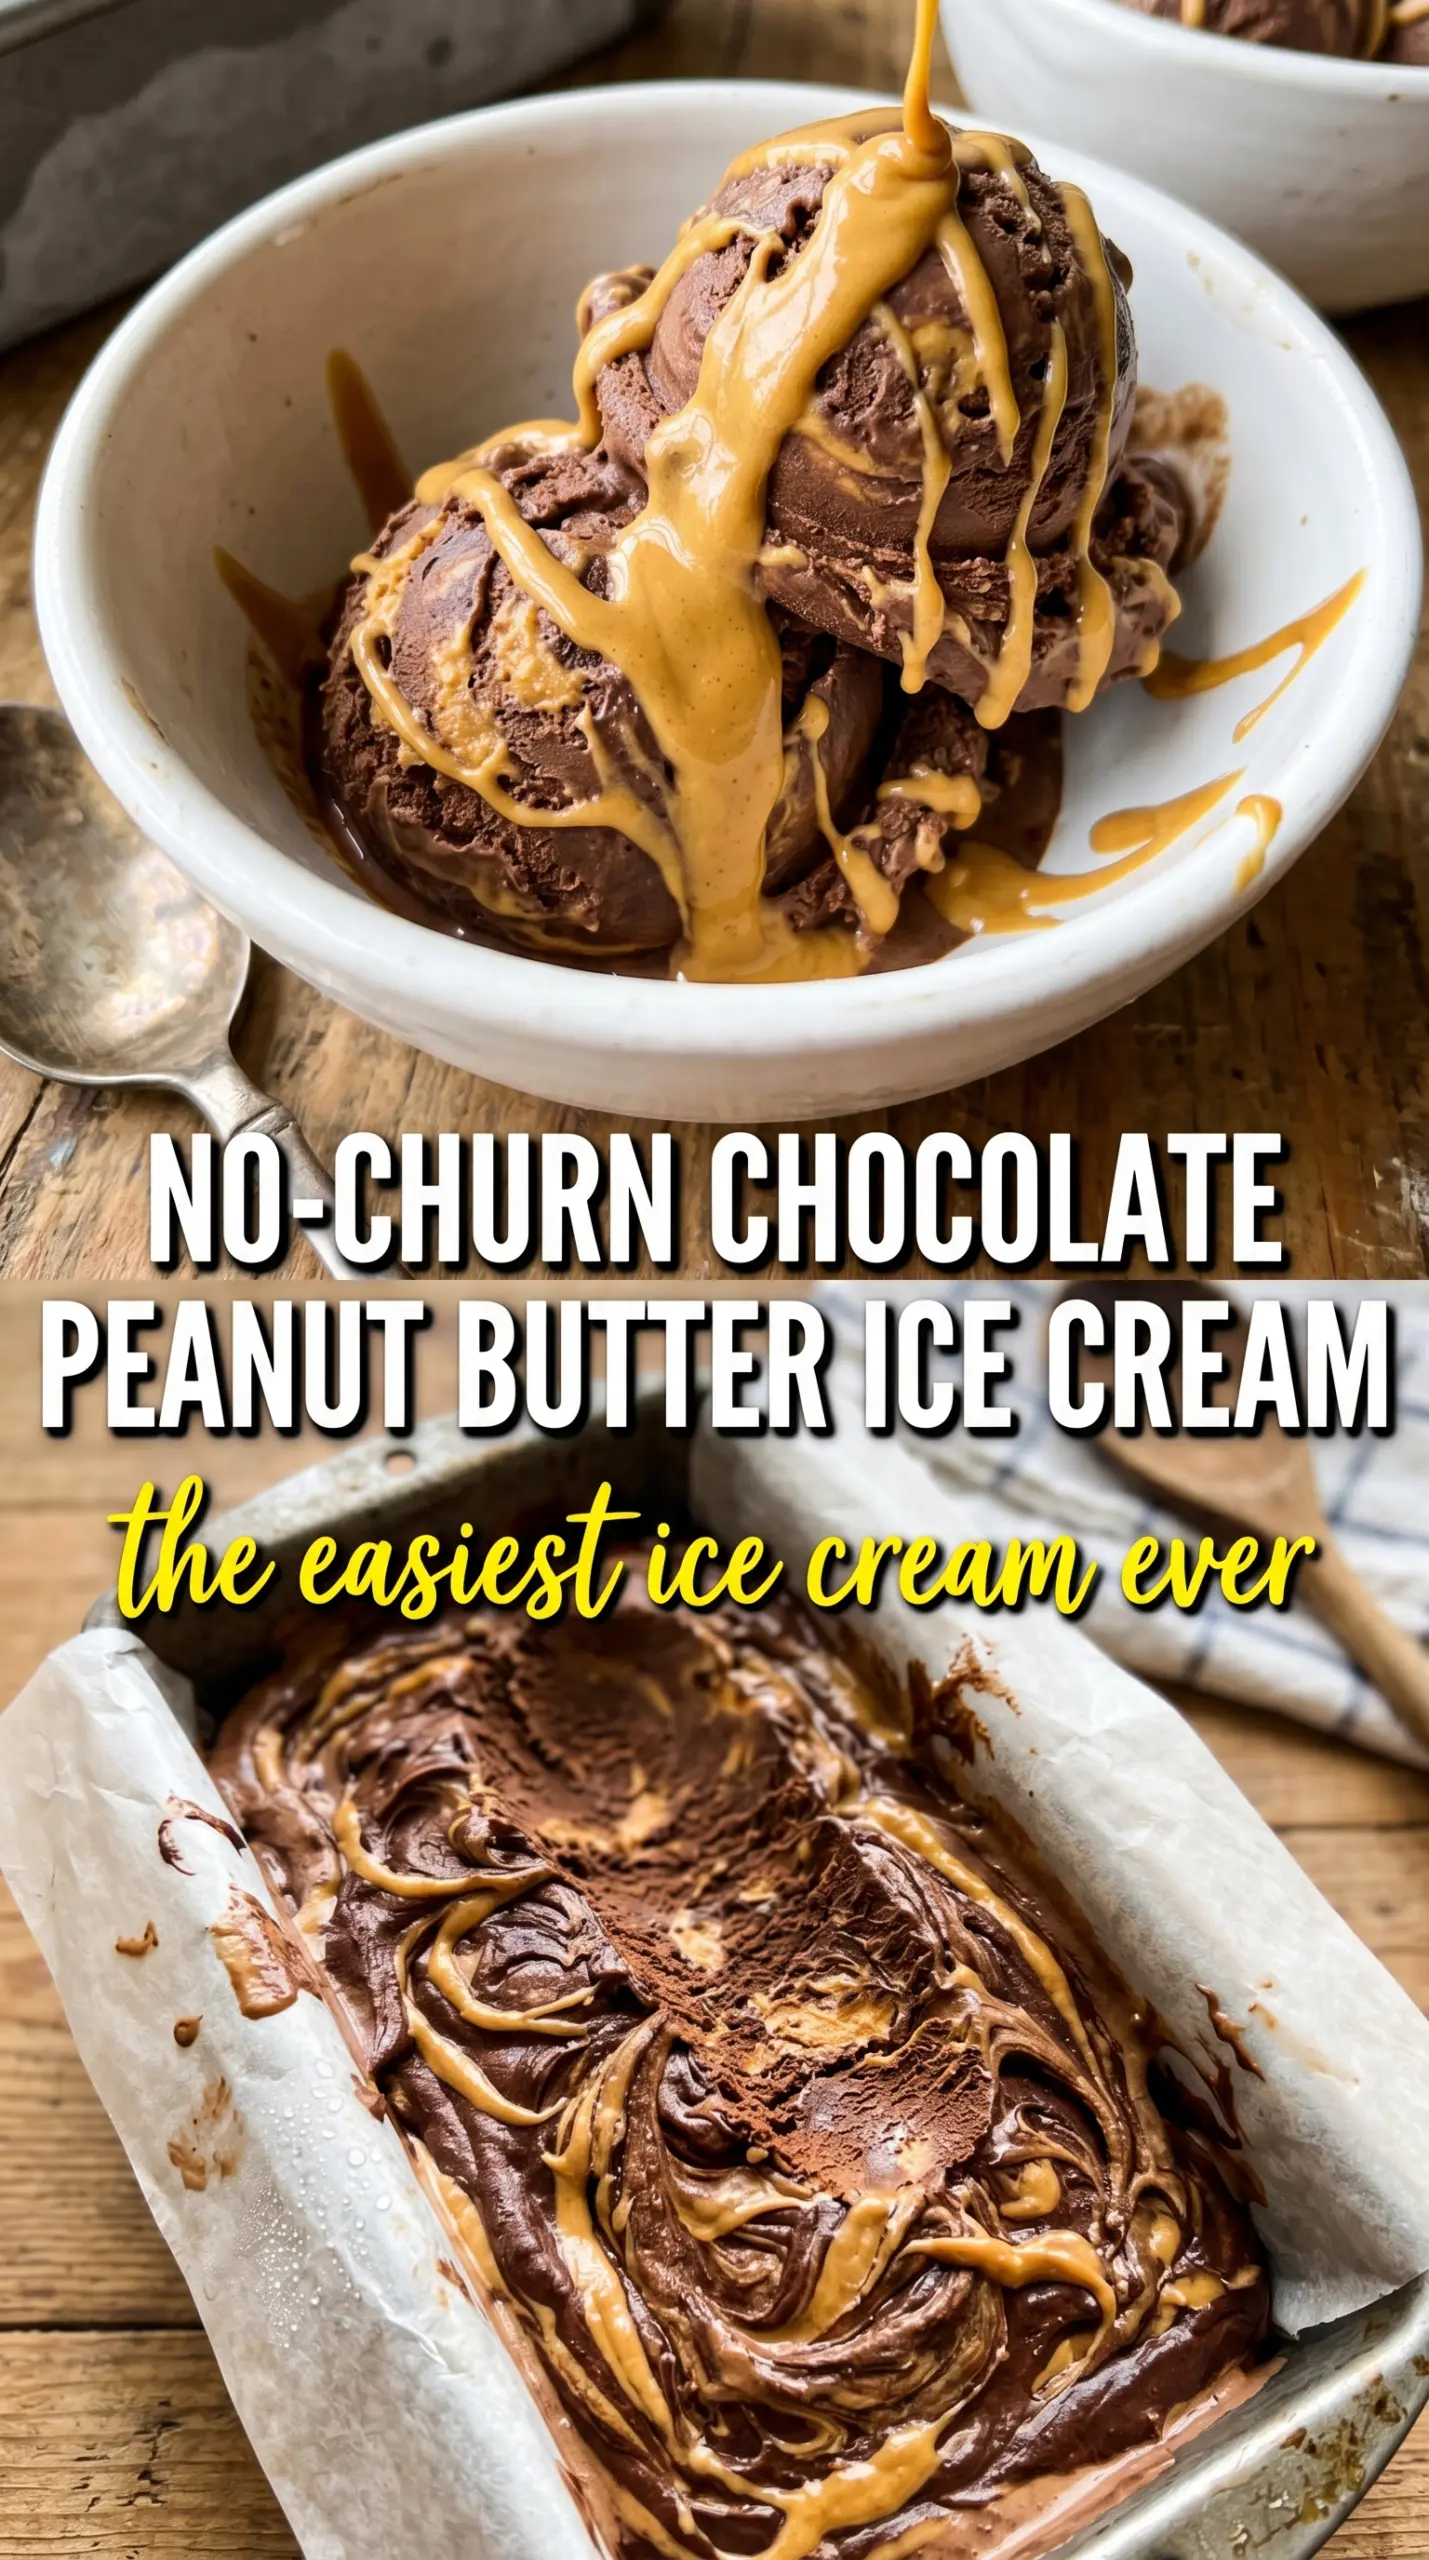
- Heavy cream — This is what replaces the churn. Whip it to stiff peaks so the finished ice cream sets creamy instead of icy. Lower-fat cream won’t hold enough air, so this is one place where the real thing matters.
- Sweetened condensed milk — It sweetens and stabilizes the base at the same time. There isn’t a clean substitute here if you want the same texture, because the milk solids and sugar keep the mixture soft in the freezer.
- Cocoa powder — Unsweetened cocoa gives the base that deep, fudgy chocolate flavor without making it heavy. Dutch-process cocoa works well if that’s what you keep on hand, but use whatever you have consistently so the flavor doesn’t get muddy.
- Peanut butter — Creamy peanut butter swirls best because it stays smooth when warmed. Natural peanut butter can work if it’s fully stirred first, but it tends to separate more in the freezer and can turn the swirl grainy.
- Vanilla and salt — Vanilla rounds out the chocolate, and salt sharpens both the cocoa and peanut butter. Don’t skip the salt; it keeps the dessert from tasting flat.
Building the Swirl Without Deflating the Base
Whipping the cream to the right point
Use a large bowl and beat the cream until it holds stiff peaks that stand straight when you lift the beaters. Soft peaks won’t give the base enough structure, and overwhipped cream starts to look grainy before you even fold anything in. Stop the mixer as soon as the cream is thick and billowy.
Mixing the chocolate base smooth
Whisk the condensed milk, cocoa powder, vanilla, and salt until the mixture is glossy and no dry cocoa streaks remain. Cocoa likes to clump at first, so scrape the bowl and keep whisking until the color is uniform. If you see little dark specks, they’ll stay there in the frozen dessert.
Folding and swirling the peanut butter
Fold the chocolate mixture into the whipped cream in two additions, scraping from the bottom and turning the bowl as you go. When it’s just combined, stop. Pour half into the loaf pan, drizzle with half the warmed peanut butter, then repeat with the rest and swirl with a knife or skewer. A few deep passes create clean ribbons; constant stirring blends everything together and weakens the contrast.
Freezing until it slices cleanly
Cover the pan and freeze for at least 6 hours, or overnight if you want neat scoops. The center should feel firm all the way through, not just frozen around the edges. If it’s too hard after a long freeze, let it sit on the counter for 5 to 10 minutes before scooping.
How to Adjust the Swirl, the Sweetness, or the Dairy
Make it with crunchy peanut butter
Crunchy peanut butter adds texture, but the swirl won’t look as smooth and it can feel less luxurious in each bite. Warm it gently so it still drizzles, then swirl lightly. The peanut pieces stay a little firmer after freezing, which some people love.
Use almond butter instead
Almond butter works if you want a nuttier, less classic flavor. It’s usually thinner than peanut butter once warmed, so drizzle a little at a time or it can sink faster into the base. The finished dessert still freezes well, but the flavor is milder and less salty-sweet.
Swap in a dairy-free version
Use full-fat coconut cream in place of the heavy cream and a dairy-free sweetened condensed milk if you have one that behaves well in frozen desserts. The texture won’t be identical, but it will still freeze into a soft, scoopable base. Expect a light coconut note to come through with the chocolate.
Add mix-ins without wrecking the texture
Crushed peanut butter cups, chopped peanuts, or chocolate chunks all work, but fold them in at the very end so they don’t smear through the base. Too many add-ins make scooping harder and can freeze the dessert into a crumbly block, so keep the mix-ins to about a cup total.
Storage and Reheating
- Refrigerator: Don’t store this in the fridge; it melts into a thick chocolate cream and loses the frozen texture.
- Freezer: It keeps well for about 2 weeks when wrapped tightly. Press parchment or plastic directly on the surface to help prevent ice crystals.
- Reheating: Not applicable. For best scooping, let the pan sit at room temperature for 5 to 10 minutes before serving instead of trying to soften it with heat.
Questions I Get Asked About This Recipe
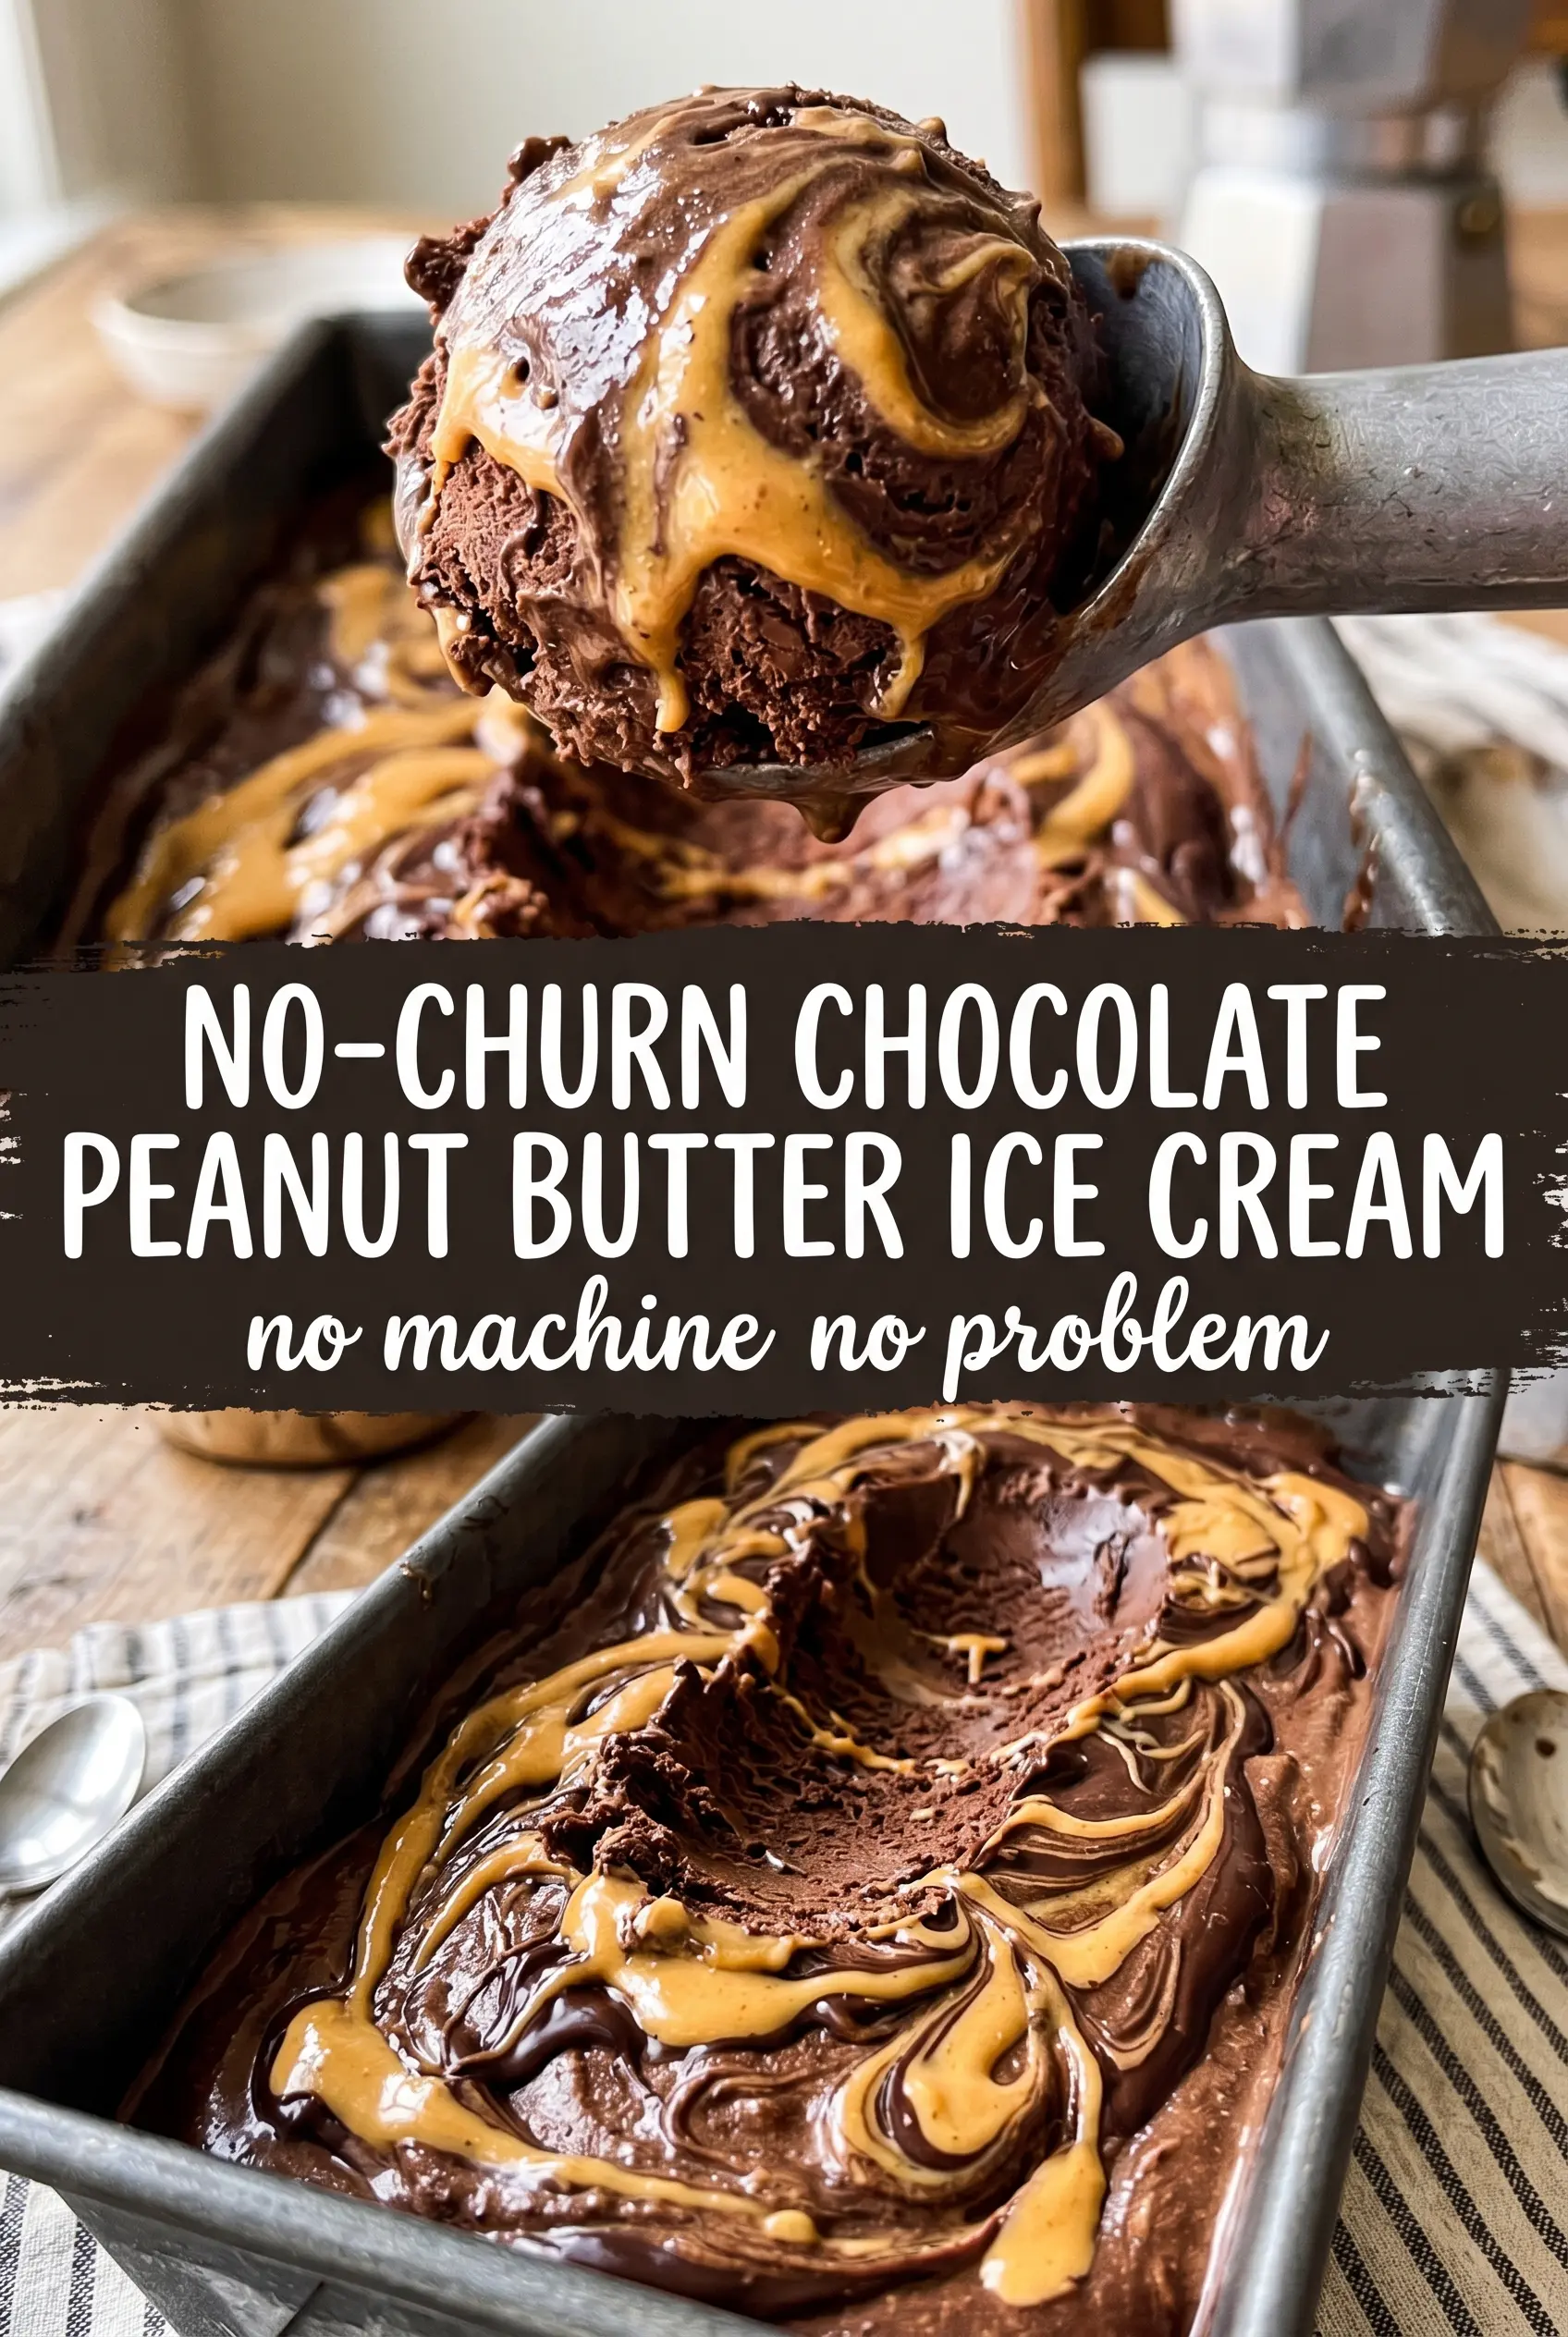
No-Churn Chocolate Peanut Butter Ice Cream
Ingredients
Method
- Whip the heavy cream in a large bowl until stiff peaks form. This should hold a trail when you lift the whisk.
- Whisk the sweetened condensed milk, cocoa powder, vanilla extract, and salt in a separate bowl until smooth. Make sure no cocoa lumps remain.
- Gently fold the chocolate mixture into the whipped cream until just combined, taking care not to deflate it. Stop mixing as soon as you no longer see streaks.
- Pour half the mixture into a 9x5 loaf pan and drizzle with half the warm peanut butter. Swirl with a knife in slow, figure-eight passes.
- Pour in the remaining ice cream mixture and top with the remaining peanut butter. Swirl again with the knife so you get thick ribbons.
- Freeze the loaf pan for at least 6 hours or overnight until firm. You’re looking for a scoopable texture with no soft center.


