Skillet corn with honey butter lands on the plate with the kind of sweet-savory balance that keeps people reaching back in for another spoonful. The corn gets real color in the pan, which means the flavor goes deeper than plain buttered corn; you get caramelized edges, a little smokiness, and a glossy finish that clings to every kernel. It tastes like a side dish that knew it could be the first thing gone.
The trick is giving the corn time to sit in the hot skillet without stirring. That pause builds the char, and that char is what keeps this from tasting flat or steamed. Honey goes in after the garlic and spices have had a minute to bloom, so it melts into the butter instead of burning on the bottom of the pan. A cast iron skillet helps a lot here because it holds heat steady, but the real payoff is in the layering: salt, smoke, heat, and sweetness all show up at the same time.
Below, I’ll walk through the part that matters most, plus the swaps that still keep this dish bright, buttery, and worth making on repeat.
The corn got those crispy browned spots I always miss, and the honey butter coated everything without making it soggy. My husband kept picking the charred bits out of the skillet before dinner was even on the table.
Save this skillet corn with honey butter for the nights when you want charred kernels, a glossy honey-butter finish, and a side dish that tastes like it took more effort than it did.
The Char That Keeps Corn From Tasting Flat
Most skillet corn goes wrong in one of two ways: it gets stirred too soon and steams, or it gets cooked gently enough that the butter never really meets the kernels. This version avoids both problems by using high heat first and patience right after that. You want the corn to sit in a single layer long enough for the bottom side to pick up color before you toss it. That color is not cosmetic. It’s the difference between sweet corn and corn that tastes like it has a point of view.
The second thing that matters is when the honey goes in. If it hits the pan too early, it can darken fast and taste sticky instead of round and buttery. By waiting until the garlic and spices are fragrant, you let the honey coat the corn instead of caramelizing into the skillet. The result is glossy, not gloppy.
- High heat gives you the charred edges that make this dish interesting. Lower heat will still cook the corn, but it won’t build the same flavor.
- A single layer matters more than people think. Crowding the skillet traps steam, and steam is the enemy of browning.
- Cast iron helps because it stays hot when the corn hits the pan. A thin pan cools down fast and slows the browning.
What Each Ingredient Is Actually Doing in This Dish
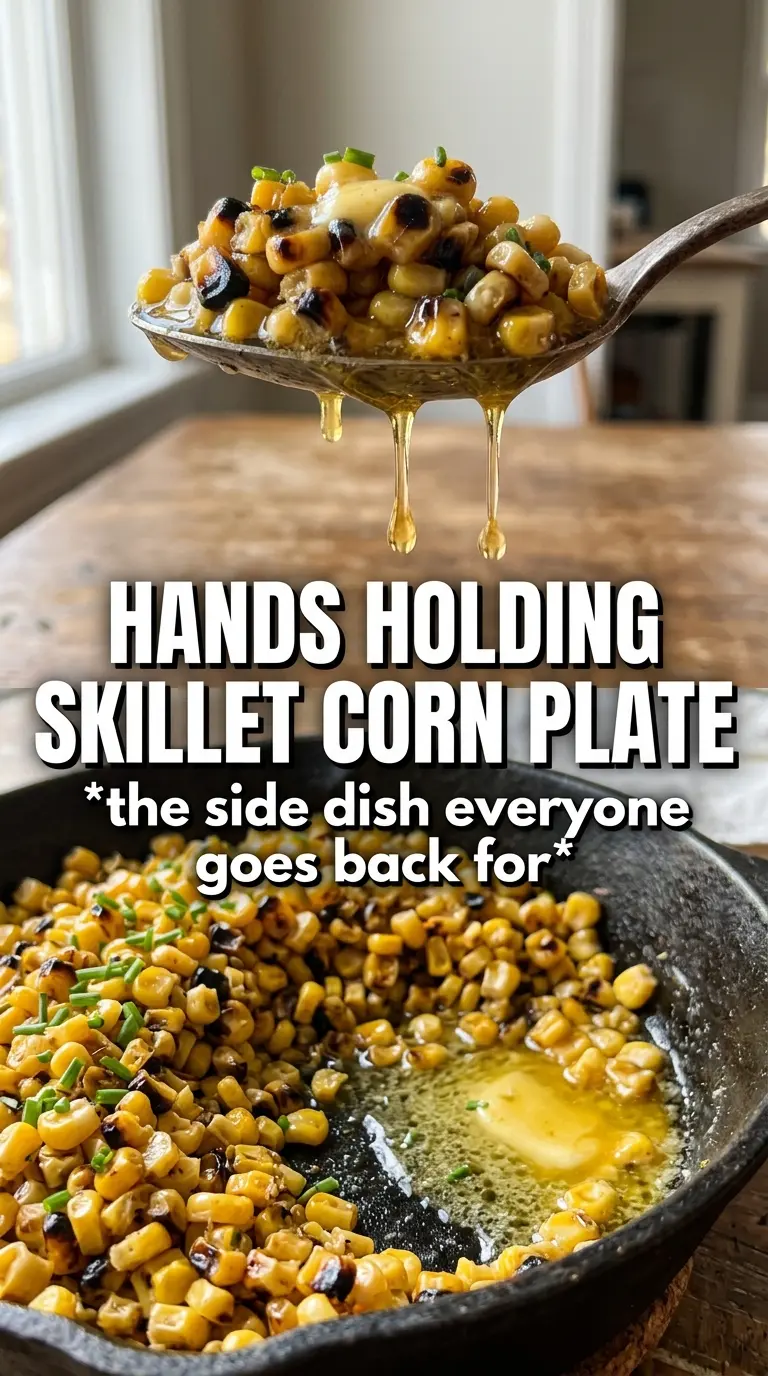
- Corn — Fresh corn gives the sweetest flavor when it’s in season, but thawed frozen corn works well and saves time. Frozen kernels usually brown best if you pat them dry first so excess moisture doesn’t slow the sear.
- Butter — Dividing the butter lets some of it support the char in the beginning and the rest finish the sauce at the end. Salted butter works in a pinch, but unsalted gives you better control once the honey and seasoning go in.
- Honey — This is the gloss and the balance. Maple syrup can substitute if that’s what you have, but it reads a little darker and less floral.
- Smoked paprika and cayenne — Smoked paprika adds depth without making the corn taste overtly spicy. The cayenne is there as a small lift, not a burn, so keep it light if you want the sweetness to stay in front.
- Chives and flaky salt — Chives give the finished dish a fresh edge, and flaky salt sharpens the sweetness at the very end. Don’t skip the garnish if you want the corn to taste finished instead of just cooked.
Building the Glaze Without Losing the Char
Getting the First Side Brown
Melt two tablespoons of butter in a large cast iron skillet over high heat, then add the corn in an even layer. Leave it alone for 3 to 4 minutes so the bottoms can brown before you stir. You’re listening for a quiet, steady sizzle, not a loud sputter; if the pan is too wet, the corn is steaming instead of searing. Toss and cook for another 3 to 4 minutes until you see browned spots on several sides, not just one.
Waking Up the Garlic and Spice
Turn the heat down before the garlic goes in. Garlic burns fast in a hot skillet, and burnt garlic turns the whole dish bitter in a way honey can’t hide. Stir in the garlic, smoked paprika, and cayenne and cook just until the garlic smells fragrant, about 1 minute. The spices should bloom in the butter, not sit there looking dry and dusty.
Finishing With Honey Butter
Add the remaining butter and the honey, then toss until every kernel looks glossy and coated. If the pan seems dry, that’s the moment to let the butter melt completely before adding any more honey; honey alone can cling and scorch. Season generously with salt and black pepper, then finish with chives and flaky sea salt. The final taste should hit sweet, salty, smoky, and buttery all at once.
How to Adapt This for Bigger Pans, Different Corn, and Different Diets
Use frozen corn without losing texture
Frozen corn works well here, but thaw it first and pat it dry. If you skip that step, the extra moisture keeps the kernels from browning and the skillet will run watery before the honey goes in.
Make it dairy-free
Use a good plant-based butter that melts cleanly and has enough fat to carry the honey. The corn will still get glossy and sweet, though the finish will taste a little less rich than the original.
Dial back the heat
Leave out the cayenne or cut it in half if you want the honey butter to stay front and center. You’ll still get the smoke from the paprika, but the finish will be softer and more kid-friendly.
Storage and Reheating
- Refrigerator: Store in an airtight container for up to 3 days. The corn will soften a bit, but the flavor stays good.
- Freezer: You can freeze it, though the texture loses some of its snap. Freeze in a flat, airtight container and thaw in the fridge before reheating.
- Reheating: Warm it in a skillet over medium heat with a small knob of butter to loosen the glaze. Microwaving works in a pinch, but it dulls the char and can make the kernels taste flat.
Questions I Get Asked About This Recipe
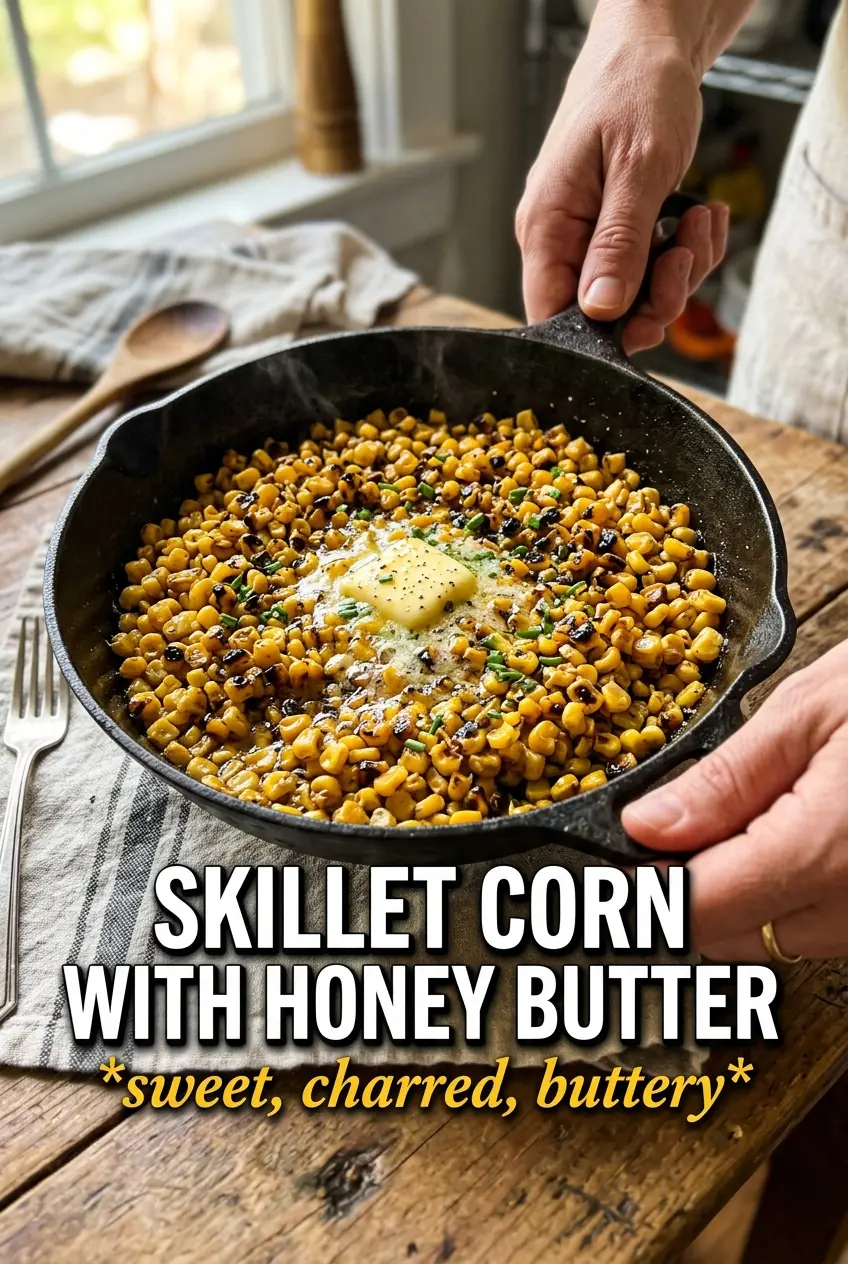
Skillet Corn With Honey Butter
Ingredients
Equipment
Method
- Melt 2 tablespoons butter in a large cast iron skillet over high heat until sizzling.
- Add corn in a single layer and cook without stirring for 3-4 minutes, until the bottoms are visibly charred.
- Toss the corn and cook another 3-4 minutes until more kernels develop charred, golden spots.
- Reduce heat, then add garlic, smoked paprika, and cayenne and cook for 1 minute, until fragrant.
- Add remaining butter and honey, then toss until the corn is evenly coated and glossy.
- Season generously with salt and black pepper.
- Top with fresh chives and flaky sea salt.


