Pillowy brioche donuts are the kind of dessert that disappear fast because they hit every note at once: crisp edges from the fry, a soft and airy crumb inside, and enough richness to stand up to a glossy glaze. The Thanksgiving version makes that even better by leaning into warm spice, maple sweetness, and a tart cranberry finish that keeps each bite from feeling heavy. They look festive on the plate, but the real win is the texture. These fry up with a delicate shell and a tender center that pulls apart in soft layers.
The dough is built like classic brioche, which means the butter goes in after the gluten has started to develop. That order matters. If you add the butter too early, the dough stays greasy and slack instead of strong enough to hold gas and rise properly. A slow first rise gives the yeast time to build flavor, and the second rise before frying keeps the donuts light instead of dense. The glazes are kept simple on purpose so each one tastes distinct: pumpkin spice for warmth, maple for depth, and cranberry for a bright finish.
Below you’ll find the small details that make the difference, from how tacky the dough should feel to when to glaze so the decorations actually stick.
The dough rose beautifully and the donuts stayed light instead of greasy. I used the cranberry glaze on half the batch and it was the first one gone because the tartness balanced the sweet brioche so well.
Save these Thanksgiving brioche donuts for a dessert tray with pumpkin spice, maple, and cranberry glazes that fry up light and festive.
The Butter Goes In Late for a Reason
Brioche dough needs structure before richness. If the butter goes in too early, the flour never gets a chance to build enough strength, and the dough can turn slick, weak, and hard to shape. By kneading the flour in first, then adding softened butter gradually, you give the dough time to become elastic enough to hold the air created by the yeast.
The other place people lose the texture is at the rise. Underproofed donuts spring back too much in the oil and stay tight inside. Overproofed ones can collapse when you lift them. The sweet spot is a dough that looks puffy and relaxed, not doubled to the point of wobbling.
- Warm milk — It should feel warm on a finger, not hot. Too much heat kills yeast before the dough starts.
- Bread flour — The extra protein gives the donuts enough chew to stay airy after frying. All-purpose flour works in a pinch, but the crumb will be a little softer and less structured.
- Butter — Softened butter blends in cleanly after the dough has started developing. Cold butter tears the dough; melted butter makes it greasy.
- Pumpkin pie spice — This keeps the spice flavor inside the dough instead of only on top. It reads warm and seasonal without making the donut taste like a spice cake.
What Each Glaze Is Doing on the Finished Donut
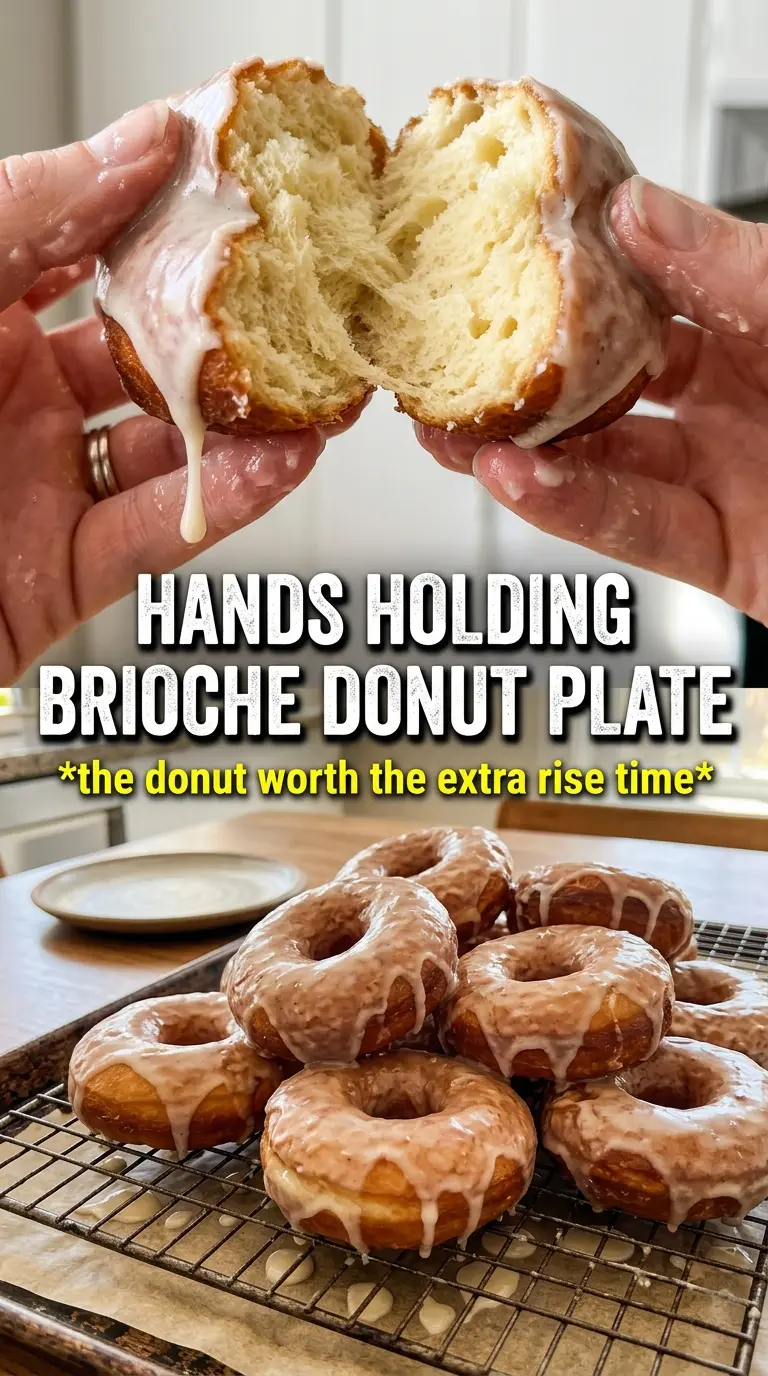
The glazes aren’t just decoration. They give you three different balances of sweetness, color, and texture so the donuts can feel varied even though the base is the same. Pumpkin puree adds body and a mellow spice note, maple syrup brings a deeper caramel-like sweetness, and cranberry sauce gives the sharpest contrast.
Powdered sugar is nonnegotiable here because it dissolves into a smooth coating without heat. If you swap in granulated sugar, the glaze will stay gritty. The milk in each glaze is there for control, so add it slowly and stop when the texture is thick enough to cling but loose enough to dip cleanly.
- Pumpkin puree — Use plain pumpkin puree, not pie filling. Pie filling is already sweetened and spiced, which throws off the glaze.
- Maple syrup — Real maple syrup gives the glaze depth and a clean finish. Pancake syrup makes it taste flat.
- Cranberry sauce — Smooth it first if it has chunks. A quick stir with a spoon leaves little fruit bits, which can make the glaze patchy.
- Powdered sugar — It gives the glaze that satiny finish and keeps the coating set once the donuts cool.
Building and Frying the Donuts Without Losing the Lift
Mixing the Dough
Start by waking up the yeast in warm milk with the sugar, then mix in the eggs before adding the flour, salt, and pumpkin pie spice. The dough should come together shaggy first, then turn smoother as it kneads. Once the butter goes in, it will look slippery for a minute before it turns glossy and elastic. If it still feels sticky after the full kneading time, keep going in short bursts until it pulls from the sides of the bowl and clings to itself more than to your fingers.
First Rise and Cutting
After the first rise, roll the dough to about 1/2 inch thick and cut clean 3-inch circles. Flour the cutter lightly so you don’t drag the edges and compress the dough. The scraps can be rerolled once, but after that they get tighter and won’t puff as evenly. Let the cut donuts rest again until they look slightly swollen and feel airy when you lift one.
Frying to a Pale Gold
Heat the oil to 350°F and keep it there. If the oil runs too cool, the donuts soak it up and turn heavy; if it runs too hot, the outside browns before the center finishes cooking. Fry in small batches for about 90 seconds per side, watching for a pale golden color that deepens slightly after draining. They should float, puff, and release easily from the oil without tearing.
Glazing and Decorating
Drain the donuts on a rack or paper towels until the surface stops steaming, then dip while they’re still warm. That warmth helps the glaze set in a thin shell instead of sliding off. Add sprinkles and edible decorations right away before the glaze firms up. If you wait too long, the toppings won’t stick and you’ll end up pressing them into a tacky surface.
How to Adapt These Donuts for Different Eaters
Maple glaze only for a simpler finish
Skip the other glazes and use the maple version on the full batch if you want one uniform donut tray. It gives the cleanest sweetness and the easiest dipping, and it still pairs nicely with the pumpkin spice in the dough.
Dairy-free version
Use a rich unsweetened non-dairy milk and a plant-based butter that stays solid when cold. The dough will still rise and fry well, though the crumb won’t have quite the same buttery aroma as the classic version.
Gluten-free note
This isn’t a straight swap recipe because brioche depends on gluten for its lift and shape. A gluten-free flour blend may work for a baked-style donut, but for frying you need a dough built to hold gas and structure.
Make-ahead timing for a holiday morning
You can mix the dough the night before and let it rise slowly in the fridge after the first knead. Bring it back to room temperature before rolling so the butter softens enough for the dough to cut cleanly and rise evenly.
Storage and Reheating
- Refrigerator: Store glazed donuts in an airtight container for up to 2 days. The glaze softens the longer they sit, and the texture is best on day one.
- Freezer: Freeze the unglazed fried donuts for up to 1 month. Thaw at room temperature, then glaze after they’ve warmed through so the coating stays smooth.
- Reheating: Warm unglazed donuts in a 300°F oven for 5 to 7 minutes. Microwaving makes brioche rubbery, so skip it unless you don’t mind a denser bite.
Questions I Get Asked About This Recipe
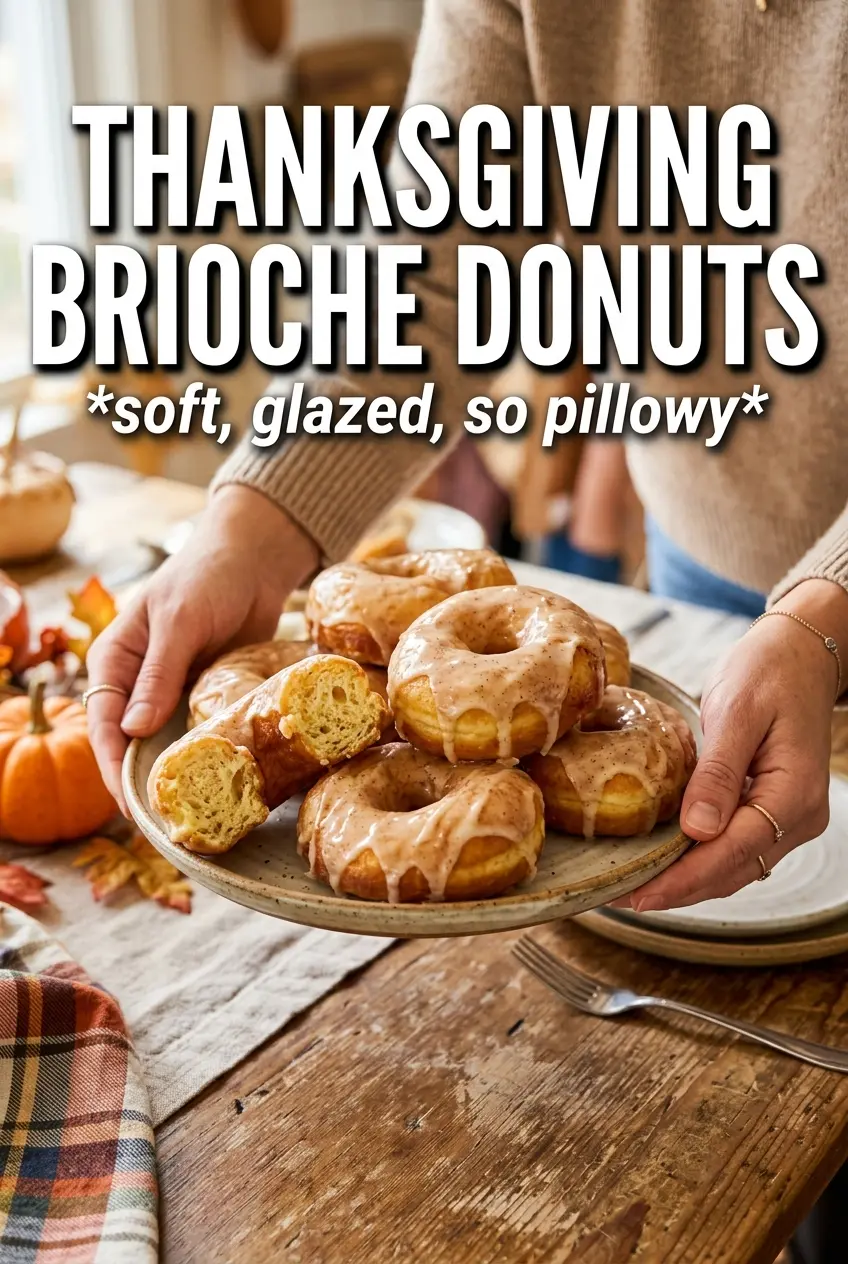
Thanksgiving Brioche Donuts
Ingredients
Equipment
Method
- Activate the yeast in warm whole milk, then add the sugar and eggs and mix until combined.
- Knead in the bread flour, salt, and pumpkin pie spice for 6 minutes until the dough comes together.
- Gradually knead in the softened unsalted butter and continue for 8 more minutes until the dough is smooth and slightly tacky.
- Rise the dough for 1 hour until puffy.
- Roll the dough to about 1/2-inch thick and cut 3-inch circles.
- Rise the cut donuts for 30 to 45 minutes until visibly swollen.
- Heat vegetable oil to 350°F and fry each donut for 90 seconds per side until golden.
- Drain the donuts briefly, then dip while warm into the glazes of choice.
- Decorate with fall sprinkles and edible decorations right after glazing, before the coating sets.


