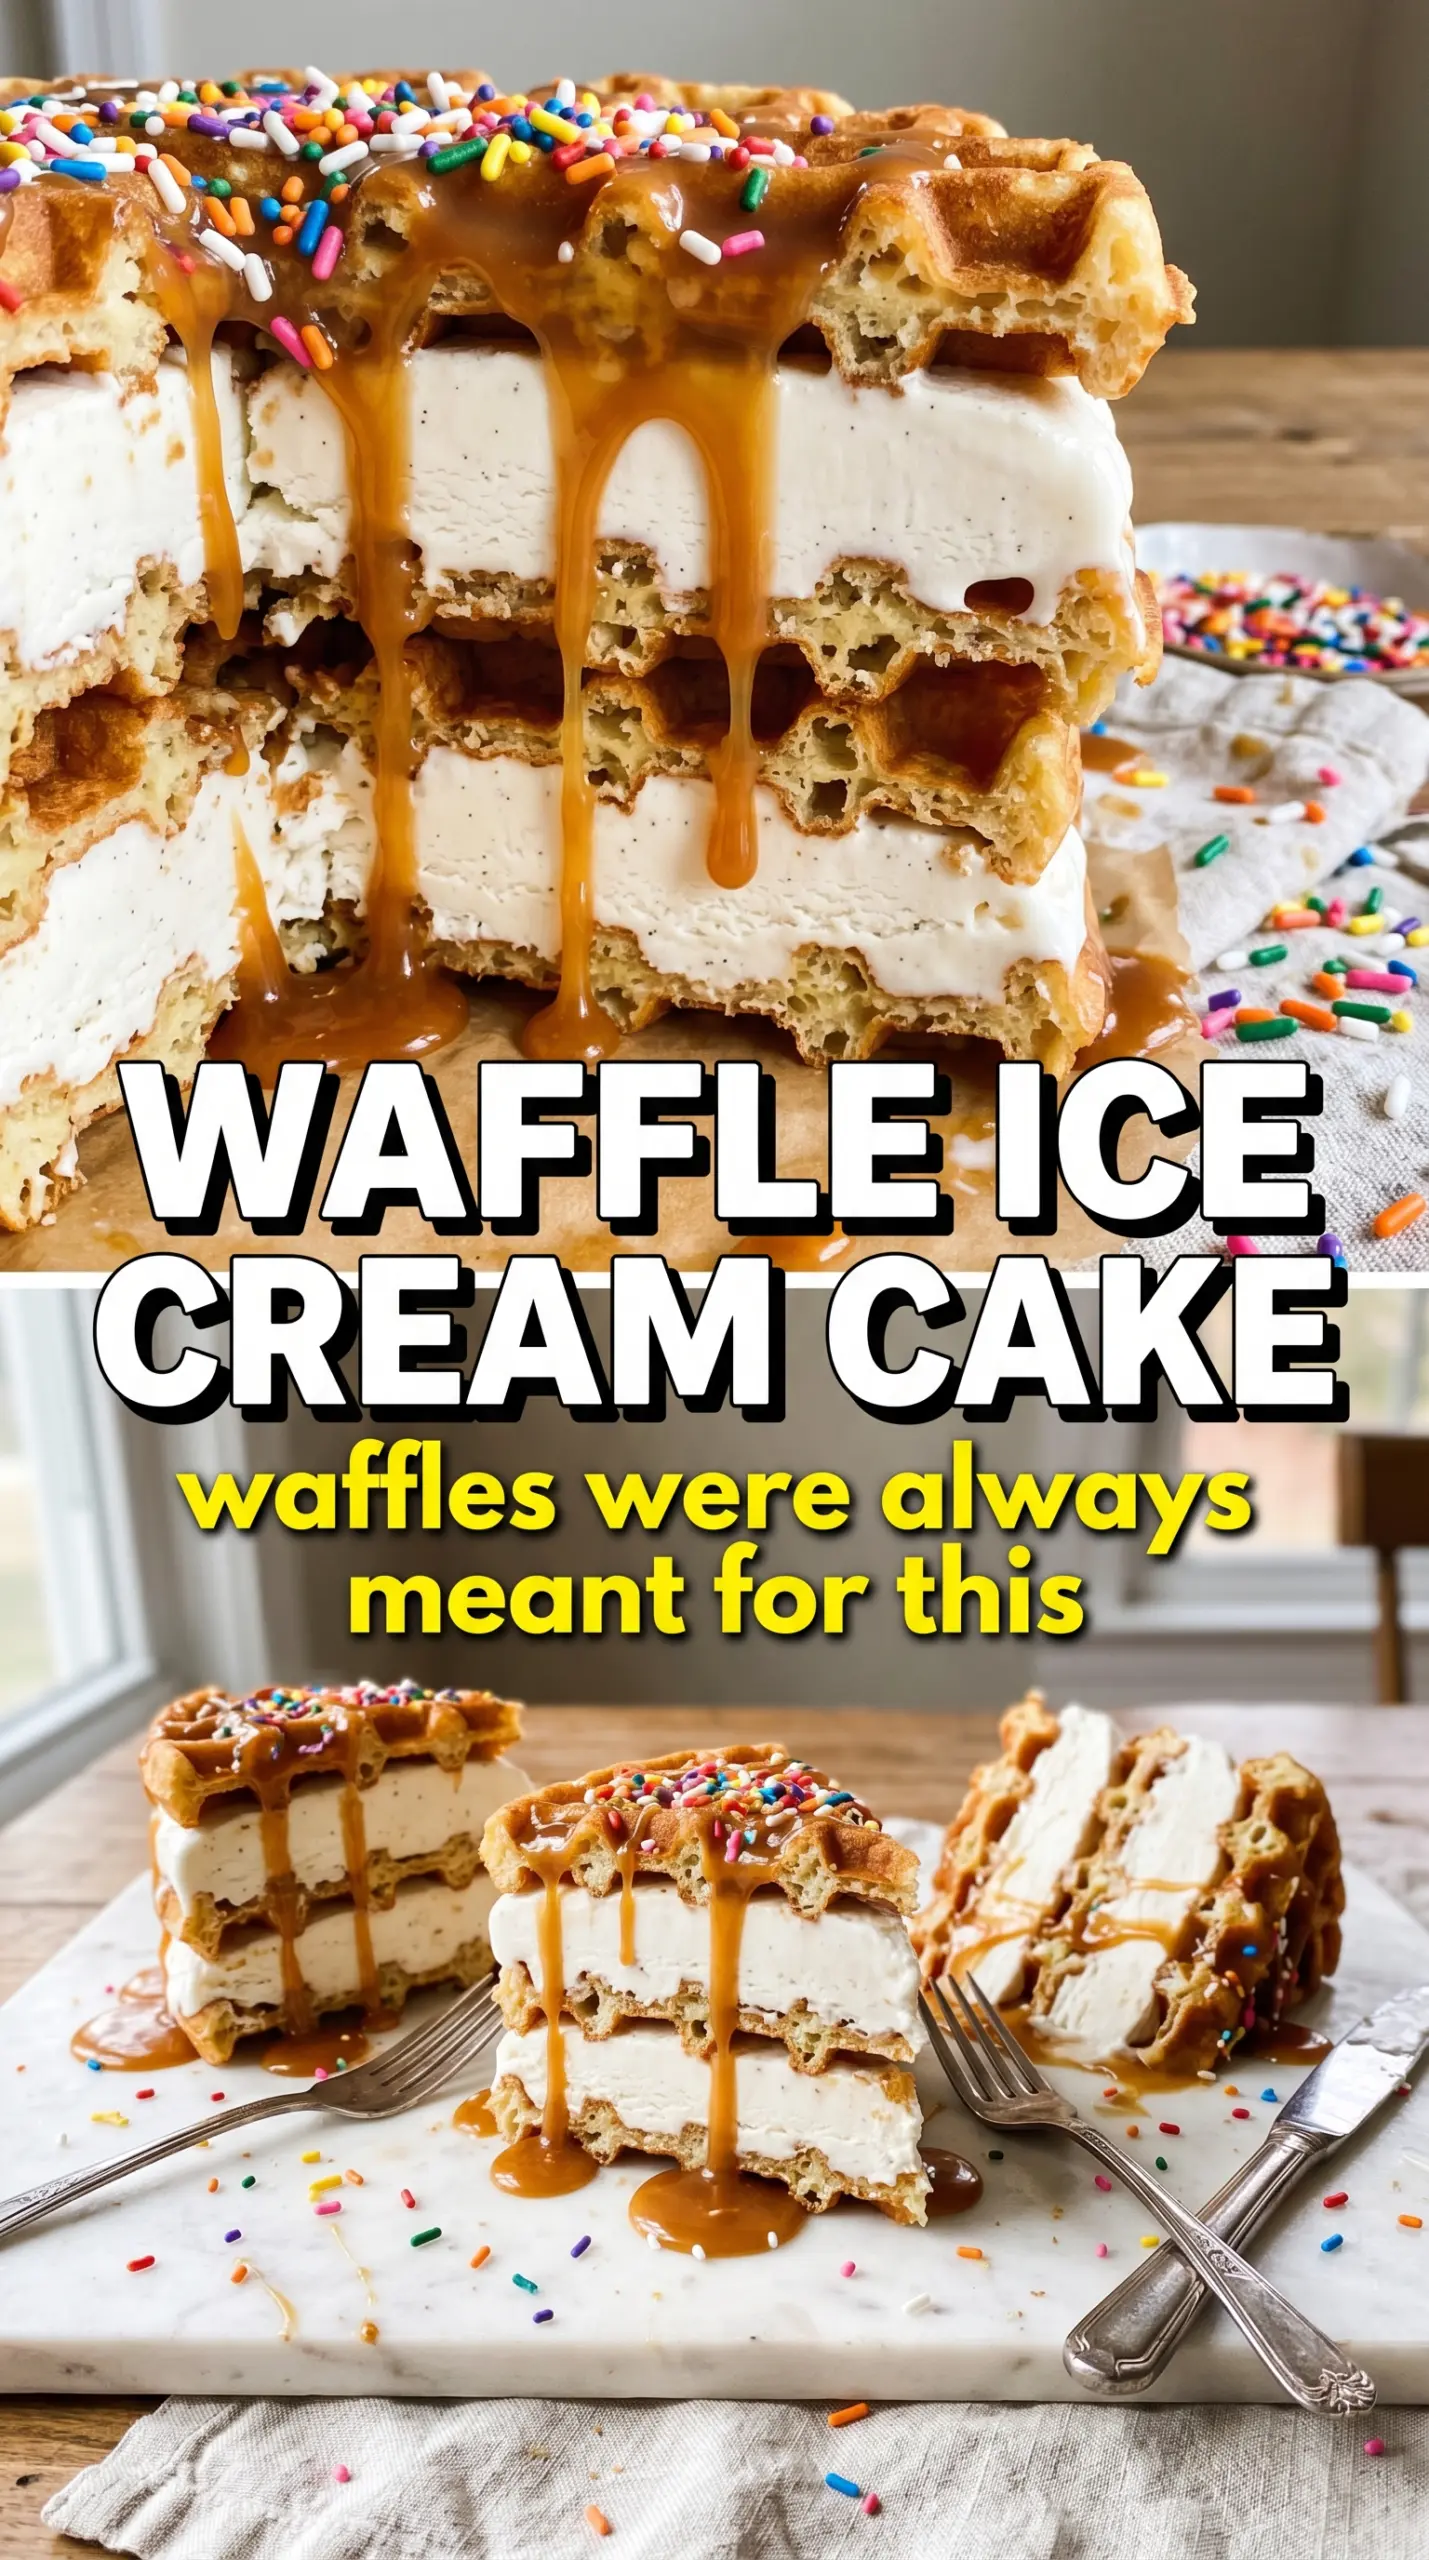
Golden waffles, vanilla ice cream, and maple caramel turn into a frozen layer cake that cuts cleanly and eats like a celebration. The waffles stay crisp at the edges, the ice cream softens into a creamy middle, and the maple syrup brushed between layers keeps each slice from tasting flat or one-note. It’s the kind of dessert that looks like you spent all day on it, even though the assembly is straightforward.
The trick is starting with waffles that are completely cool and layering them in a springform pan so the cake freezes into a neat stack. A light brush of maple syrup on each waffle gives the dessert its signature flavor without making the waffles soggy, and the long freeze time is what keeps the layers distinct when you slice it. Softened ice cream spreads evenly, which matters more here than perfect scoops.
Below you’ll find the small details that keep the layers tidy, plus a few smart swaps if you want to change the waffles, the ice cream, or the topping without losing the structure of the cake.
The waffle layers stayed crisp around the edges, and the maple syrup between them kept every slice from tasting icy. I let it freeze the full six hours and it came out of the pan perfectly clean.
Save this waffle ice cream cake for the next birthday or brunch dessert when you want a frozen layer cake with crisp waffle edges and maple caramel on top.
The Part That Keeps the Waffle Layers from Going Soggy
The biggest mistake with a waffle ice cream cake is treating it like a regular cake and rushing the assembly. Warm waffles melt the ice cream before the stack has a chance to set, and once that happens the layers slide and smear instead of holding their shape. Let every waffle cool completely first. You want them dry, crisp at the edges, and firm enough to support the ice cream without collapsing.
The other detail that matters is the maple syrup. A thin brush on each waffle gives you flavor and helps the layers bond, but too much turns the waffles soft before the freeze is done. The goal is a cake that slices with neat stripes, not a bread pudding texture hidden under ice cream.
- Waffles — Homemade or store-bought both work, but they need to be fully cooled. If you’re using frozen waffles, toast them until they’re crisp, then let them sit until no steam remains.
- Vanilla ice cream — Softened ice cream spreads evenly and presses into the corners of the pan. Hard ice cream leaves gaps, which shows up as uneven slices later.
- Maple syrup — This is the flavor bridge between the waffles and the ice cream. Pure maple syrup tastes clean and stands up better than pancake syrup, which can read sticky instead of caramel-like.
- Caramel sauce — Use a pourable sauce for drizzling at the end. A thicker caramel works too, but warm it slightly so it ribbons over the whipped cream instead of clumping.
- Whipped cream — It’s the finish that gives the cake a celebratory look and helps carry the berries. Stabilized whipped cream is worth using if the cake will sit out for a few minutes before serving.
What Each Ingredient Is Actually Doing in This Ice Cream Cake
- Base layer (cookies, cake, or graham cracker) — This provides structure and stability. Crushed and mixed with butter creates a firm foundation.
- Ice cream (the main star) — Use quality ice cream or make homemade. Softness matters for layering.
- Sauce or topping between layers (fudge, caramel, or fruit) — This adds moisture, flavor, and prevents dryness. Don’t skip this layer.
- Frosting or whipped cream (optional outer layer) — This prevents freezer burn and adds creaminess. Stabilized whipped cream works best.
- Freezing time (at least 4-6 hours) — This sets the layers so cake slices cleanly. Longer freezing prevents melting during serving.
- Room temperature before serving (5-10 minutes) — This softens the cake slightly for better texture. Serve immediately after thawing.
- Toppings (chocolate, nuts, cookies, or sprinkles) — These add visual appeal and texture. Add right before serving.
- Storage (in freezer at 0°F or below) — This prevents ice crystal formation and maintains quality. Cover with plastic wrap.
How to Build a Frozen Waffle Stack That Slices Cleanly
Starting with a Firm Base
Set one waffle in the bottom of a springform pan and brush it lightly with maple syrup. The pan holds the stack upright while it freezes, which is what gives you those clean layers when you release it later. If the waffle is too large, trim it so it sits flat instead of buckling at the edges. A level base makes every other layer easier.
Spreading the Ice Cream Evenly
Spoon softened vanilla ice cream over the waffle and spread it all the way to the edges. Don’t dump one giant mound in the center, or you’ll tear the waffle as you try to drag it outward. Work quickly, but not frantically; the ice cream should be soft enough to glide, not melted enough to run. An offset spatula makes this part much cleaner.
Repeating the Layers Without Overfilling
Add the next waffle, brush again with maple syrup, and repeat the ice cream layer until the pan is full. Stop with a waffle on top so the cake freezes into a finished cap instead of a sticky surface. If your pan is shallow, use fewer layers rather than packing it higher than the rim. Overfilling makes the top slide when you wrap it or move it to the freezer.
Freezing, Topping, and Serving
Freeze the assembled cake for 6 hours, then pipe whipped cream over the top, drizzle with caramel, and add berries. That second freeze after decorating helps lock the toppings in place, especially if the whipped cream is soft. For the cleanest release, run a thin knife around the edge of the pan before unlatching it. Slice with a sharp knife dipped in warm water and wiped dry between cuts.
Ways to Change the Cake Without Losing the Structure
Gluten-Free Waffle Ice Cream Cake
Use gluten-free waffles that toast up sturdy, not soft or cakey. The structure matters more than the brand here, because flimsy waffles break under the ice cream and make the slices lean. Let them cool fully and crisp them well before layering.
Dairy-Free Version
Swap in a dairy-free vanilla frozen dessert and dairy-free whipped topping. The cake still freezes and slices well, but some non-dairy ice creams soften faster, so keep the cake in the freezer until the last minute. Check that your caramel sauce is dairy-free if that matters for your needs.
Chocolate or Berry Ice Cream Filling
Chocolate ice cream gives the cake a more dramatic contrast against the waffles, while berry ice cream makes the fruit topping feel built in instead of added on top. Just keep the ice cream soft enough to spread; mix-ins that are too large can tear the waffles when you press the layers together.
Make-Ahead Party Dessert
Build the cake a full day ahead and hold off on the whipped cream and berries until just before serving if you want the cleanest presentation. The cake itself freezes beautifully, and the extra time only improves the slices. If you garnish too early, the berries can bleed and the whipped cream can pick up freezer texture.
Storage and Reheating
- Refrigerator: Not recommended. The cake softens too fast and loses the layered texture that makes it work.
- Freezer: Freeze tightly covered for up to 5 days for the best texture. After that, the waffles can start to pick up freezer taste and the ice cream may get icy.
- Reheating: There’s no reheating here. Let slices sit at room temperature for 5 to 10 minutes before serving so the knife goes through cleanly, but don’t let the whole cake warm up or the layers will slump.
Answers to the Questions Worth Asking
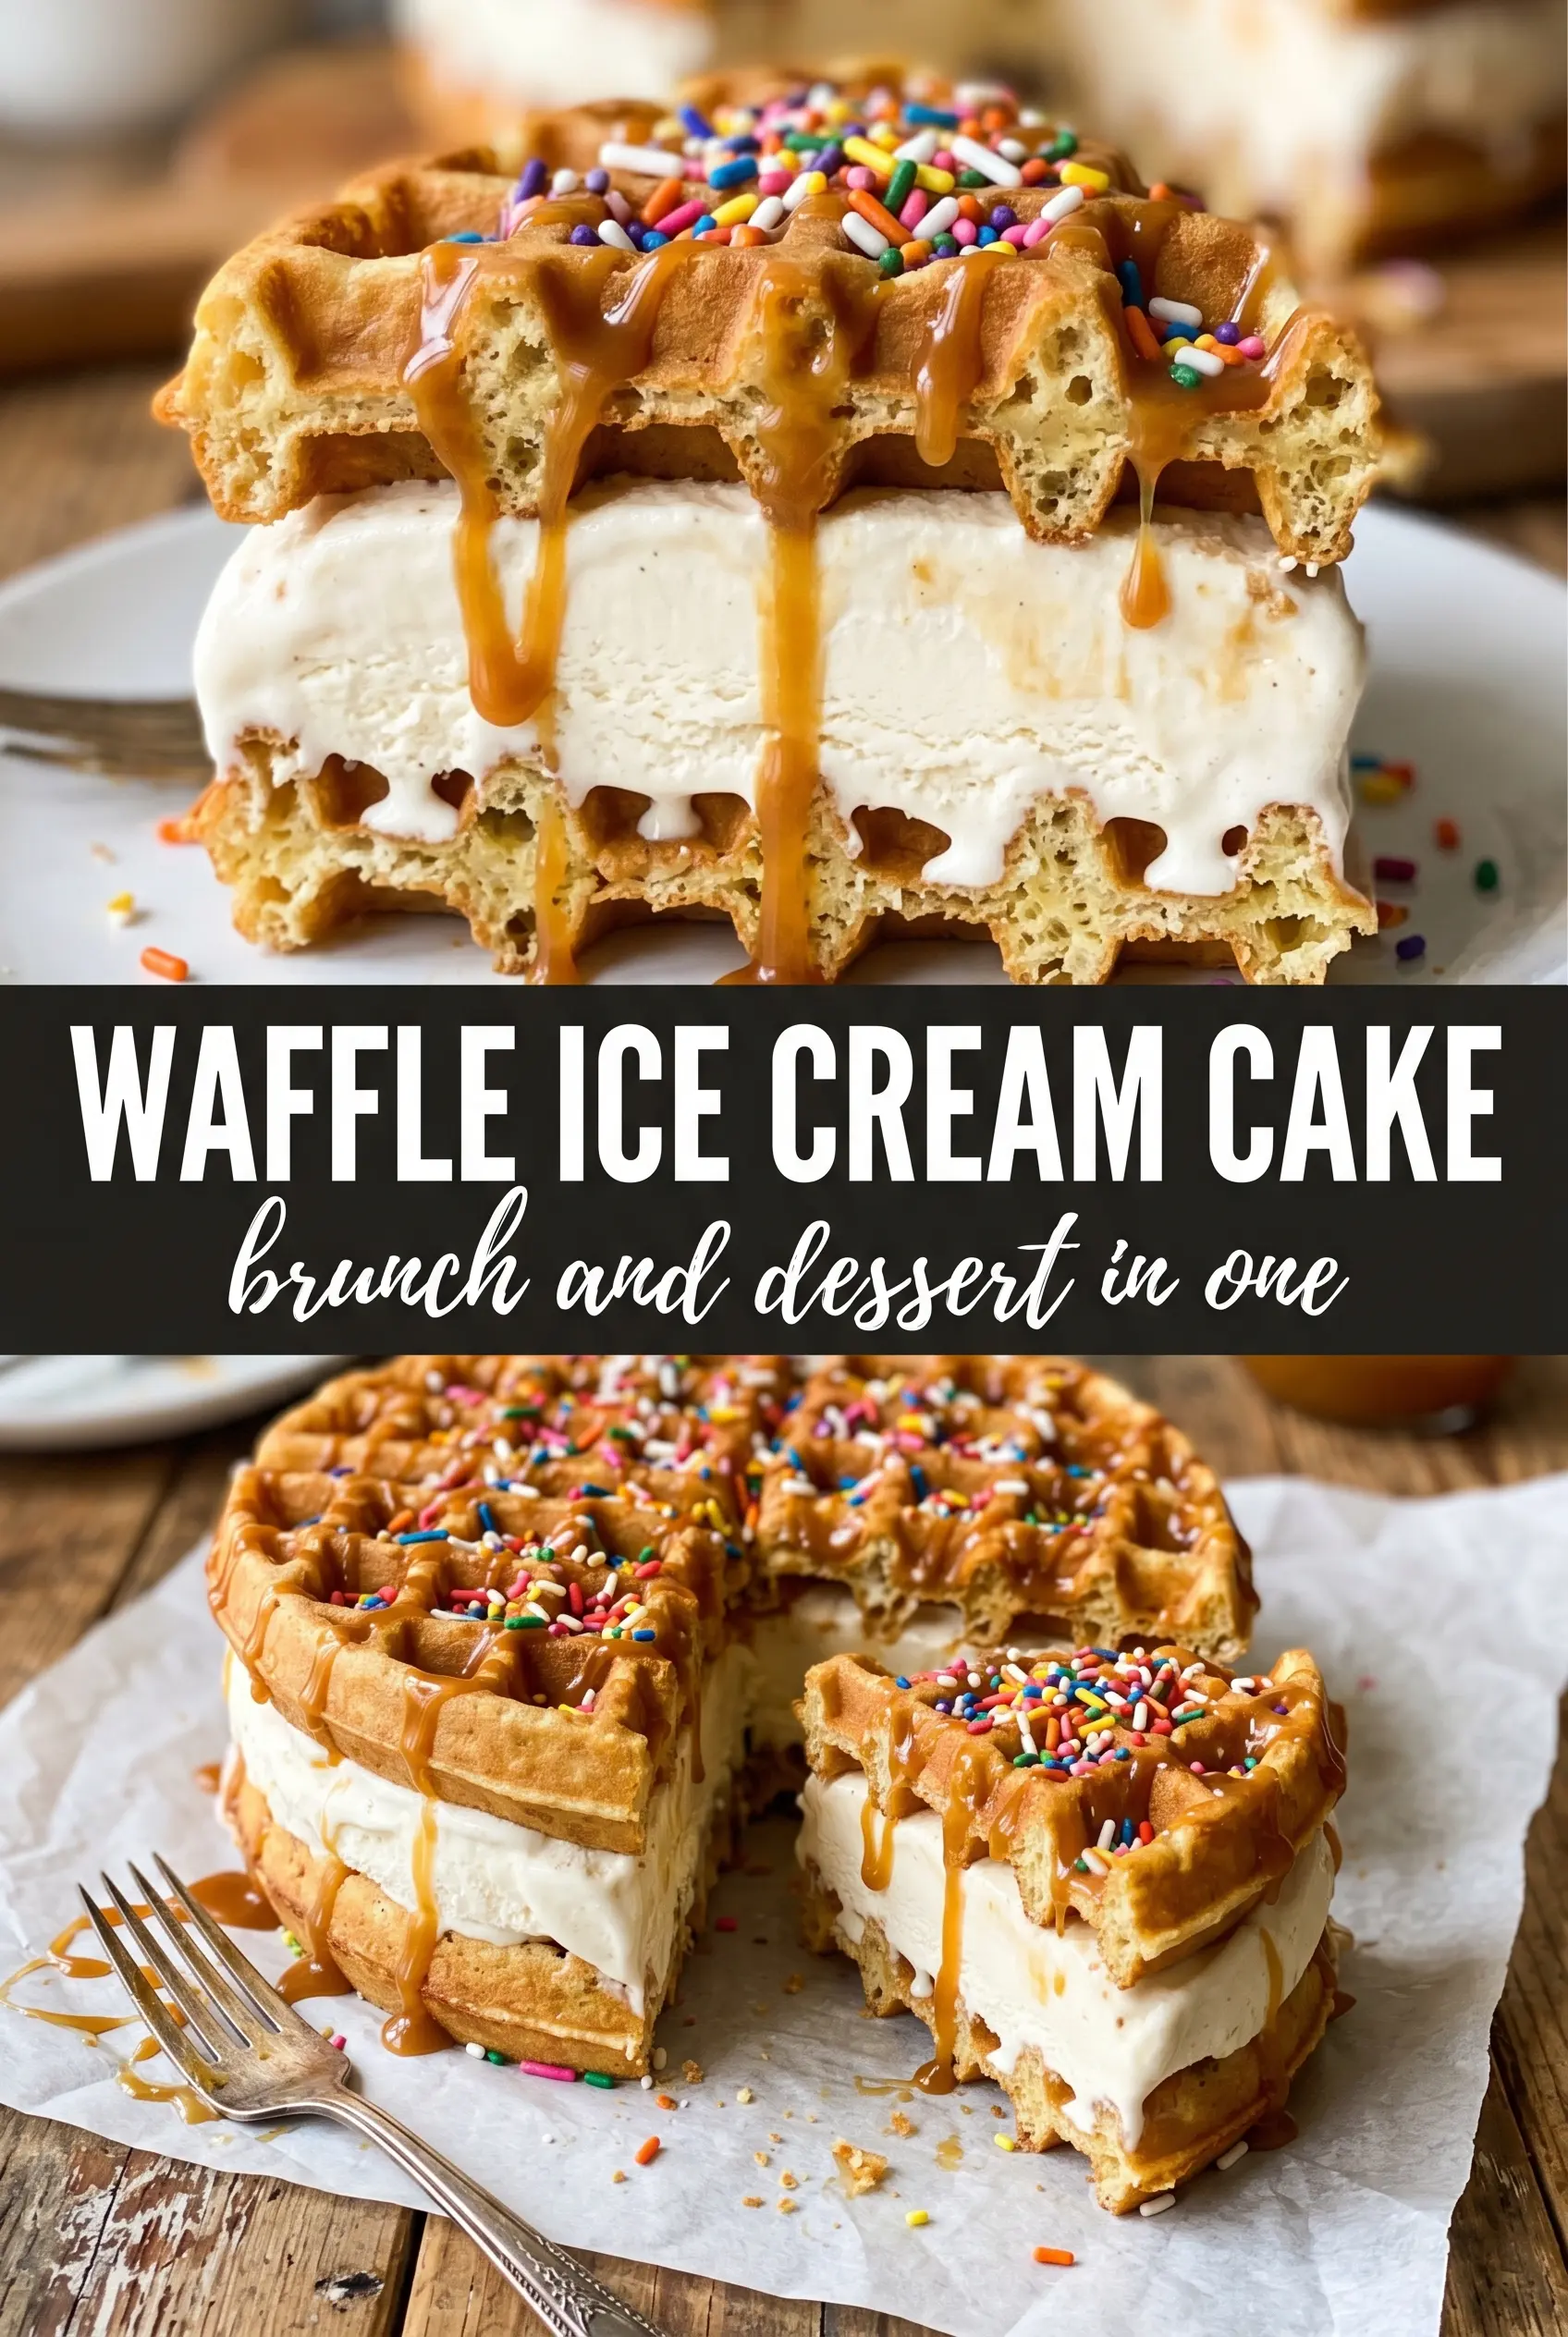
Waffle Ice Cream Cake
Ingredients
Equipment
Method
- Place a waffle on the bottom of a springform pan and brush with maple syrup.
- Spread a thick layer of softened vanilla ice cream over the waffle.
- Add another waffle layer, brush with maple syrup, and spread more vanilla ice cream on top.
- Repeat layering waffles and vanilla ice cream until the pan is full, ending with a waffle layer on top.
- Freeze the assembled cake for 6 hours until completely firm, with the pan covered to prevent ice crystals.
- Pipe whipped cream over the top.
- Drizzle caramel over the whipped cream and add fresh berries and maple drizzle on top.
- Freeze 1 more hour before releasing from the pan and serving, so the slice holds clean layers.


